The sequence of repairs in the house with your own hands: Step-by-step instructions from scratch with a rough finish + Photo and Video
Are there any plans for renovation in your house? Where to start, how to finish, how to carry out the work so that one does not interfere with the other and does not spoil it? First of all, it is necessary to draw up at least an approximate plan of all work, to derive an estimate of costs. It should cover all planned activities, including dismantling of old elements - batteries, lamps, window sills, switches.
In the event that it is planned to replace interior and exterior doors, windows, it is important not to forget about the subsequent cleaning and disposal of construction waste. This is a pretty big expense to consider.
Before starting construction activities, it is necessary to determine the amount of work to be done and their approximate cost, and correlate them with your own capabilities.
It is highly undesirable to make significant adjustments after the start of work. All important design decisions are made and approved in advance, because it is not always possible to change them later, but it is almost always costly.
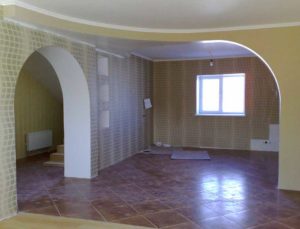
Usually, after completing the preparatory phase, the homeowner finds himself in an empty room, in front of completely bare walls. It is still quite difficult for him to navigate the forthcoming volume of work and expenses. But he already has an idea what color solutions are preferable for him, where what will be located, in which part of the house household and other appliances will be installed.
Video (click to play).
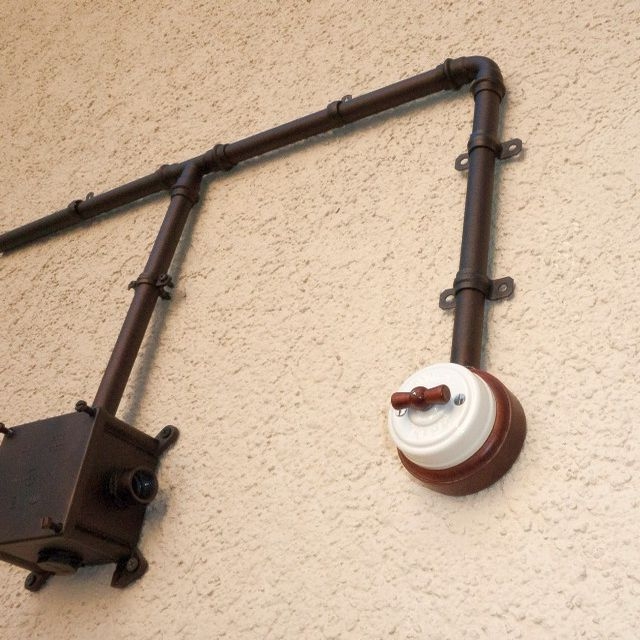
Need to pay attention on the number and location of windows, the level of natural illumination, because the need for artificial lighting in the room depends on this. Why is it important? The fact is that any repair most often begins replacement or re-equipment of power gridsincluding future locations for lighting fixtures, outlets and switches. This also applies to old, already inhabited houses, and those built not so long ago.
Every average household today has many different technologies that need a powerful, optimized branch network. Additional sockets and numerous extension cords are very inconvenient to use.
If it is planned to install an air conditioning system, then it is carried out in the same period. At the same time, all the necessary heating system fasteners.
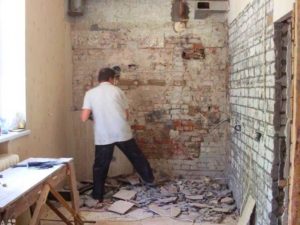
In parallel, a number of works related to drilling, chiselling, making recesses, grooves and booms... This also includes other work, in the process of which it is necessary to "disfigure" the ceiling, walls and floor, as a result of which a large amount of various construction waste is formed: dust, pieces of gypsum, brick and concrete.
When all this garbage removed, you can start preparing the subfloor.
There are different options:
preparation for underfloor heating;
installation of a sub-floor from edged boards;
leveling with a concrete screed.
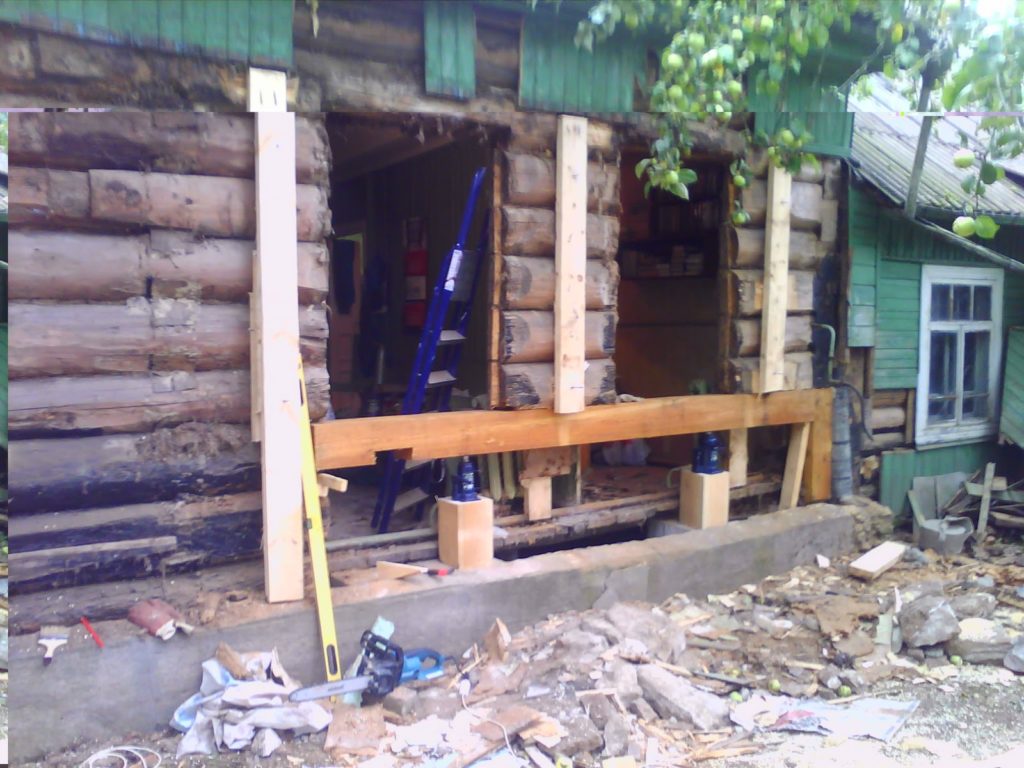
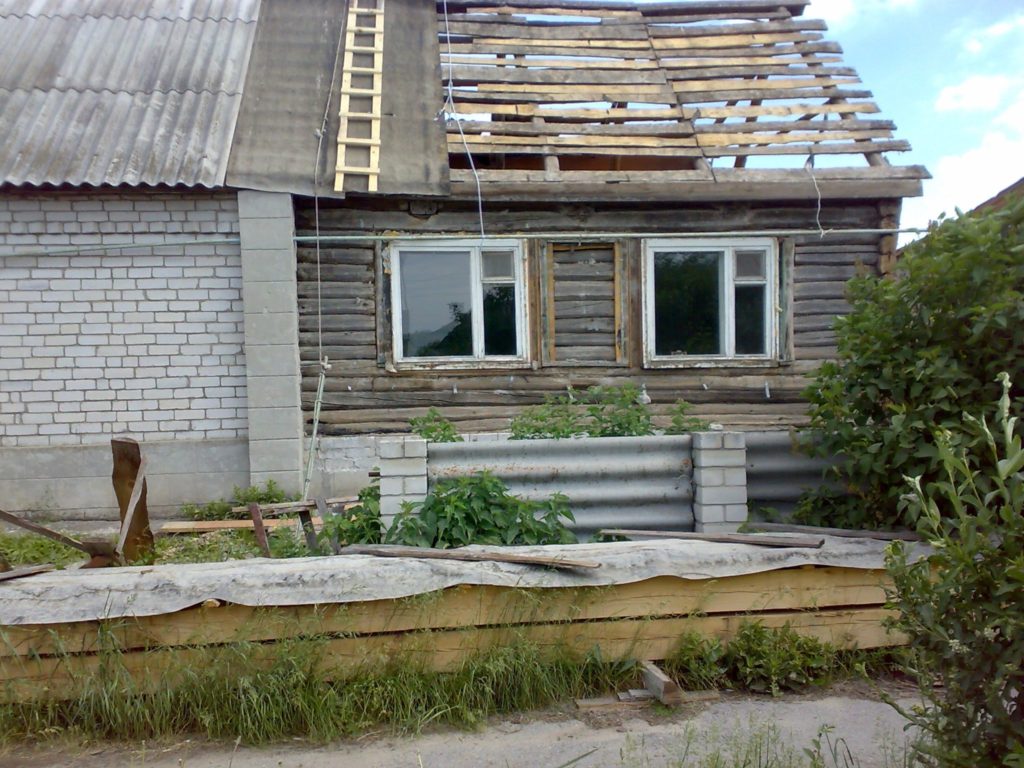
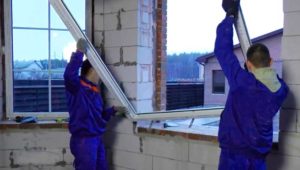
The next stage of work refers to the windows. They are replaced if necessary.
If they completely satisfy the homeowner, then he simply checks the sealing of the cracks, the presence and condition of thermal insulation and window slopes.It is also checked whether the doors close and open well, if there are distortions and other defects. After plastering and painting, it will be much more difficult to put them in order.
It is advisable to protect the inner window sills with a film from splashes of finishing compounds. This type of work is allowed to be carried out when installing doors, but the proposed option is more practical.
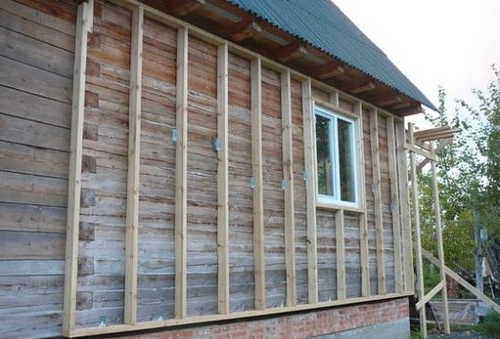
If the walls in the house need alignment and other necessary procedures, then the amount of compounds and mixtures required for this must be calculated in advance.
Materials tend to end unexpectedly at the wrong time - it is advisable to protect yourself from this.
The owners are constantly faced with various fundamental questions.
There can be no two answers to this question: before moving on to finishing the walls, you need to complete the preparatory work with the floor.
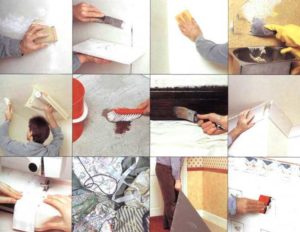
After cleaning, it must be prepared for the final, decorative coating.
The coating itself, regardless of its type and type, is done last.... This applies to self-leveling floors, parquet, laminate, linoleum and other types.
And at this stage, the prepared base is protected with foil, cardboard or several layers of newspapers. This will greatly facilitate subsequent cleaning and cleaning.
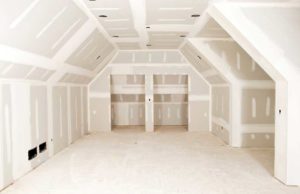
Even before moving on to plastering work, you should complete all the proposed activities with drywall. Niches, additional partitions, functional and decorative details are finished completely before moving on to the next stage of finishing work - Wet... It is advisable to perform all work of this kind within one working cycle, so as not to return to them again later.
Then you can prevent errors during installation, as well as get a minimum gap between the floor plane or threshold and door leaves.
Door installation is a high-tech process that does not use adhesives and compounds that can contaminate or damage the new floor. The tools used, provided that they are handled skillfully and carefully, are also not capable of damaging it.
This applies specifically to the door.
However, it is quite possible to mount the door frame a little earlier, even before the walls are aligned.... In this case, flaws, defects and cracks near the opening will be reliably masked.
If the existing walls do not need improvement, being already flat and smooth, the installation of the box can be carried out later. If the box is pre-installed, be sure to consider the thickness of the potential floor covering.
The same applies to painting the walls. Although the opinions of experts sometimes differ. Adherents of a different method are sure that wallpaper should be dealt with after completing work on the floor and fixing the ceiling plinth. They believe that wall decoration can be easily replaced at any time without touching the baseboards above and below.
In their opinion, it is enough to evenly cut the edges of the wallpaper along the skirting boards on both sides.
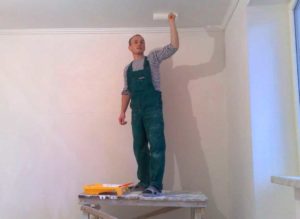
They switch to painting the ceiling after the end of fixing the ceiling plinth. With this order of work, it is quite convenient to correct all the irregularities and defects of their connections, and only after that paint the ceiling and baseboard in one go. The simultaneous dyeing allows them to look solid and elegant.
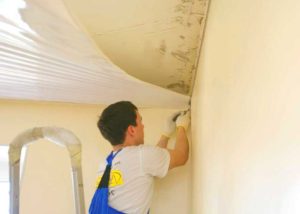
If speak about old house renovation sequences, it is worth dwelling on the installation of a stretch ceiling.
This habitual element is enjoying steady popularity. The specificity of the device of such ceilings allows their installation at the final stage of all events, after wallpapering or painting wall surfaces. Ceiling installation can be considered a clean-up operation that does not pose a threat of damage to the floor or walls.
The principle of “top-down” priority does not apply to this case. It applies mainly to the usual repair work. The emergence of new technologies brought some changes to their course.Even the teams involved in the installation of stretch ceilings suggest inviting them to actually complete the repair.
Let's try to compile a short list of the order of work in any given room of the house. So:
Electricity of the net;
Air conditioning and heating systems;
Arrangement of the sub-floor;
Installation (if necessary, with preliminary dismantling) of windows;
Working with walls - preparation for painting or pasting;
All works with the ceiling;
Finishing of walls - pasting or painting;
Final floor covering;
Door installation;
Arrangement of floor skirting boards and thresholds;
Stretch ceiling installation.
Of course, this order cannot be considered an axiom. Various reasons, including the original technology or the characteristics of the materials used, may violate it more or less.
All specialists choose their own algorithm of actions, which is convenient for them in each specific case, but the approximate sequence of events may be just that.

 Are there any plans for renovation in your house? Where to start, how to finish, how to carry out the work so that one does not interfere with the other and does not spoil it? First of all, it is necessary to draw up at least an approximate plan of all work, to derive an estimate of costs. It should cover all planned activities, including dismantling of old elements - batteries, lamps, window sills, switches.
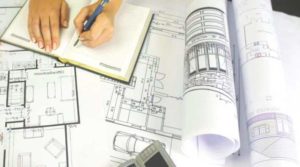
 Need to pay attention on the number and location of windows, the level of natural illumination, because the need for artificial lighting in the room depends on this. Why is it important? The fact is that any repair most often begins replacement or re-equipment of power gridsincluding future locations for lighting fixtures, outlets and switches. This also applies to old, already inhabited houses, and those built not so long ago.
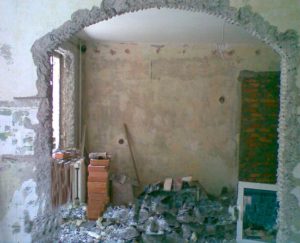


 Electricity of the net;