In detail: button on the jacket DIY repair from a real master for the site my.housecope.com.
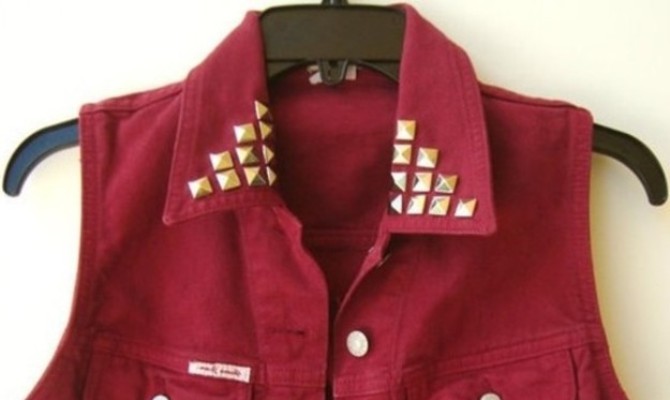
Rivets for clothes are an invisible, but irreplaceable element of every thing, from sheepskin coats, fur coats and jackets to underwear. Even expensive branded clothes are often equipped with low-quality fittings: clips, hooks, zippers. Very often decorative rivets come off, and an expensive item becomes unusable. In order not to seek help from a clothing repair shop, you need to learn how to work with a variety of sewing accessories on your own.
There are two types of rivets: utilitarian (those that are used for clamps, fastening and fastening) and decorative. Sometimes sewing accessories in a product combine both roles. It is important that it contributes to the comfortable wearing of things. Sticky zippers, detachable hooks and slippery buttons force you to throw expensive items into the farthest corners of your wardrobe. The first step that needs to be taken towards the correct selection of fittings is to learn to distinguish one type of it from another.
loops;
hooks;
buttons;
textile Velcro fasteners;
blocks;
lightning;
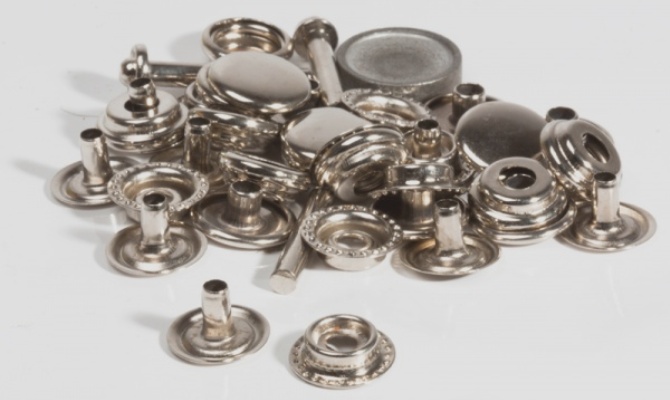
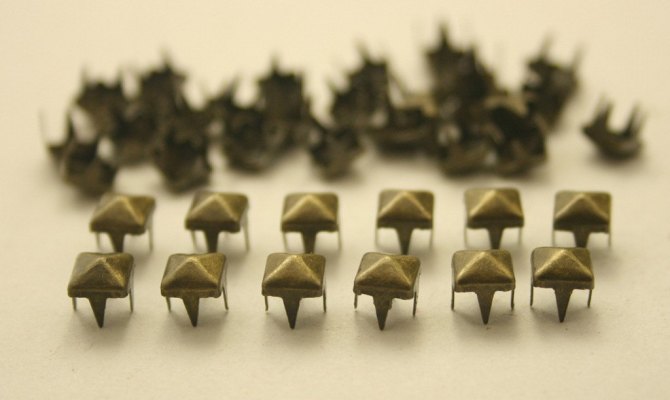
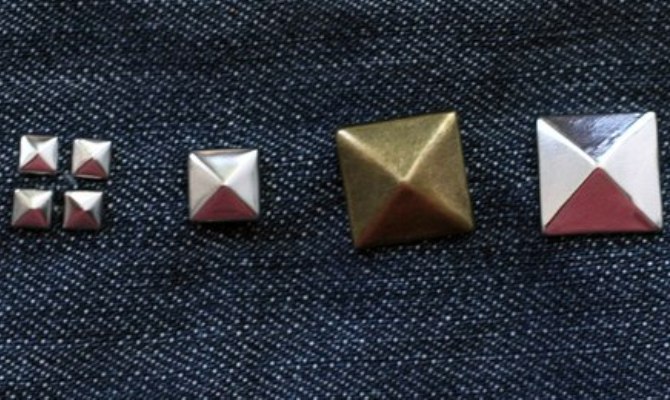
holniten (metal rivets, which are most often used in denim clothing to secure the stitching);
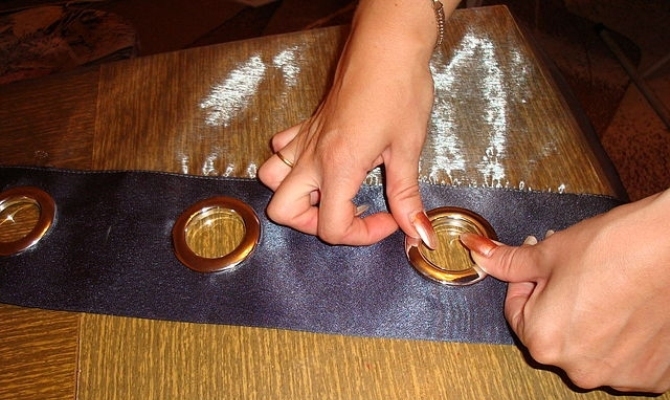
eyelets (durable metal or plastic fasteners, which are most often used in leather goods);
buckles.
The materials from which the indicated types of fittings are made are very diverse. Their quality determines how comfortable and comfortable the wear of the thing will be. In addition, the accessories are designed not to disfigure, but to decorate the thing, even if we are talking about such an ordinary detail as rivets on clothes.
Video (click to play).
The most popular materials for making buttons, fasteners, fasteners are metal, ceramics and plastic. Most often, sewing accessories are made from a combination of materials in order to combine both practical and decorative characteristics in a single piece. If the part is incorrectly selected, the features of the fabric and leather are not taken into account, the fastening is incorrectly carried out, then the accessories simply will not cope with the functions assigned to it. After all, it is necessary not only to fasten the edges of the clothes with high quality, but also to decorate the thing harmoniously.
A lot of what is called a rivet tool can be found in the house. But there are some devices that may not be in the house, so you will have to purchase them or use a tool designed for other work. It is not recommended to start the practice of attaching rivets with your own hands on an expensive new thing, you should first practice on something cheaper.
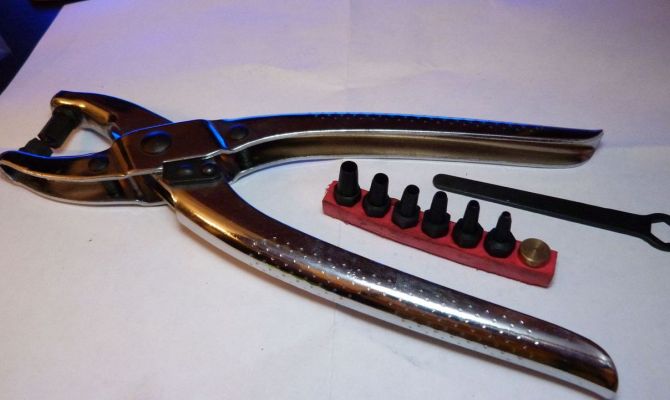
The tailoring and repair shop uses a press, different attachments for different fabrics and rivets, a punch, and tongs to install sewing accessories. A home installation will require at least a punch, awl, hammer, tongs, and an anvil, which can be used as another hammer.
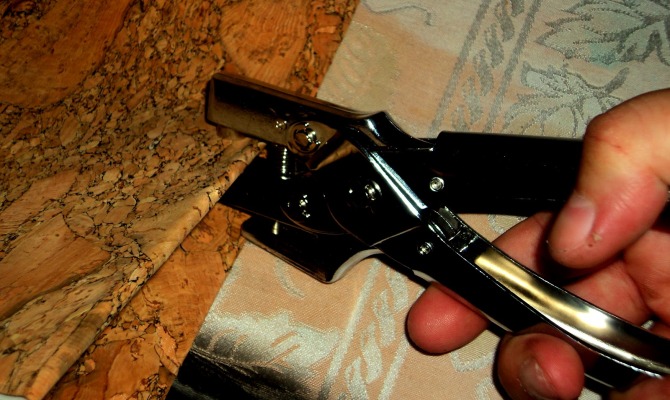
A punch is a tool that allows you to make a perfect hole in a fabric material. When using it, the edges of the fabric do not deform, do not crumble.
The variety of attachments that the design of the punch assumes allows you to make holes of different diameters.
If you plan to purchase one punch without attachments, then you should take the thinnest and smallest one. Using scissors to punch a hole in the fabric is undesirable, as the sewing accessories installed are likely to fall out of such a hole.
The hole made by the punch should be small, smaller than a block or any other rivet on the clothing.To prevent the fabric from crumbling along the edges of the hole, you need to process the edges of the hole with glue (you can use silicone).