In detail: do-it-yourself American repair from a real master for the site my.housecope.com.
Imagine the situation when you come home from work, hungry and tired, and find a large puddle of water in the room, flowing from the battery. What are your actions? Instead of doing your personal business, you have to throw everything and crawl on the floor with a rag in your hands collecting water? Call plumbers, wait for their visit and part with a certain amount of money? And all because of what? Due to a leaking nut at the connection between the tap and the radiator. But this could have been avoided if you knew how you can tighten all the necessary connections with your own hands using a tool. In this article, I want to share some simple skills, so to speak, of preventive maintenance of your radiators.
After all, every year, mainly in the spring, I receive a large number of orders with such problems. At a time when winter ends and heating season closes, I hear more and more about leaks. This happens because the pipes are not drained for the summer. Many people reading now will be very surprised by this. Yes, the water remains in the pipes under pressure until the next heating season! This is done so that air does not enter the pipes, due to which the corrosion of steel pipes passes much faster.
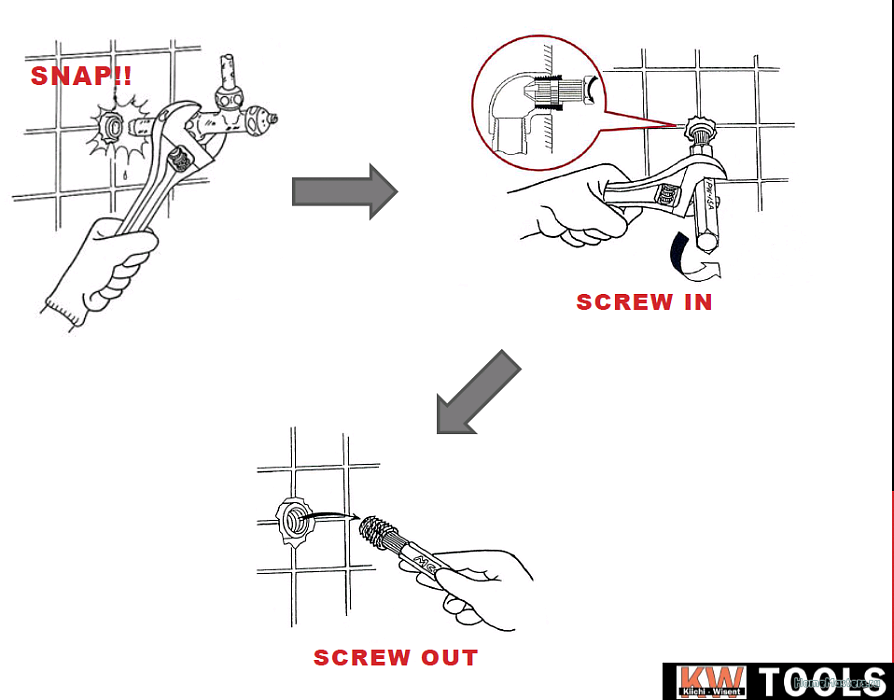
But now the time has come for the end of the heating season. The heating system cools down completely, and then they appear - small leaks. The metal narrows, micro-gaps are formed between the sealing materials, through which cold water flows. Therefore, all manufacturers of collapsible connections of the "American" type advise to tighten them every year, and not to substitute various containers for collecting water
| Video (click to play). |
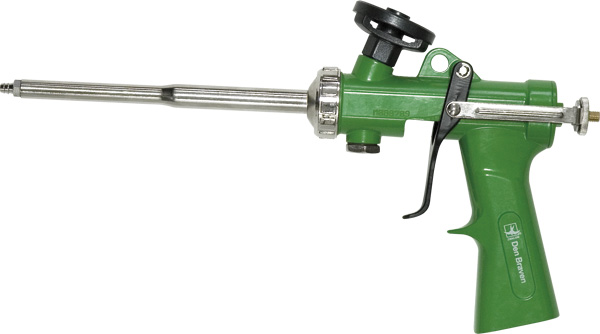
To stretch such a connection, you can take two adjustable wrenches of a suitable diameter and tighten the nuts. With one wrench it is necessary to hold the base of the connection so as not to twist it and not damage the joint with the pipe, and with the other wrench tighten the union nut. In this case, shutdown and drainage of water from the risers is not required. However, such work must be carried out very carefully, without fanaticism and great effort. If you are pulling the connection on the tap, then the tap must first be closed.
Wed 15 Jan 2014 
 Category: Do it yourself
Kind time of the day, dear readers, the other day I was on fire to make my car a little American, and decided to make the dimensions in the turn signals, there are not many options for such an operation, for example: 1) Embed the second base and power it from the factory dimensions, but such a manual is not for me suited, tk. when the turn signal is turned on, it burns brighter and dimmer.
2)— Put a two filament light bulb (it is difficult that two filament light bulbs of yellow color are hard to find, and besides, the result is the same as in the first version.
3)— the option that I chose, and the most difficult (creating two modes of rotary lamps using a 5-pin relay, a diode and a capacitor). I will try to tell you about all my actions.
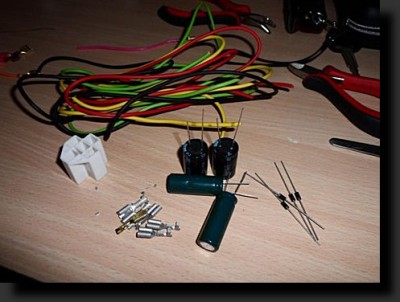
First of all, we go to the electrical parts store and buy there:
1. A capacitor for 4700 uF * 25v or 3000 uF * 25V or 3300 uF * 25V I don’t know what the difference is, it seems like in capacity, I used 4700 uF * 25v in total - 2pcs.
2. Diode 5817 or 5819, I also don’t know what is the difference, I took 5817
3. Relay 5-pin conventional automobile - 2 pcs.
3. Terminals for relays - 2 pcs.
4. Round terminals - 2 pcs.
5. Wire - 4m. (colored) I took by colors as in the diagram
6. Electrical tape or heat shrink
7. Terminals mum
Then we take the scheme and begin to collect everything exactly according to the scheme

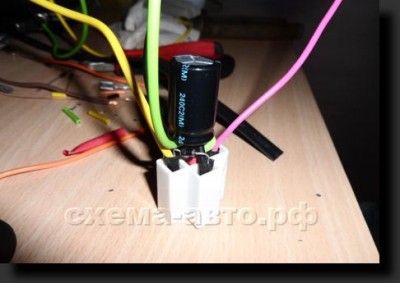
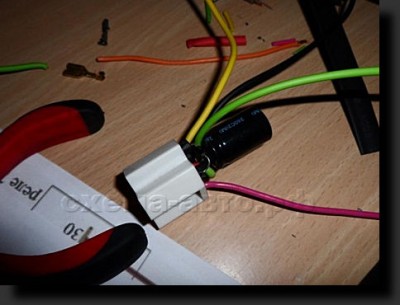
After you have done your homework) we go to the car, remove both headlights and look for "+" from the dimensions and "+" from the turn signals. The turn signal has only 2 wires, the color will be a plus, and the plus from the size will be in the upper right corner of the chip. And again, guided by the scheme, we begin to twist the wires.
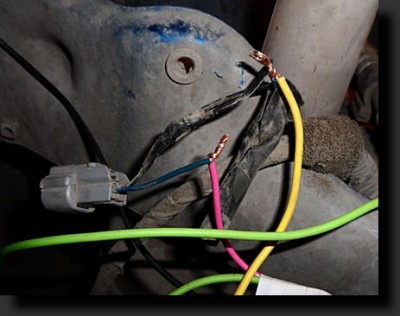
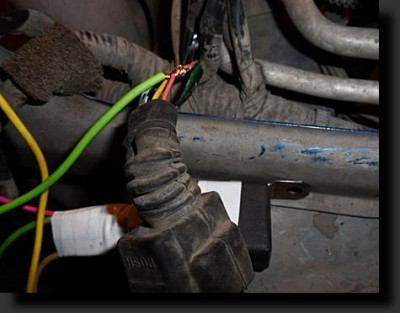
Then we connect "-" in any convenient place. Well, that seems to be all.


After assembly, enjoy the work done)))
shitty option. 20W lamp on turn signals, and 5W on dimensions. Will melt the plafond!
For your information, there are 21 Watt bulbs in the turn signals in all cars and I have never seen a molten turn signal ...
may not float. but in the turn signals, they burn periodically and not so long.
Why do they take turns working with the rear ones?
I did everything according to the scheme, but the dimensions are on all the rules, together with the turn signal, and you turn on the turn signal - it blinks quickly, as if somewhere a light bulb burned out
An American plumber is not an American citizen. American, this is a detachable threaded connection.
Before the appearance of this compound, for a long time they used squeezes. Yes, in attics and basements to this day, it is the squeegees that reign, because they are much cheaper than detachable connections of the American type.
What drives that American, are used in cases when it is necessary to connect two sections of threads without rotating them. For example, when it is necessary to connect the soldered wiring with a shut-off valve. Not a tap, not pipes, it is no longer possible to twist or when a filter or an angle is not screwed onto the thread, because the thread is located too close to the wall. It is in such a situation that this invention comes to our aid.
Only here the American is more compact than the squeegee, looks more aesthetically pleasing, but more expensive.
As the name suggests, this quick disconnect comes from the most democratic country in the world.
What individual American women look like:
Or American women with shut-off valves: 
American women come with and without gaskets. No gaskets - cone type, and I recommend installing them, despite the fact that they are much more expensive than their counterparts with a rubber or flat gasket.
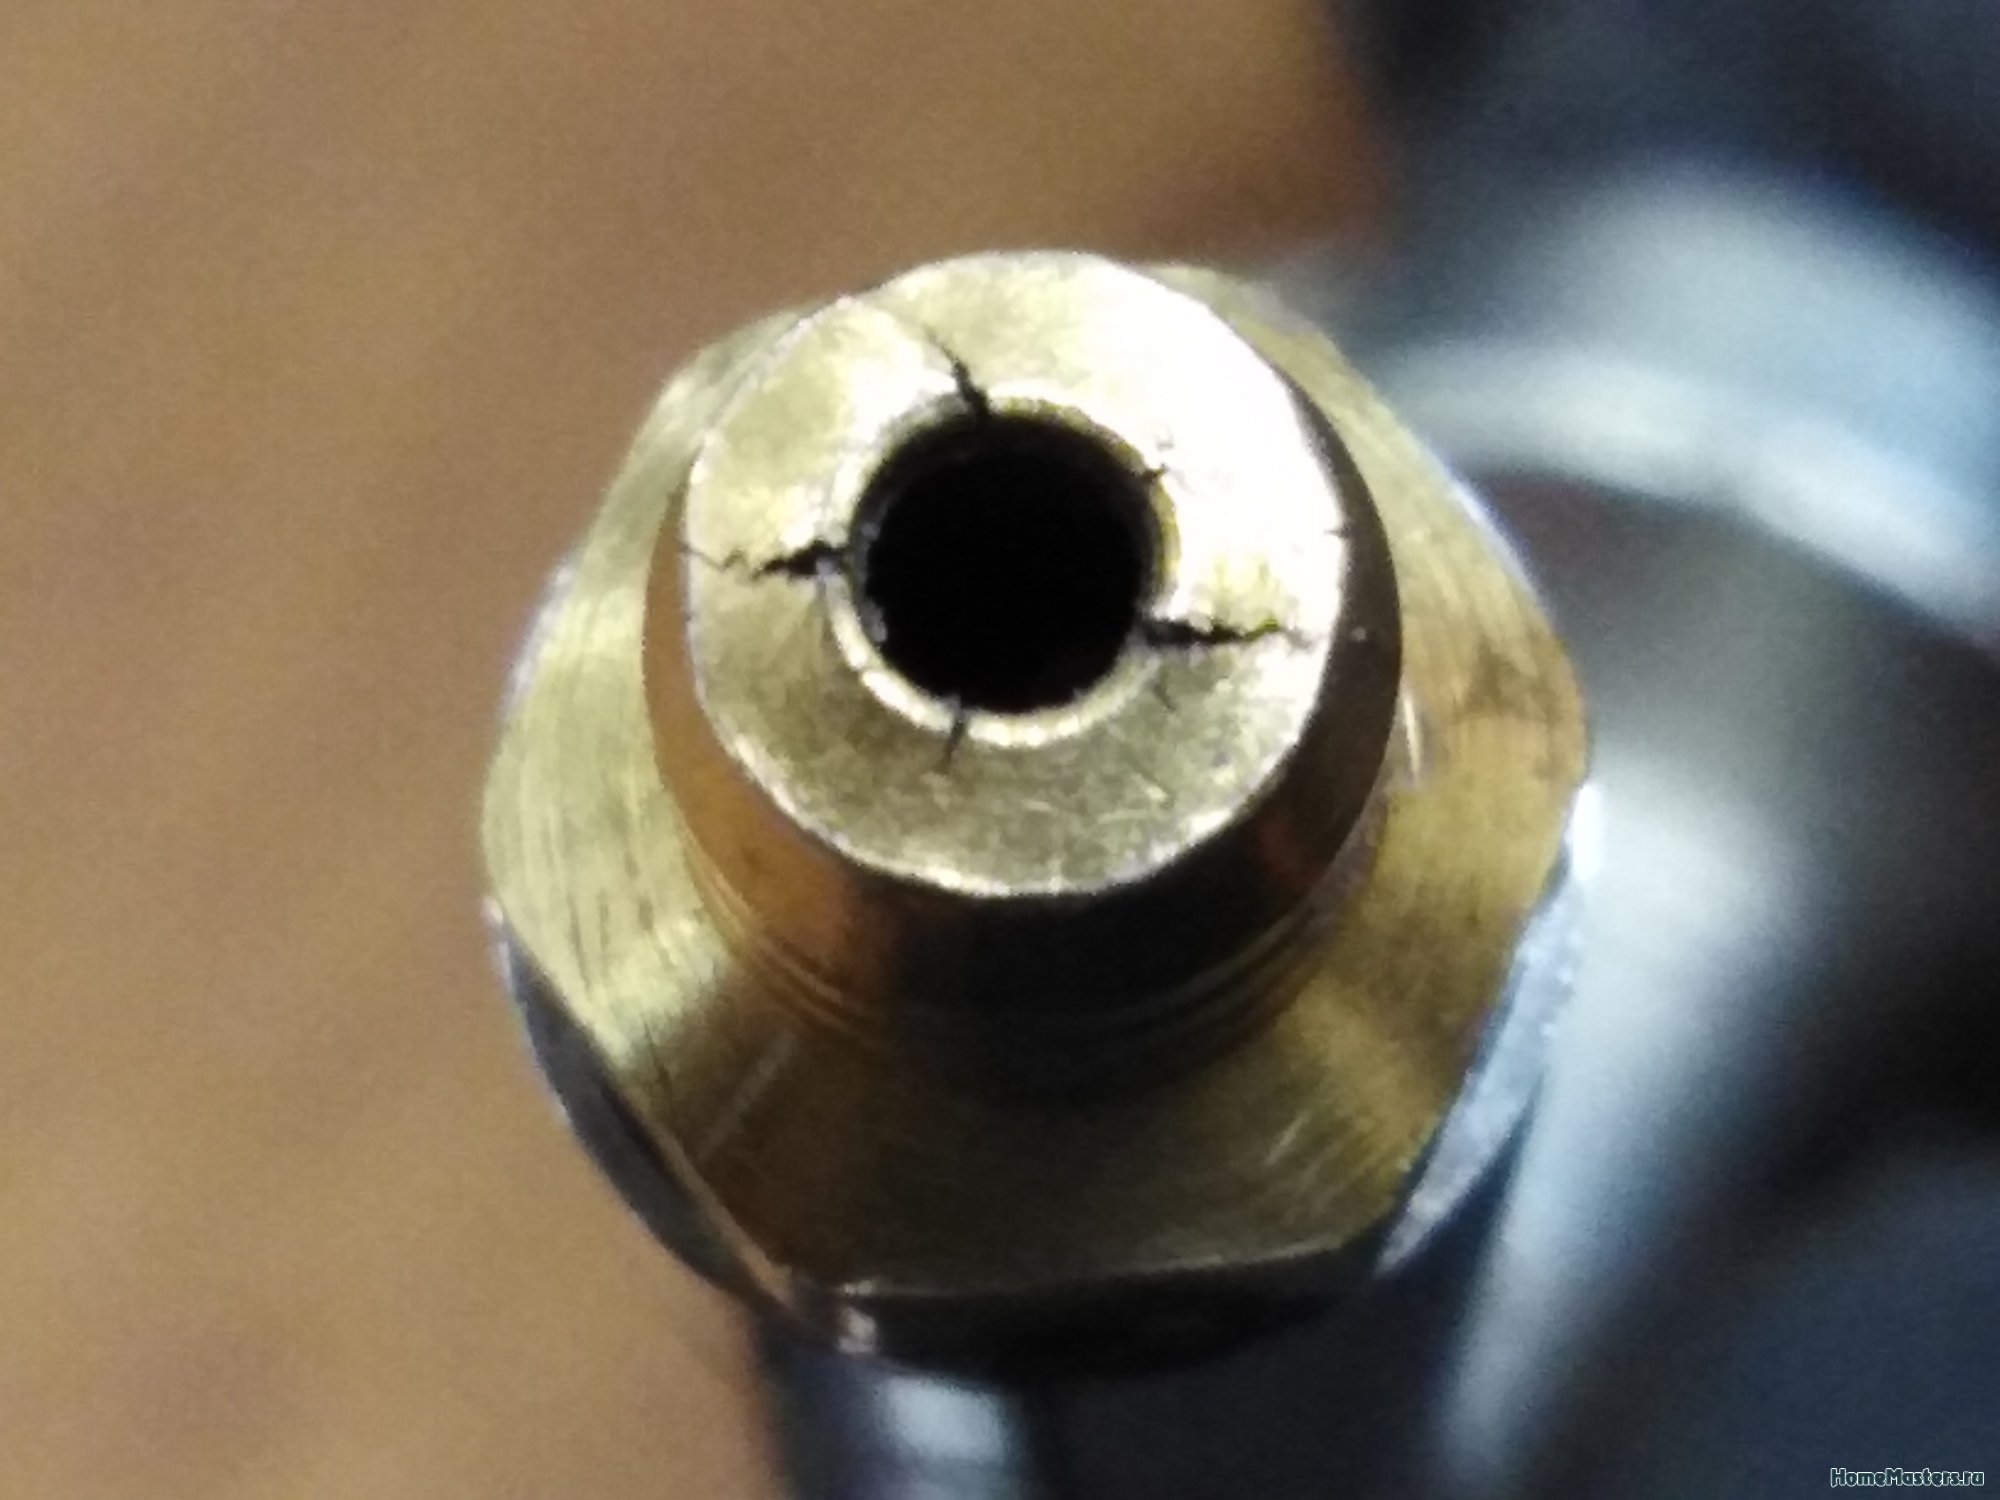
Here is an example of a tapered America where there are no seals:
Installing such an American woman on a heated towel rail:


Cone American women are put on good thermostats instead of American women with a rubber seal. 

Now let's take a look at the American woman with a rubber seal: 


The combinations of threads can be absolutely any now we are talking only about the type of connection: 
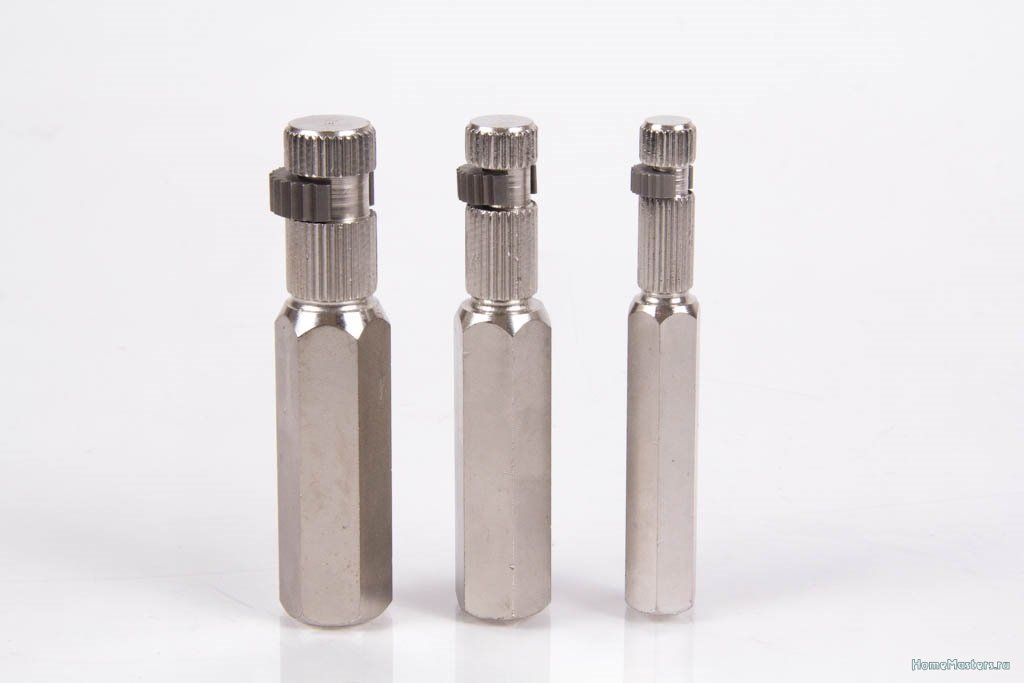
To tighten the American women, you need special keys or a hexagon:


There are American women with flat gaskets, more often they are used with polypropylene pipes.
It may turn out that on heating or hot water with pipe diameters of more than 3/4 inch - the nuts of such American women will have to be tightened periodically. Don't hide them in walls.
And here is the same flat gasket, which sometimes has the property of allowing water to pass through.
Many do not know, and some do not even want to know that this gasket is not the same on both sides.
Outwardly, it certainly looks the same, except that one of the sides is slightly darker and more contrasting.
The more contrasting side is smeared with some kind of grease. And if you put the greased side to the polypropylene, then when you tighten the nut, the polyk will not scroll along with the nut. 
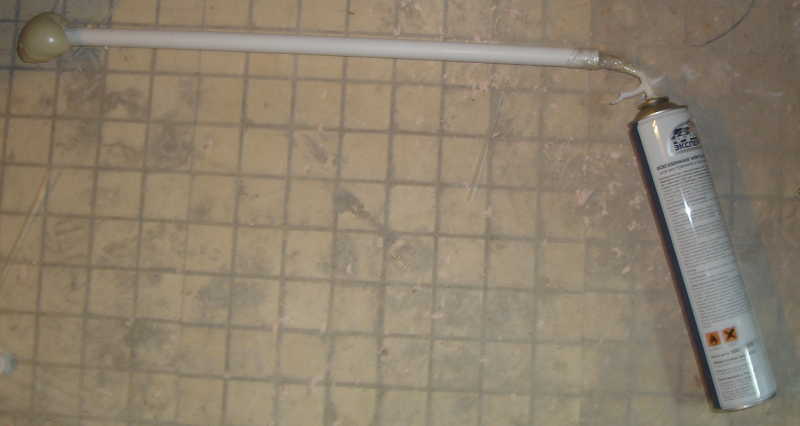
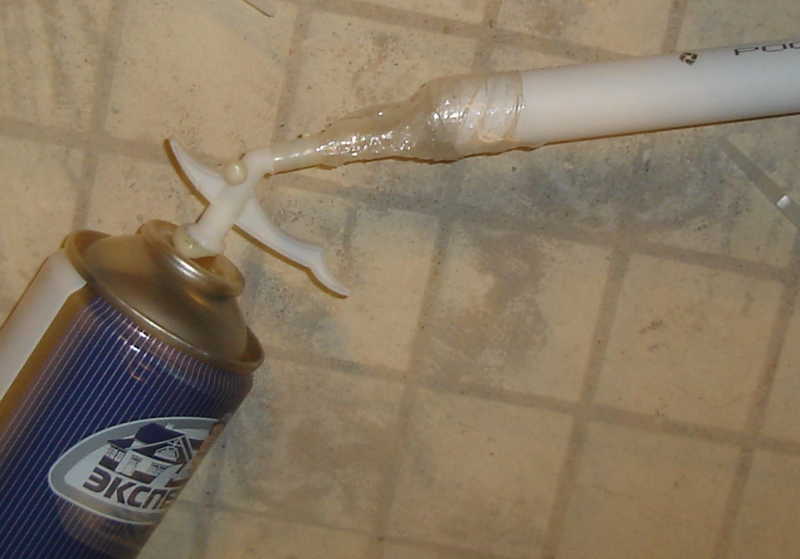
If there is no special key for twisting American women, then you can use the tool at hand: 
 But this method is only suitable as a last resort. Because it’s very easy to hurt an American woman. You deform it and it will become unusable.
 There must be a special round key.
1. American cone without gasket - more reliable. The main thing is to take quality.
2.American flat-padded shoes, may require braces
3.American women with a rubber gasket, require replacement of the gasket during disassembly and reassembly.
4. You will definitely need a special key for such connections.
To facilitate the repair of some components in the systems, separate them with American women.
For example, meters, boilers, circulation pumps, gas water heaters….
Why do clients choose us?
We have the best prices!
How to understand what kind of heating is needed in our house? Heating is firmly embedded in fellow citizens as a unique cause of warmth in winter. It is impossible to imagine a possible residence in a mansion without a heating system. Warmth carries a variety of criteria. There are many qualities that can be described. Briefly: autonomous, gas, infrared, on solid briquettes, geothermal, alternative, economical and wasteful, water, electric. 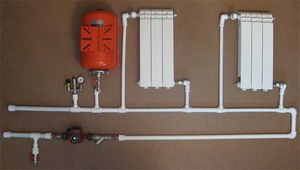
All people prefer to live in a comfortable environment with all the amenities. Everyone wants their home to be cozy and warm. It is easier for residents of city apartments in this respect. But the owners of private housing construction have to take care of themselves. In order for the premises to have a comfortable temperature even in cold weather, it is necessary to heat the premises.
There are several options for this, depending on the heat source and the installation method. Among the owners of country houses, the most popular is a one-pipe heating system, the installation of which is cheaper than a two-pipe one. However, in order to obtain maximum heat transfer at minimum energy costs, everything must be correctly calculated.
In a one-pipe heating system, there is no distribution to the supply and return pipes. Therefore, the entire line is conventionally divided in half and the pipe extending from the boiler is called the supply, and the other half is called the return.
What is a one-pipe heating system or, more simply, "Leningrad"? To answer this question, you need to know what it consists of.
The coolant, getting into the radiators, gives off heat to the room, while cooling down
The main elements of such a system:
- The boiler in which the heating medium is heated. It can run on solid fuel, electricity or gas.
- Heating elements - radiators. The heated coolant, entering them, gives off heat to the premises.
- Expansion tank to compensate for the expansion of the coolant.
- Elements of piping: pipes, valves and valves.
The principle of operation of a one-pipe heating system does not depend on the type of heating device and the fuel used
How does a one-pipe heating system in a private house work? The heat carrier (most often water) heats up in the boiler and rises upward, displaced by cold water. Then it enters the first heating element, after which it enters each next one and returns to the boiler for subsequent heating. This creates the movement of the coolant through the system. At the same time, there is a loss of heat in each radiator and the last one in the chain will be the coldest. This feature is perhaps the only drawback of the system.
How do you get out of this situation? The first way is to increase the size of each subsequent radiator or their number in the room. The second is by installing control valves. The third is the use of a circulation pump. For more efficient operation of the system, pipes are laid so that radiators located in rooms with the greatest heat loss go first. These can be rooms with windows facing north or corner rooms.
Using a valve, you can regulate the amount of heat entering the radiator
The circulation pump is connected where the coolant has the lowest temperature. That is, at the end of the return line.
And here are the advantages of a one-pipe heating system:
- lower material costs in comparison with 2-pipe;
- more aesthetic appearance, the pipe runs above or below the floor and is easier to hide;
- selection of the direction of flow of the coolant;
- the ability to lay pipes under doorways;
It is not advisable to use vertical wiring of one-pipe systems if more than 10 radiators are connected to the riser.
After installing the pipes in the wall, they can be successfully hidden. This will give the room a more aesthetic appearance.
To know the required amount of heat to ensure comfortable conditions in the premises, you need to make a heat engineering calculation. There are special programs for this. Having made the correct calculation of a one-pipe heating system, you will know which radiators to choose and how much, the required power of the heating boiler.
The correct calculation will allow you to choose the amount of equipment you need. And you do not have to overpay by taking the goods in reserve. In addition to the calculation, it is necessary to make a wiring diagram for the heating system. This will help a lot during installation. It is most correct when a one-pipe heating scheme for a private house is drawn on a building plan made on a convenient scale. This will help you calculate the required piping length.
It is not cost-effective to install natural circulation systems in buildings over 30 meters high.
With vertical wiring, the water, warming up, rises along the riser, from where it passes through the distribution pipes to the radiators.
The movement of the coolant occurs in a natural way. The efficiency of the system is achieved by the use of large diameter pipes and the location of the line at a slope. These pipes are more difficult to hide. However, this disadvantage is covered by the independence from the power supply.
Examples of vertical single-pipe system with top routing
Unlike a vertical one-pipe horizontal heating system, it does not have a supply riser. The line can be built into the floor structure itself or run over it. In the first option, in order to avoid heat loss, it is necessary to insulate the pipes. The supply line also runs at a slope.
What is an American woman? Let's figure it out. American is a relatively new type of connection for us. Designed and first released in the USA. Hence the name. Modern fittings (angle, tee, coupling) are quite diverse. But nevertheless, any professional will appreciate the quick and easy installation of pipelines, and not only. Any kind of pipes can be connected using fittings. Connectors such as American women for polypropylene pipes, steel, cast iron, copper, metal-plastic and so on are an excellent solution to the problem of piping.
The American woman is preferred by most professionals as she has a number of advantages.
Any plumbing professional will explain to you what is the difference between an American faucet and a conventional one, or how such a coupling differs from an ordinary one. Here are some obvious benefits:
- It is quite easy to undo the pipeline (made of polypropylene, steel, etc. pipes) without resorting to pipe rotation.
- The connection by means of an American (coupling) is detachable, using a cap nut. This is advantageous in that when two parts (pipe and coupling) meet, it is necessary to rotate the nut. But at the same time, the parts remain stationary. The difference is fundamental.
- Of course, a squeegee can be used, but its features are the length and the use of a thread seal. Naturally, this type of connection can hardly be called detachable.
- The tightness when using the American is ensured by the use of a special gasket, which simplifies the connection process.
American - the name is conditional, and various fittings (coupling, faucet, corner), which have a union nut in their design, fall under this category.
This kind of faucet - an American - is used when installing the labor of water and gas supply.
The connection, called the American, is a threaded connection that can be disassembled, with the presence of a seal in the design in the form of a special gasket.It is possible to use the American woman more than once. The advantageous side of such a connection is considered to be a quick and low-effort installation of various parts (even large ones) in inaccessible places. Repair and preventive maintenance during operation is also easy and does not require special equipment and gasket change.
Two pipe sections are easily joined using such a connection as an American (coupling), using a union nut. As a plus of such a connection, it should be noted the possibility of repeated assembly and disassembly. Such a connecting structure is small in size. Disassembly and reassembly is quick and there is no need to rotate the pipe section. The design of such a connection is straightforward, coincides along the axes of the pipe sections and consists of fittings (2 pcs.), A gasket and a union nut (hex).
The options for connecting to a pipe using an American are very different and can be as follows:
- threaded connection;
- connection with externally applied thread;
- connection (welded) with a union nut;
- a combination of the above methods in any configuration.
The boring of the American thread, whether it is an external or internal thread, is tapered or cylindrical.
Another difference is in how the connecting surface of the nozzle is made. It can be a tapered or flat connecting surface.
Due to the simplicity of their structure, American couplings do not require special efforts during installation.
The conical seal wins and has a number of advantages:
- durability and reliability of a metal-to-metal seal without the use of additional materials as a seal;
- homogeneity of material properties - it is considered the most resistant to temperature extremes and chemical influences;
- does not lose tightness even with small deviations of the axis (no more than 5 degrees) of the pipe sections being connected.
A flat seal is not as demanding in terms of precision as a conical seal. The flat design includes a gasket in the form of a ring, most often Teflon is the material of manufacture. The American fittings themselves (couplings and others) are made of various brands of stainless steel.
The marking reflects such data as the size (indicated in inches), the grade of the steel used and the nominal pressure.
Here is a list of some of the popular types of American fittings:
- a coupling with an external thread (used in pipelines for cold and hot water supply, heating; with its help, a polypropylene pipe is connected to a steel or plumbing fixture);
- female-threaded coupling (used in pipelines for cold and hot water supply, heating; used to connect a polypropylene pipe with a steel one or with a plumbing fixture);
- pipe with external and internal threads (the object of use is cold and hot water supply pipelines, heating; with the help of such fittings, a threaded connection of polypropylene pipes with steel or with plumbing equipment is carried out).
The American angular coupling is often used in hard-to-reach pipe joints.
And now in more detail. An American coupling is used if it is necessary to connect two parts of pipes or switch to a pipe of a different diameter. It can be considered the same conventional clutch. The coupling (one part of it), when used in the connection of iron pipes, is screwed, when using iron and copper pipes, it can be welded, when used in tandem with polypropylene or copper pipes, it is soldered. The second part is an American collapsible joint.
Corner connection of the American type is very convenient for installation in inaccessible places.
Another type is the crane. Its use is less popular than the coupling, since not everyone knows the advantages of this type of ball valves.But with the help of a crane it is very easy to carry out the installation, which before its appearance was carried out using a squeegee consisting of a long thread, a special coupling, a lock nut and a thread (counter). When using a ball valve, the task is simplified several times. A few turns of the wrench will help tighten two parts (self-centering): the crane itself and the American woman. As usual, all ingenious is simple.
Heating radiators are another direction in which these products are irreplaceable. If the radiator is connected on both sides with their help, then it will be easily removed, it will be possible to adjust the water supply and heating temperature during operation.
And one more novelty of the market is an American crane (corner). The need for such a fitting is obvious. He alone is able to replace several connections, simplifying installation. Faucet handles vary in design. These can be butterfly handles or levers. Butterfly handles are suitable for small cranes because the pivoting forces are minimal. And the levers are suitable for cranes with a large cross-section to make turning easier.
To install or dismantle a pipe connection made with the help of an American, you need a special key. Most often, American women of sizes 12 and 34 are used in plumbing work, with two internal protrusions available, rarely a hexagon.
You can make such a key yourself. To do this, you need a cut of profile reinforcement. Heating and flattening to the shape of a square, it is necessary to give the future key the shape of a cone, then quench.
You must be a registered user to post a comment.
Register in our community. It's very easy!
Or sign in with one of these services
| Video (click to play). |
-
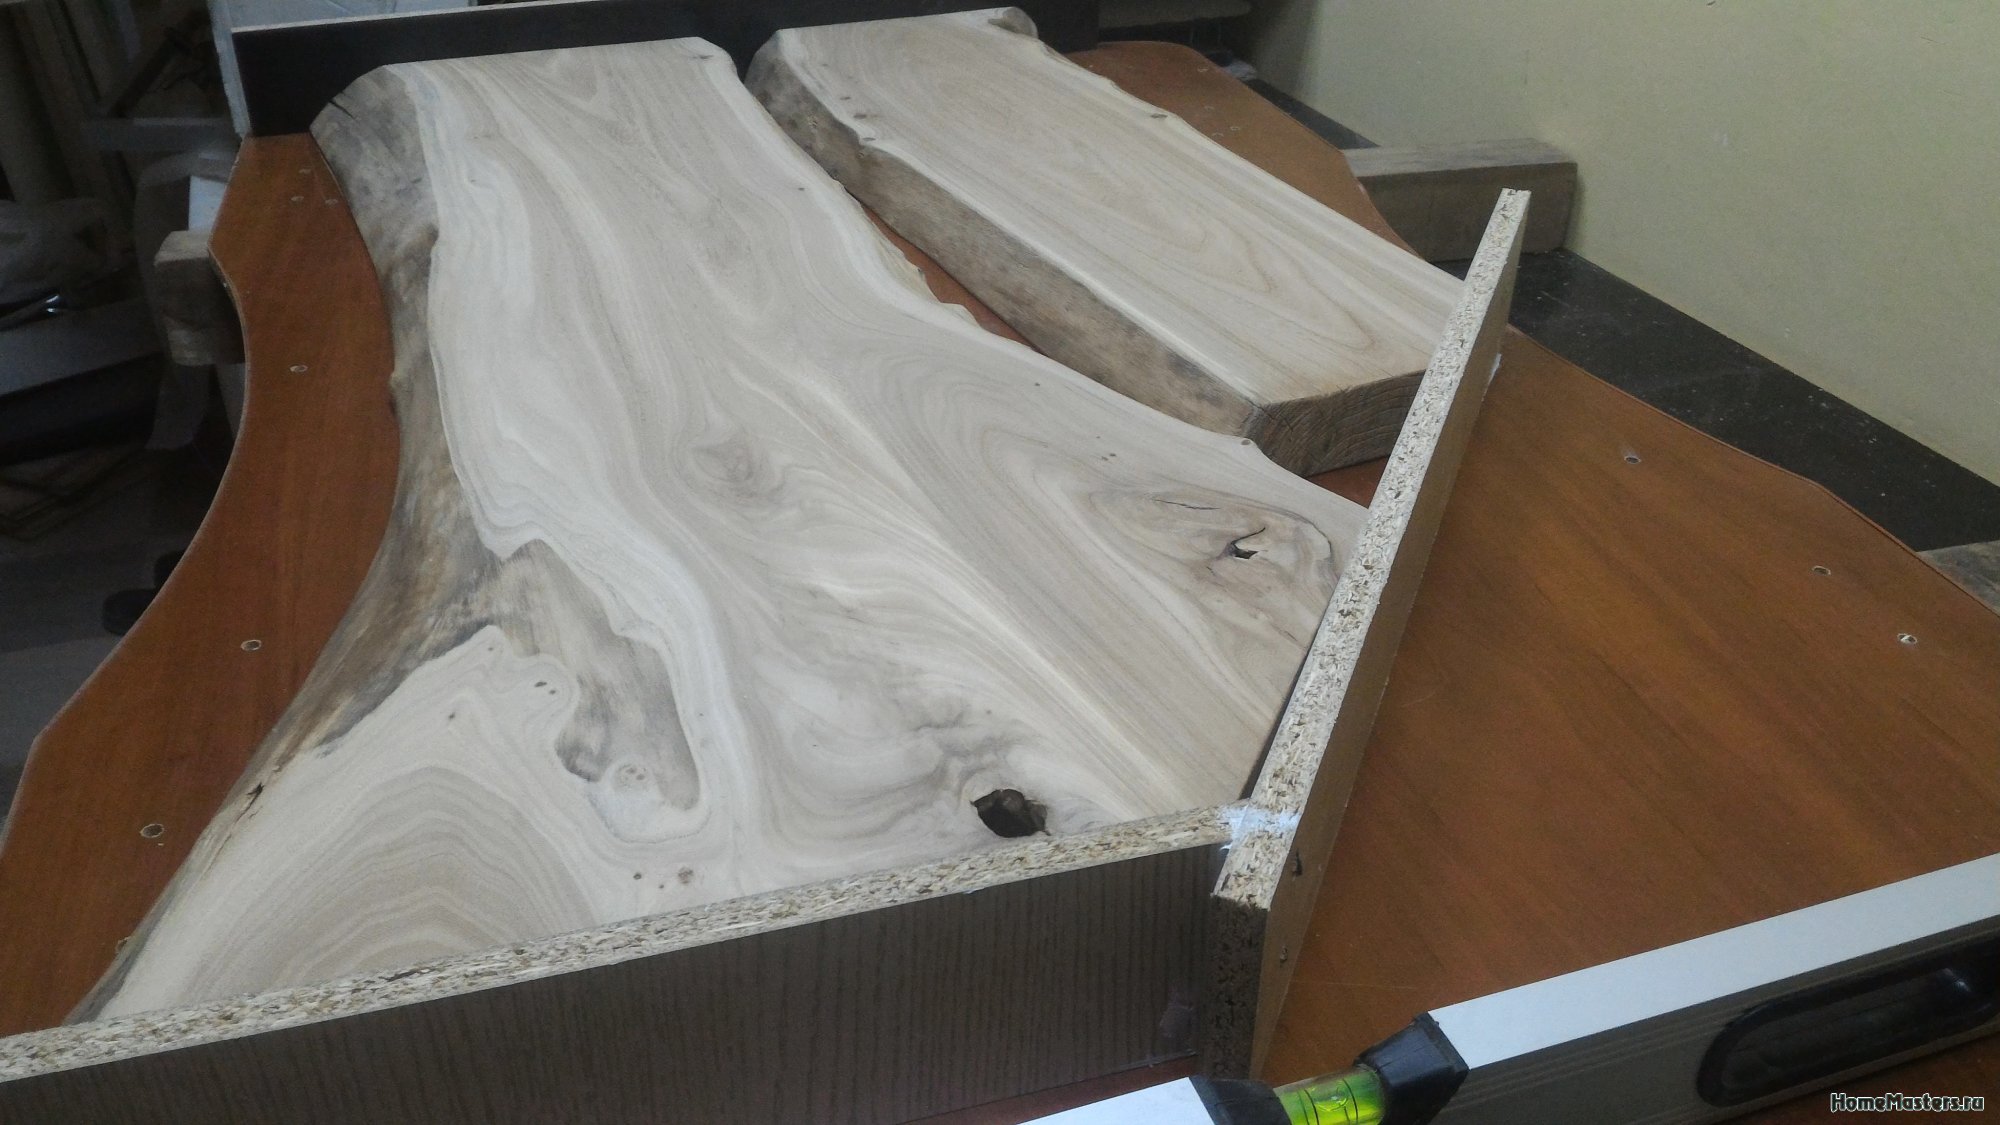
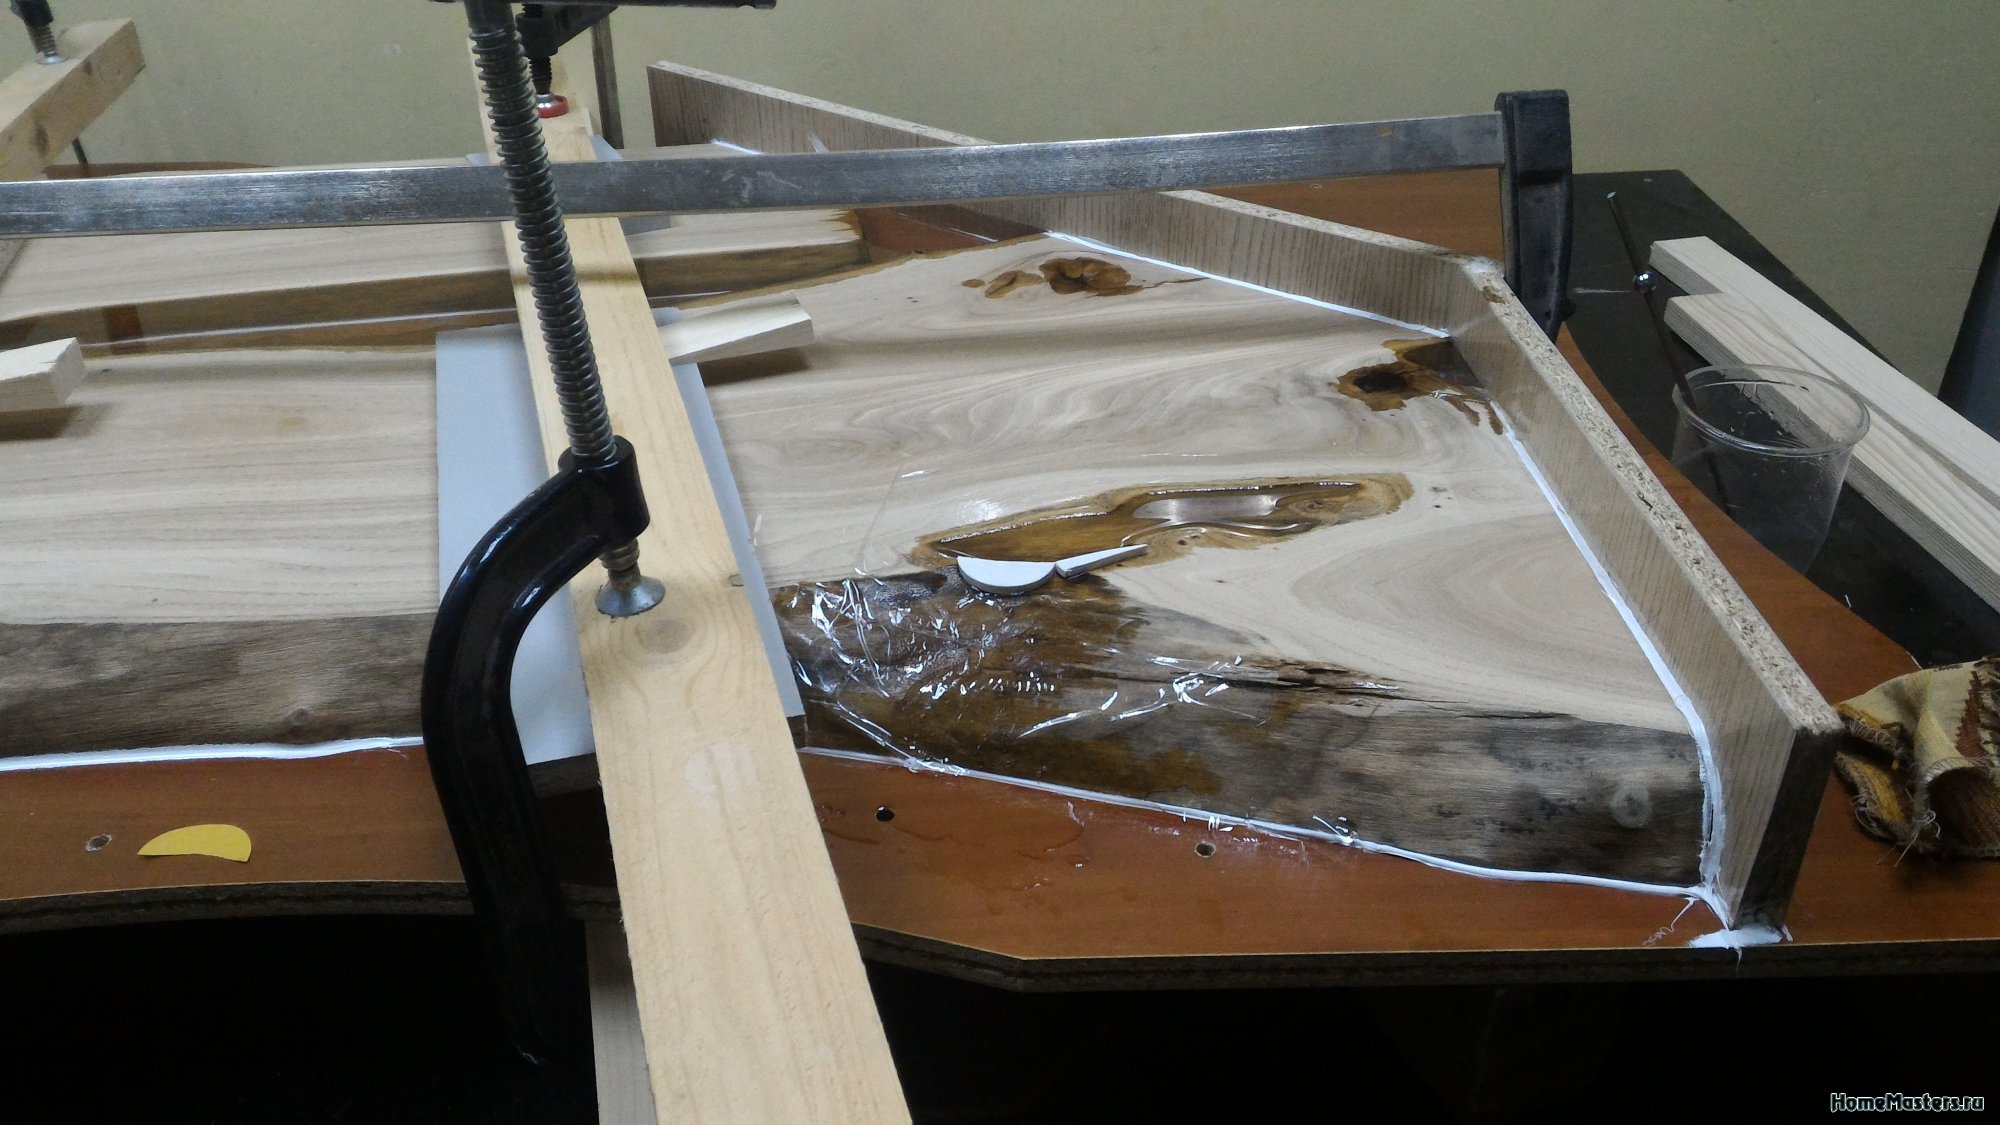
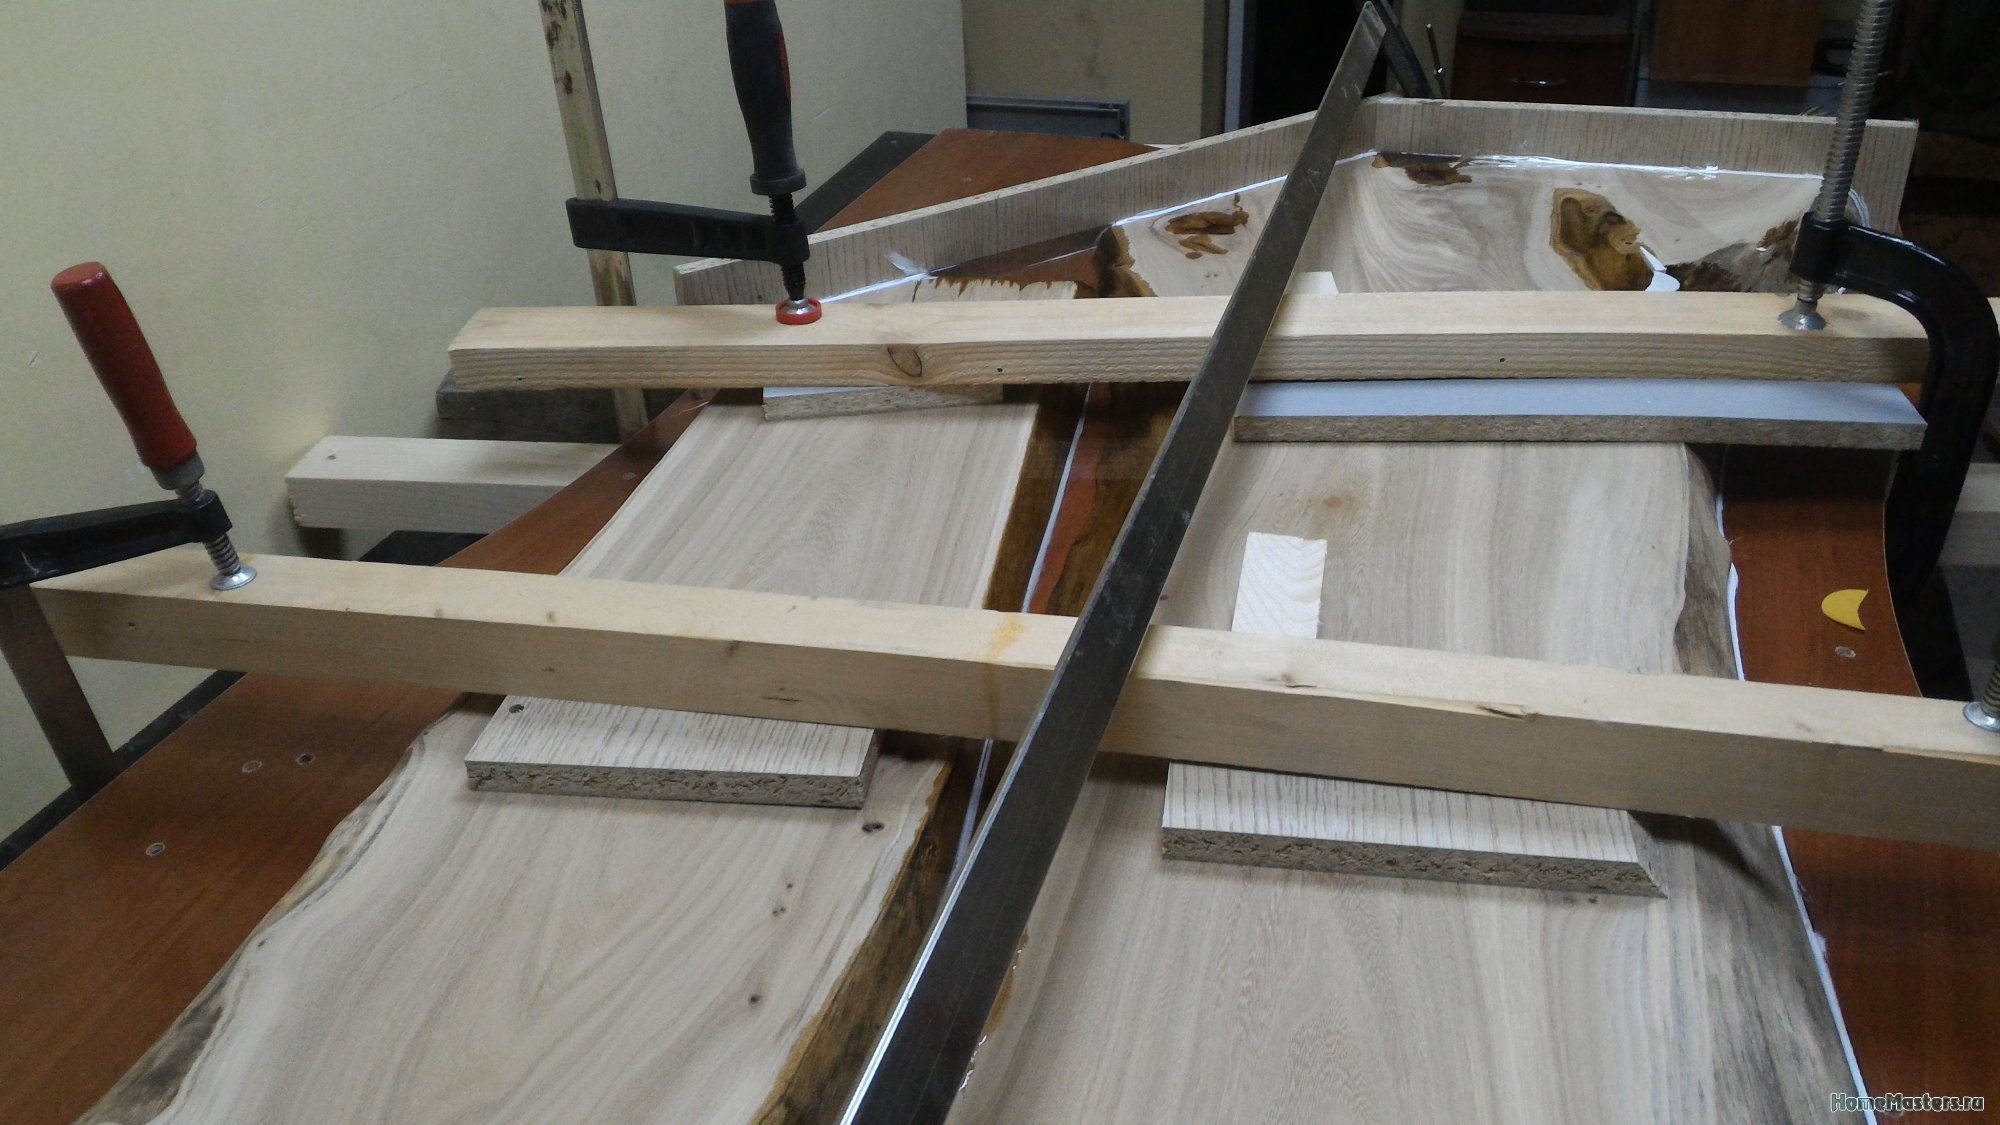
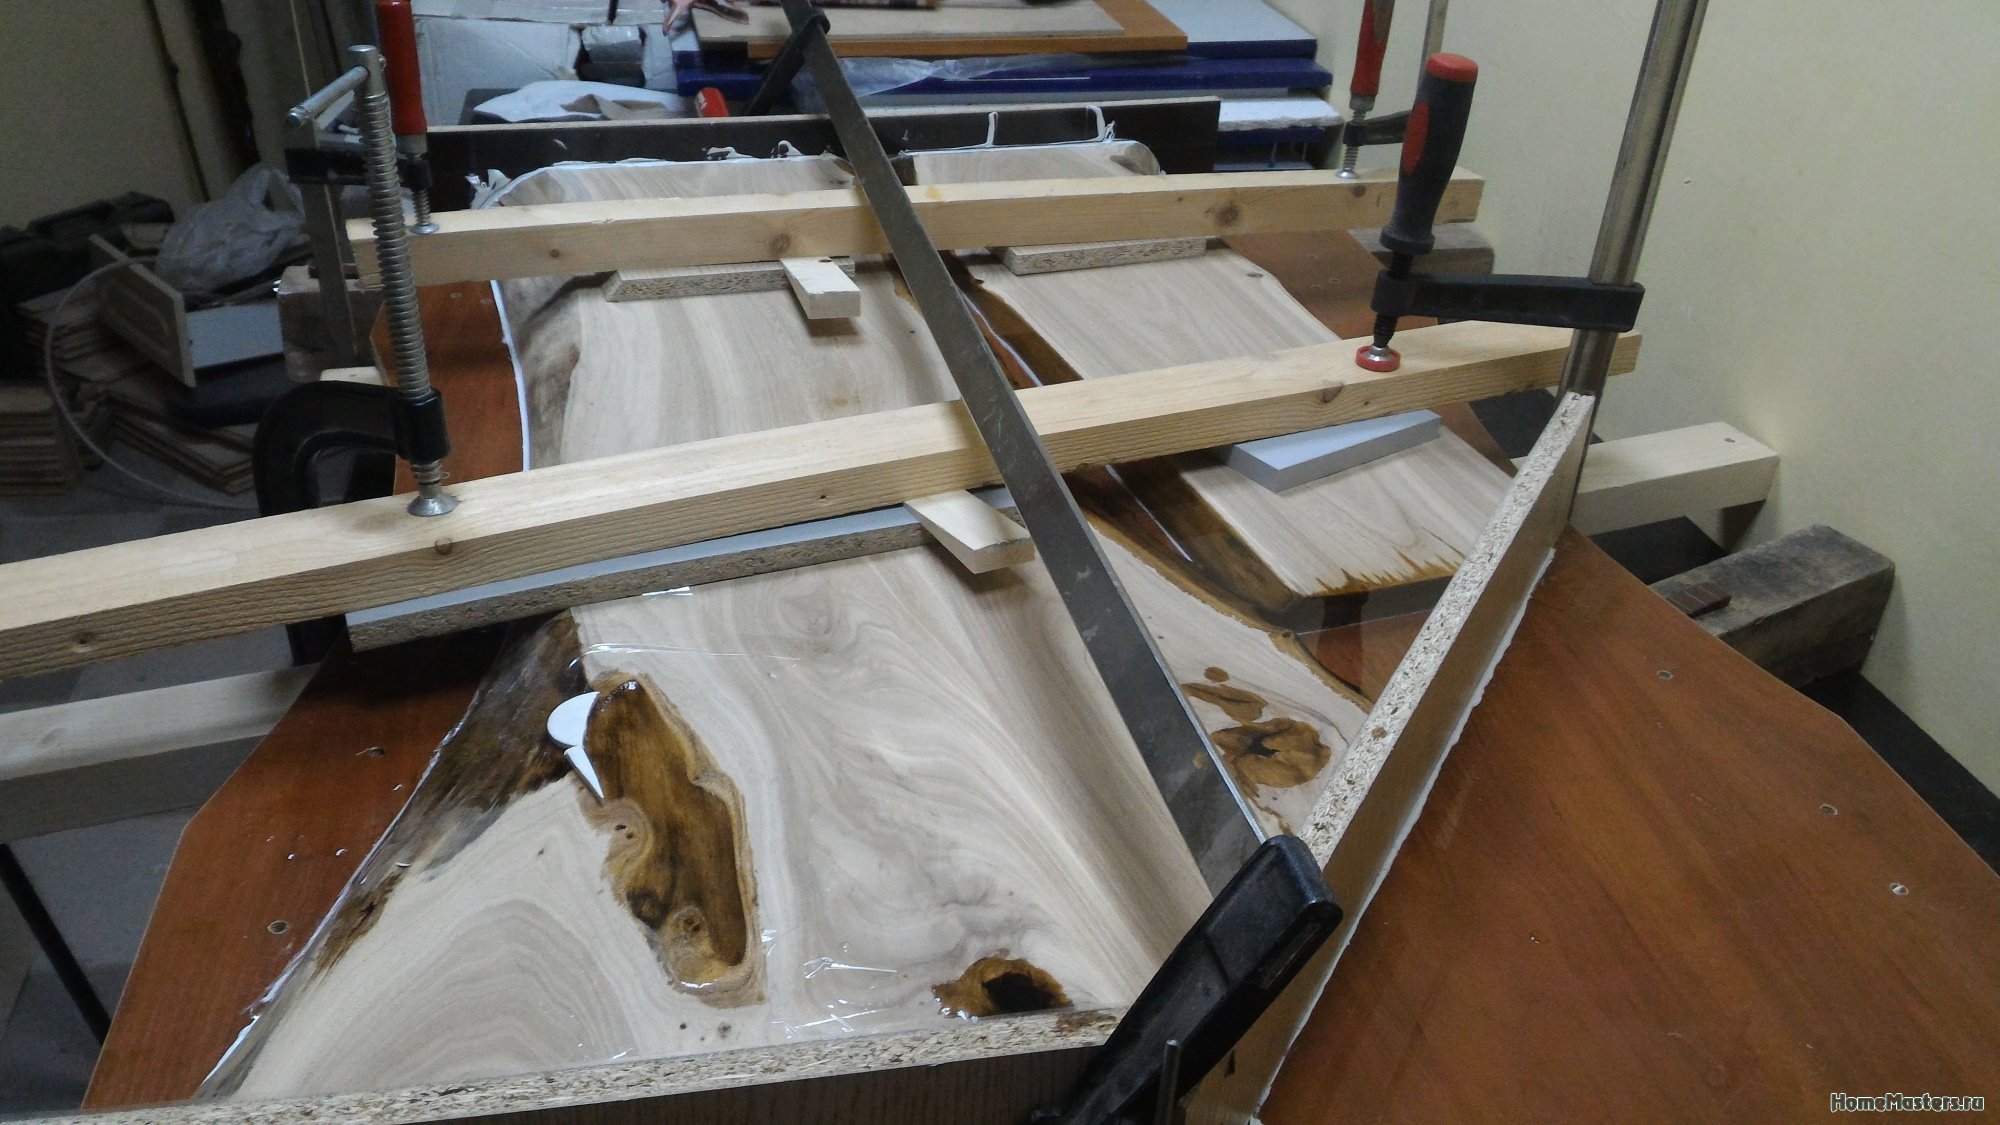
Sano posted a blog entry in Slab Furniture, Wednesday at 9:16 pm, blog entry
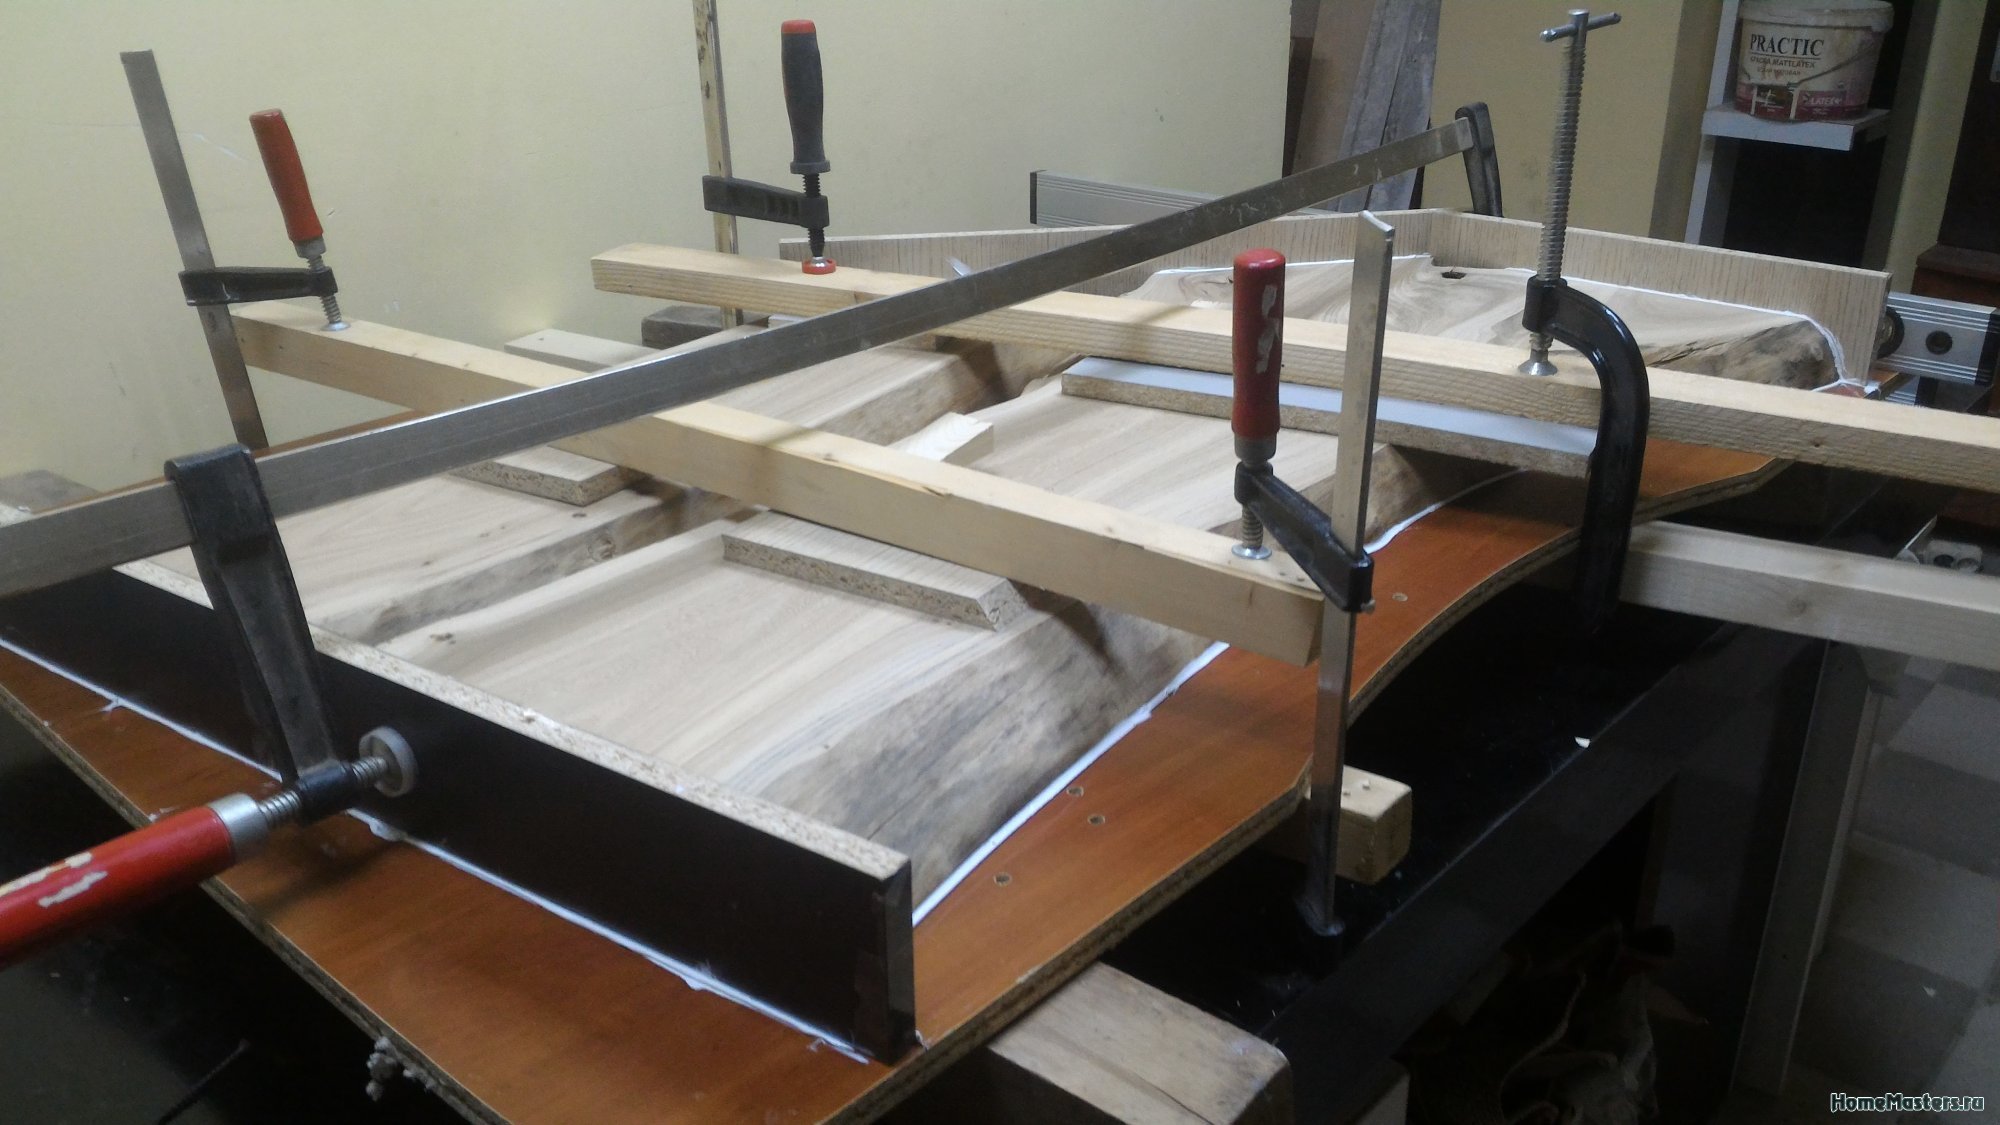
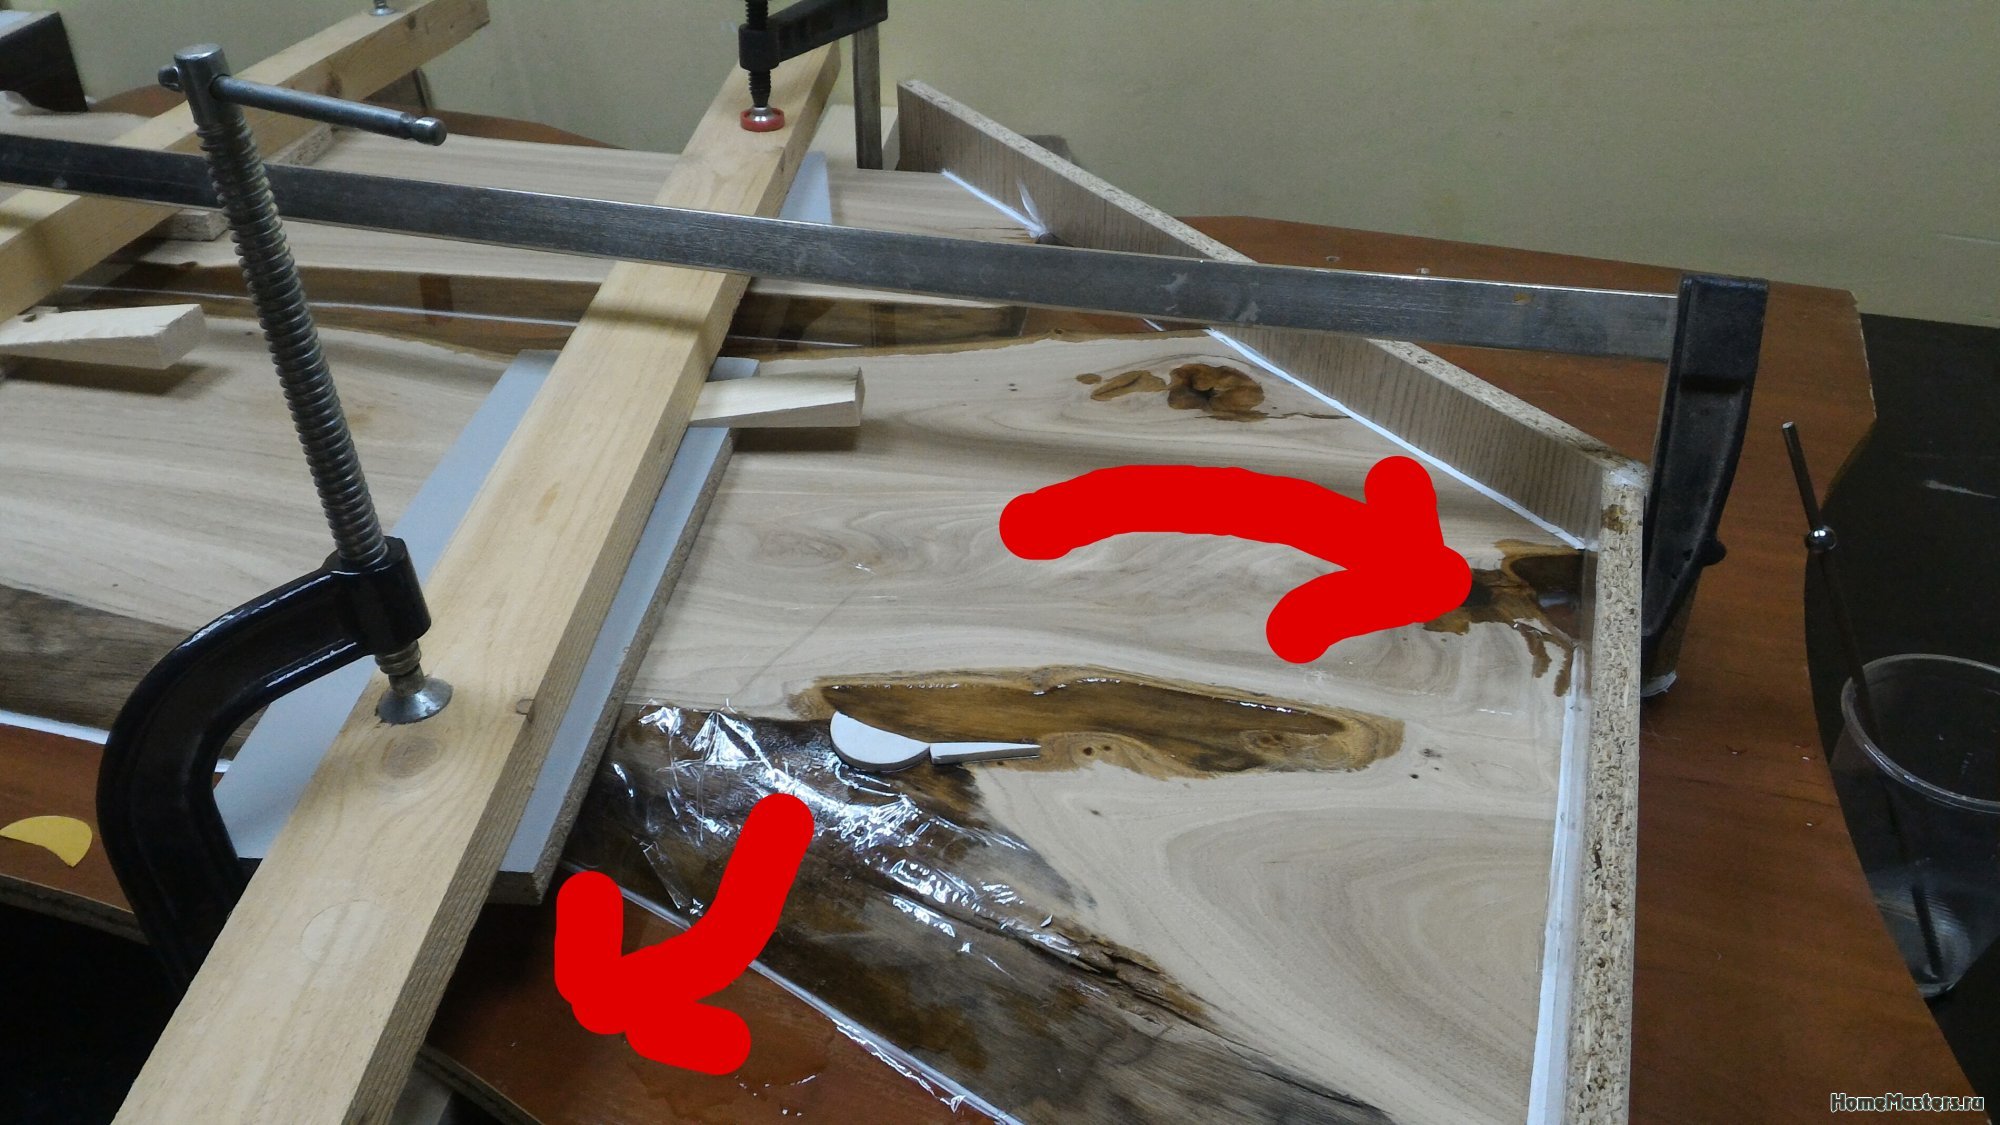
Filling the slab with epoxy resin. First pouring resin onto the slab.
It is necessary to put the slabs on a flat base, for me it is a chipboard sheet, while the base sheet itself should lie strictly horizontally.
-
Nikolay911 posted a topic in Plumbing, plumbing, heating, sewerage, October 1, topic
Sano posted a blog entry in Slab Furniture, September 27th, blog post
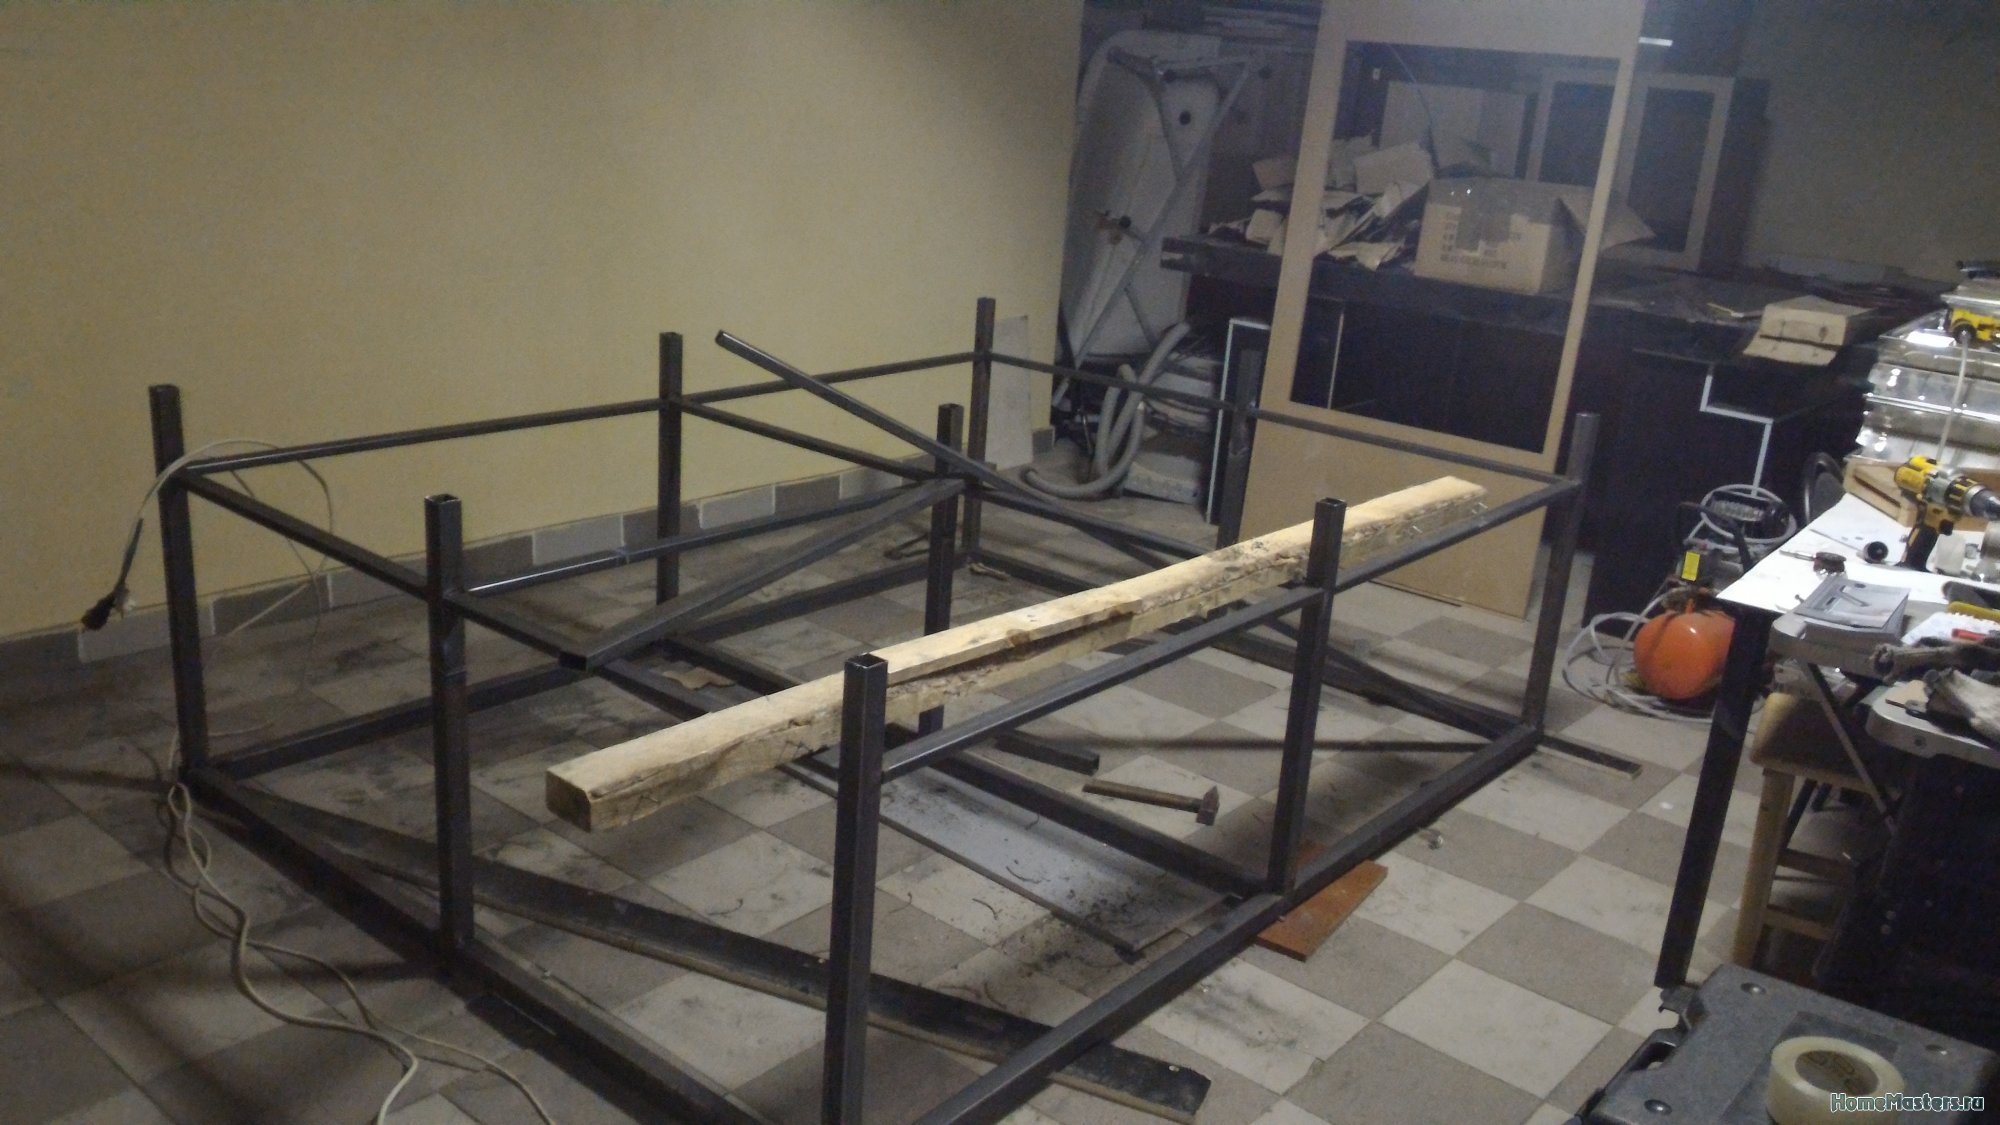
So I lived to see my workshop, which needs to be equipped and supplemented with various instruments for a long time and persistently.
But the main thing is there is a warm room, although not your own, there is where to work until they are kicked out.
This warehouse is quite spacious, if you remove everything you do not need, so you have to do a lot to at least somehow get to work. And the first thing I did was take out too much and started assembling a large desktop.
-
windsor posted a topic in Our works, August 8, 2017, topic
-
Emerald posted a topic in Tools and Equipment, September 25, 2008, Topic
-
KGB has published an article in Tools and Equipment, October 3, article
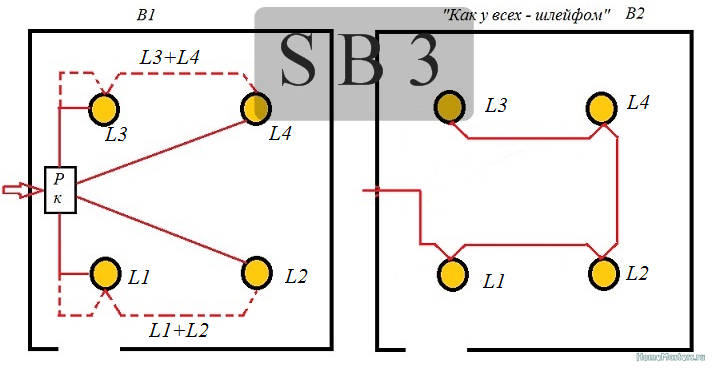
SB3 posted a blog post to Interesting by SB3, Oct 7, blog post
Greetings, I will continue what I started in the entry “Electrician. How things really are. ”.
The record will be gradually updated). "Pictures" will be
-
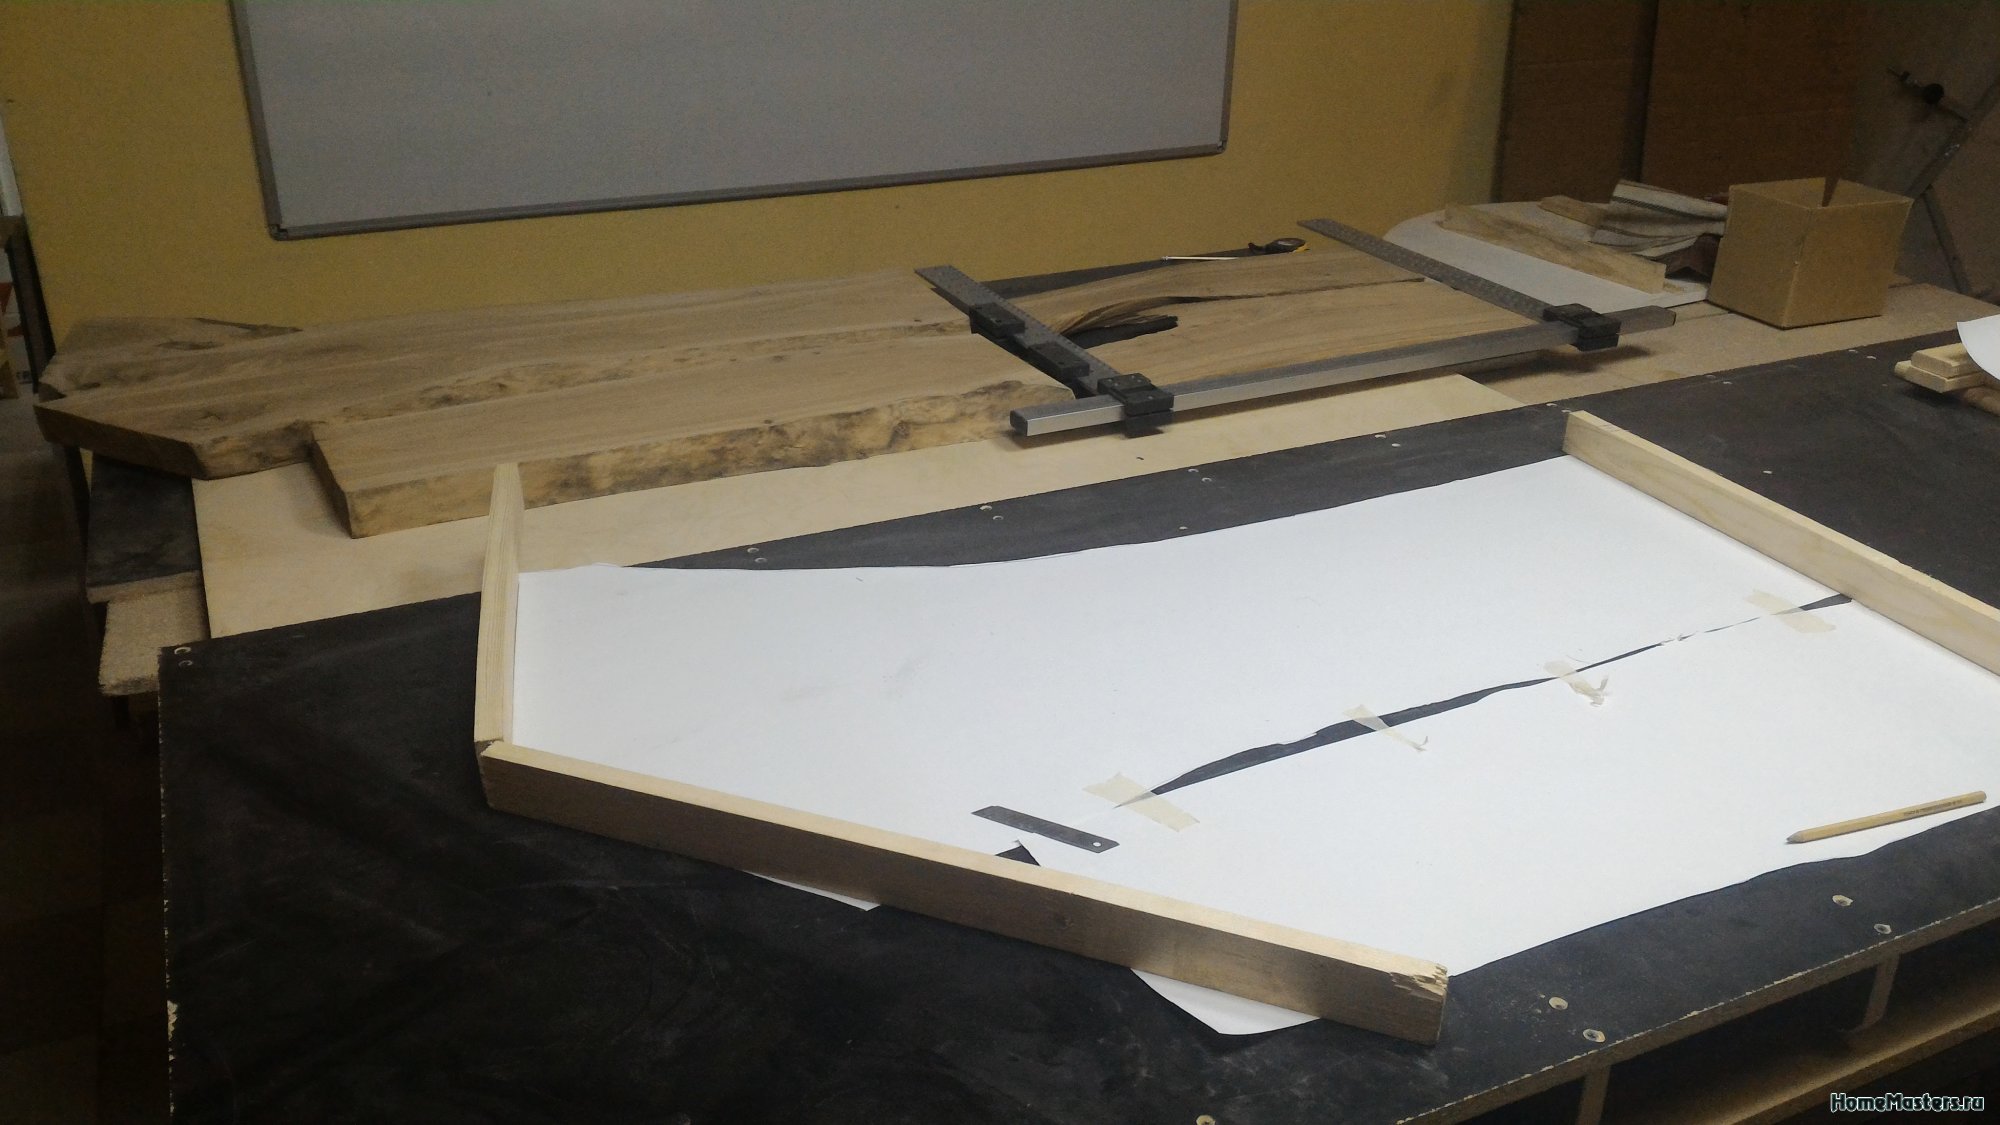
Sano posted a blog post in Slab Furniture, Oct 6, blog post
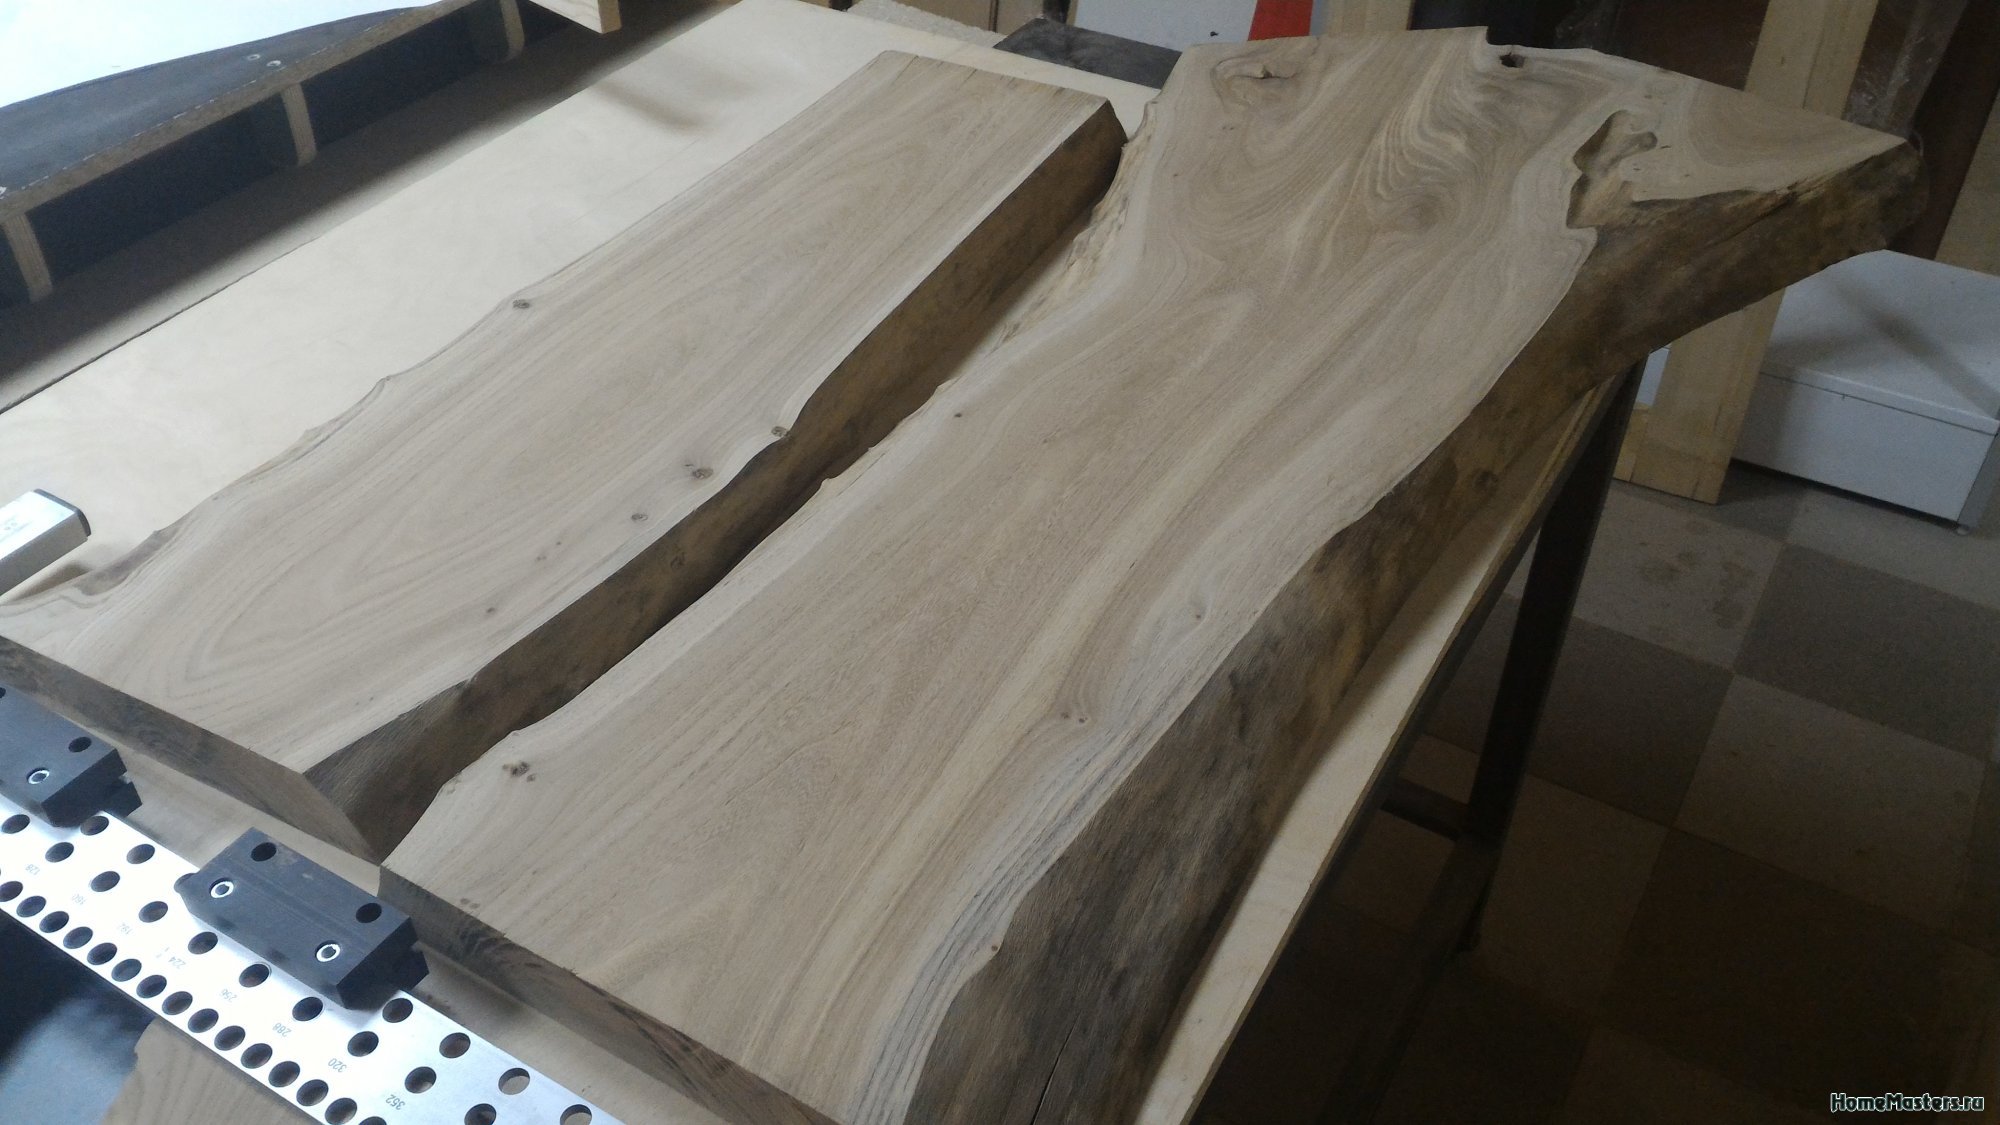
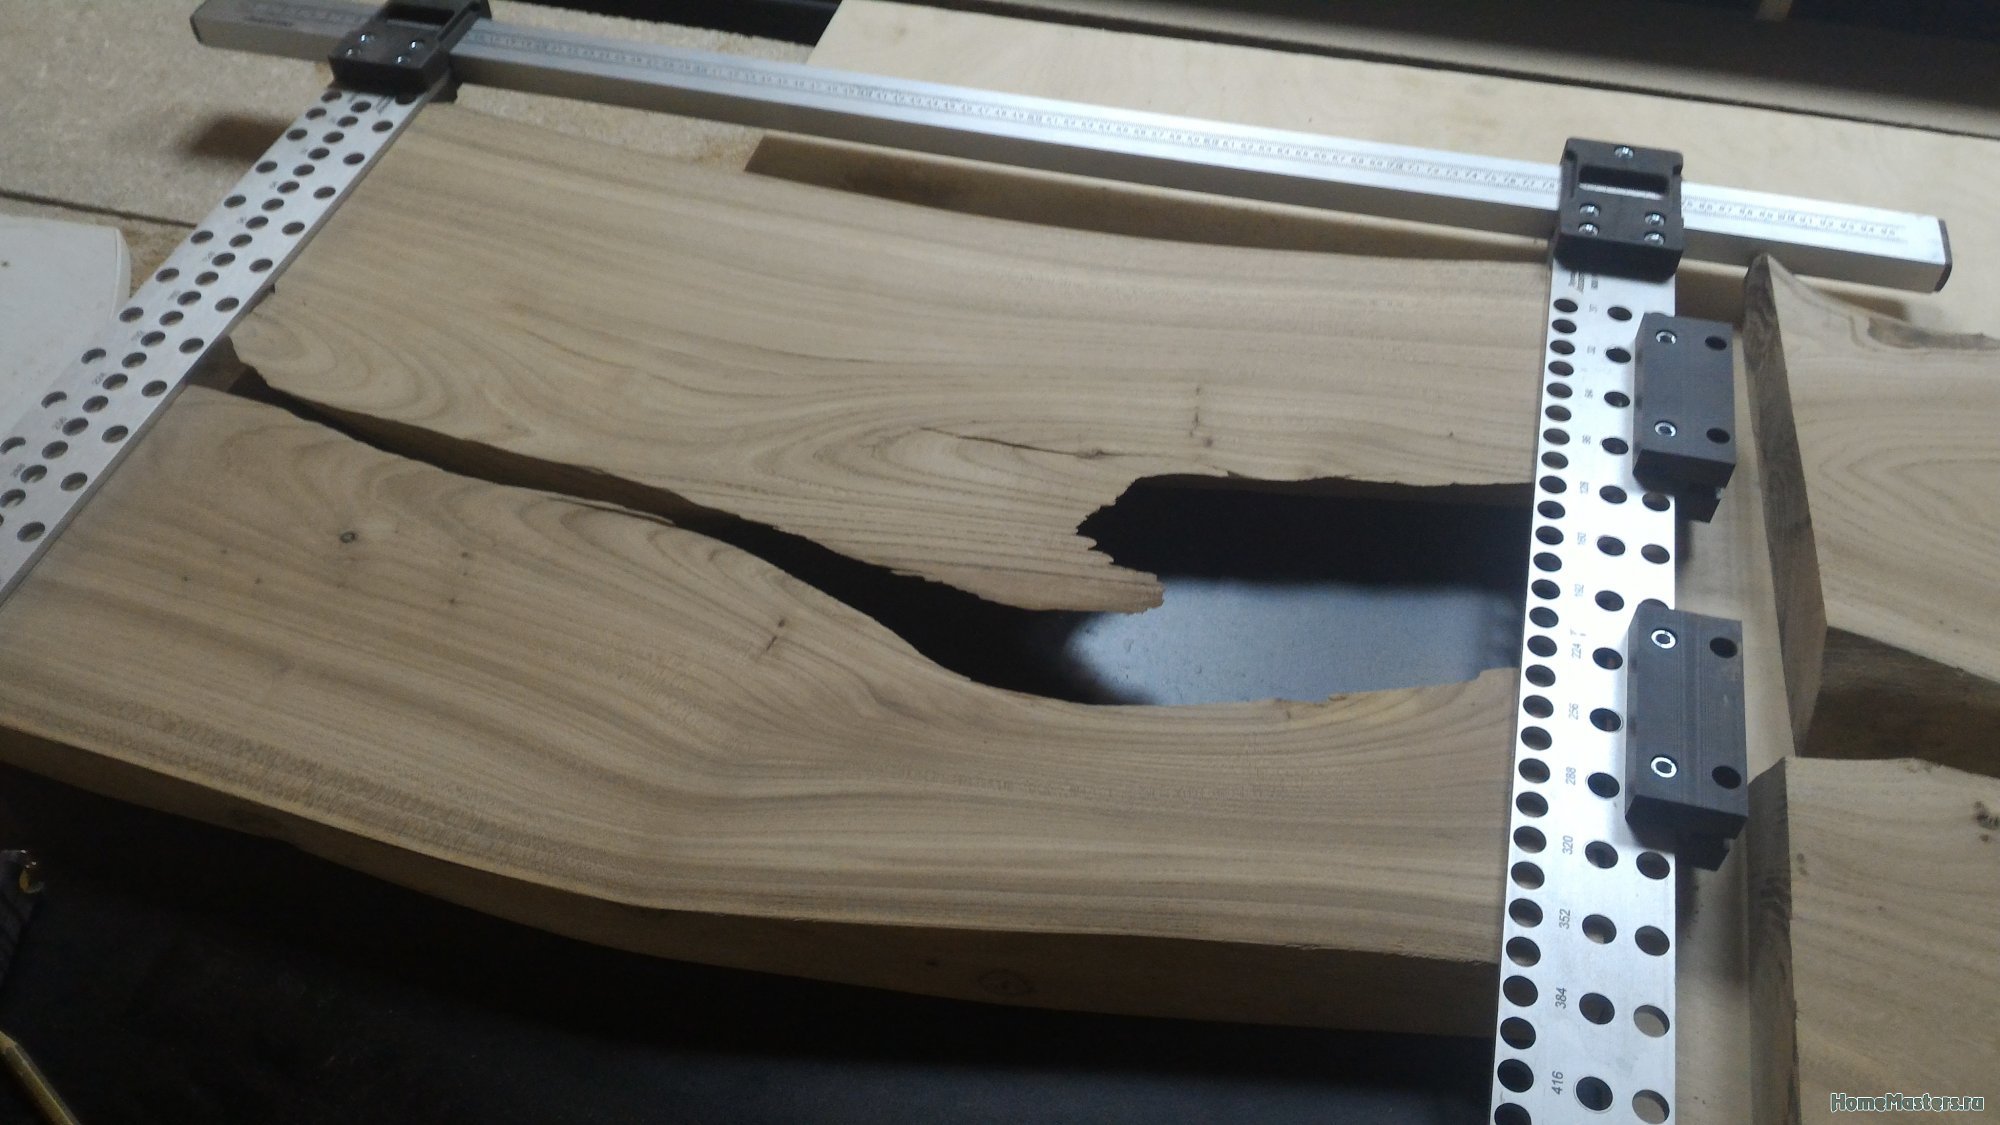
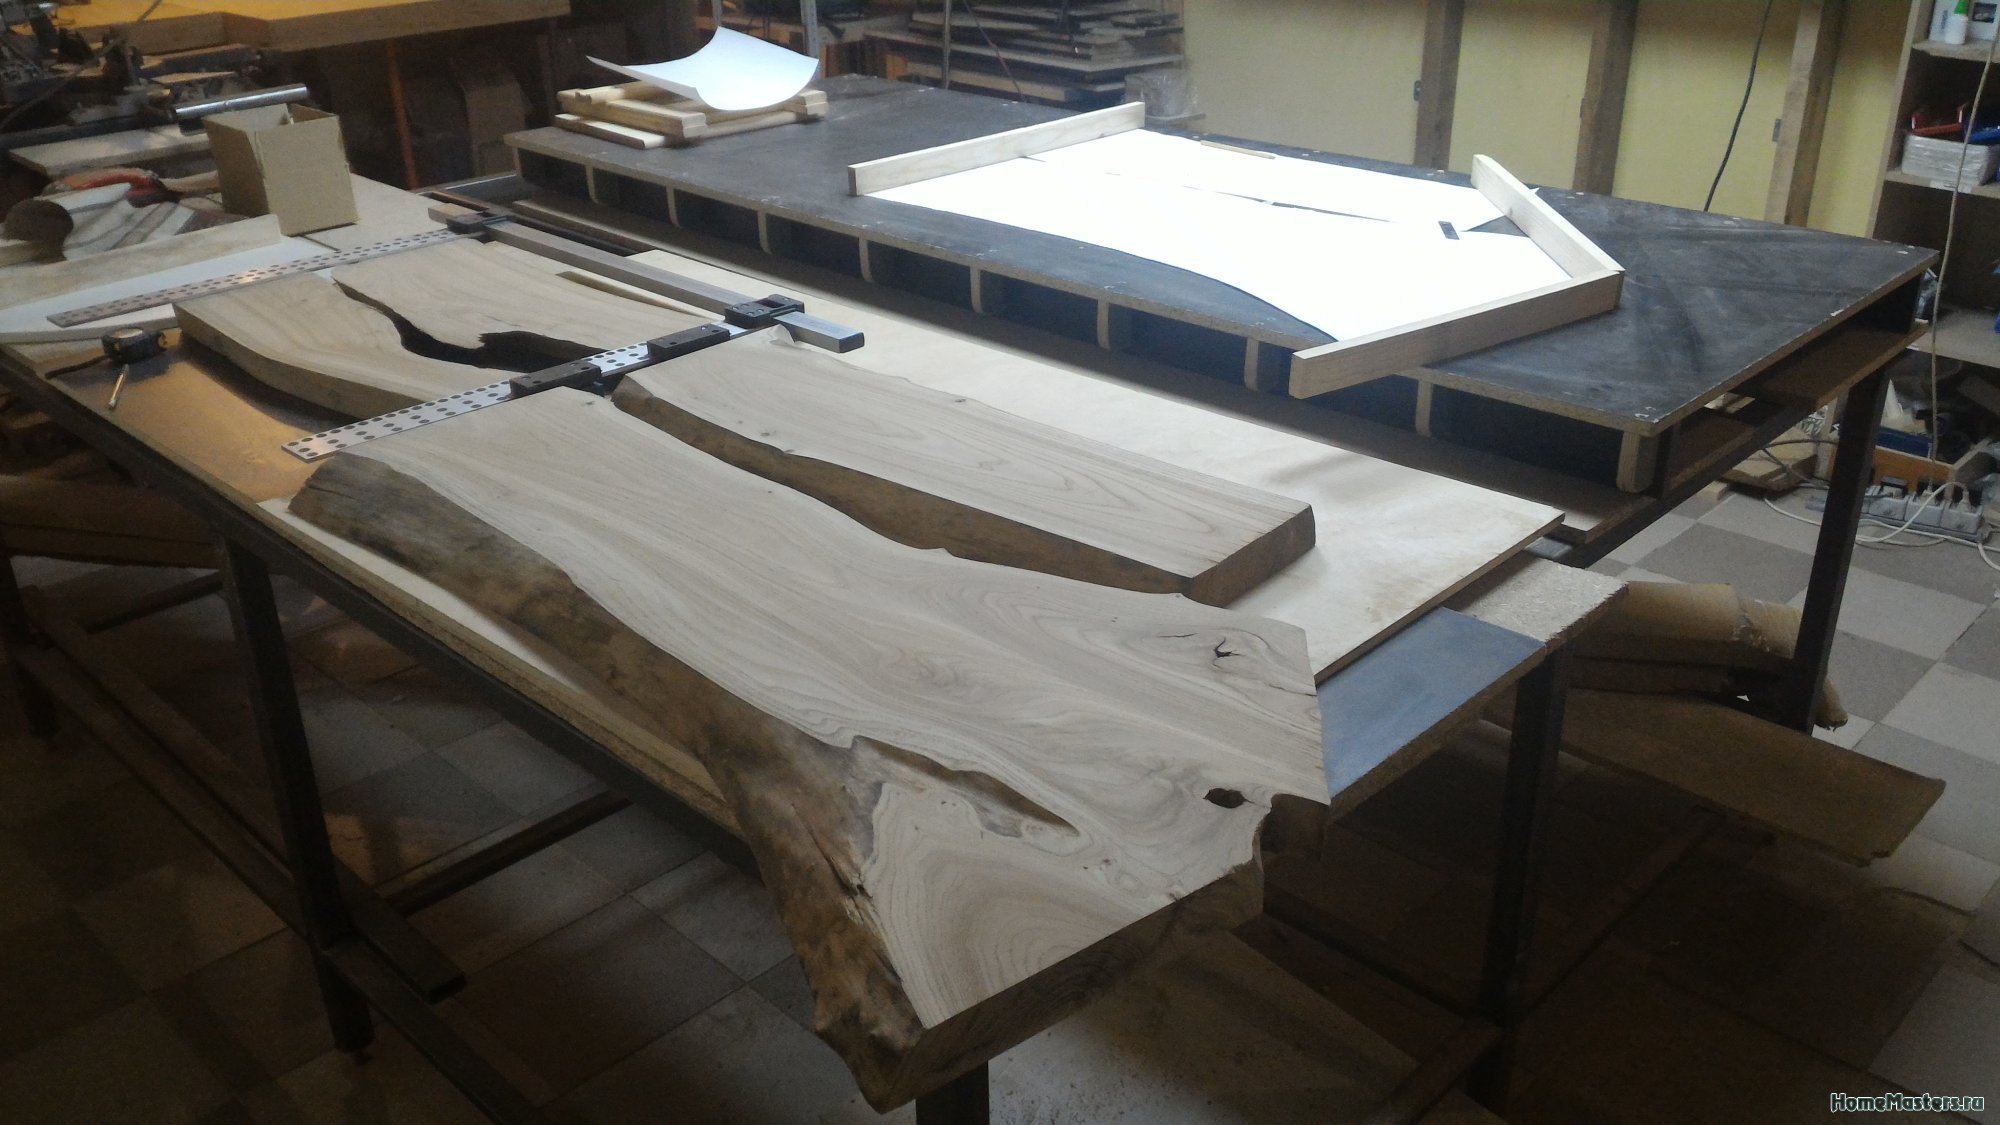
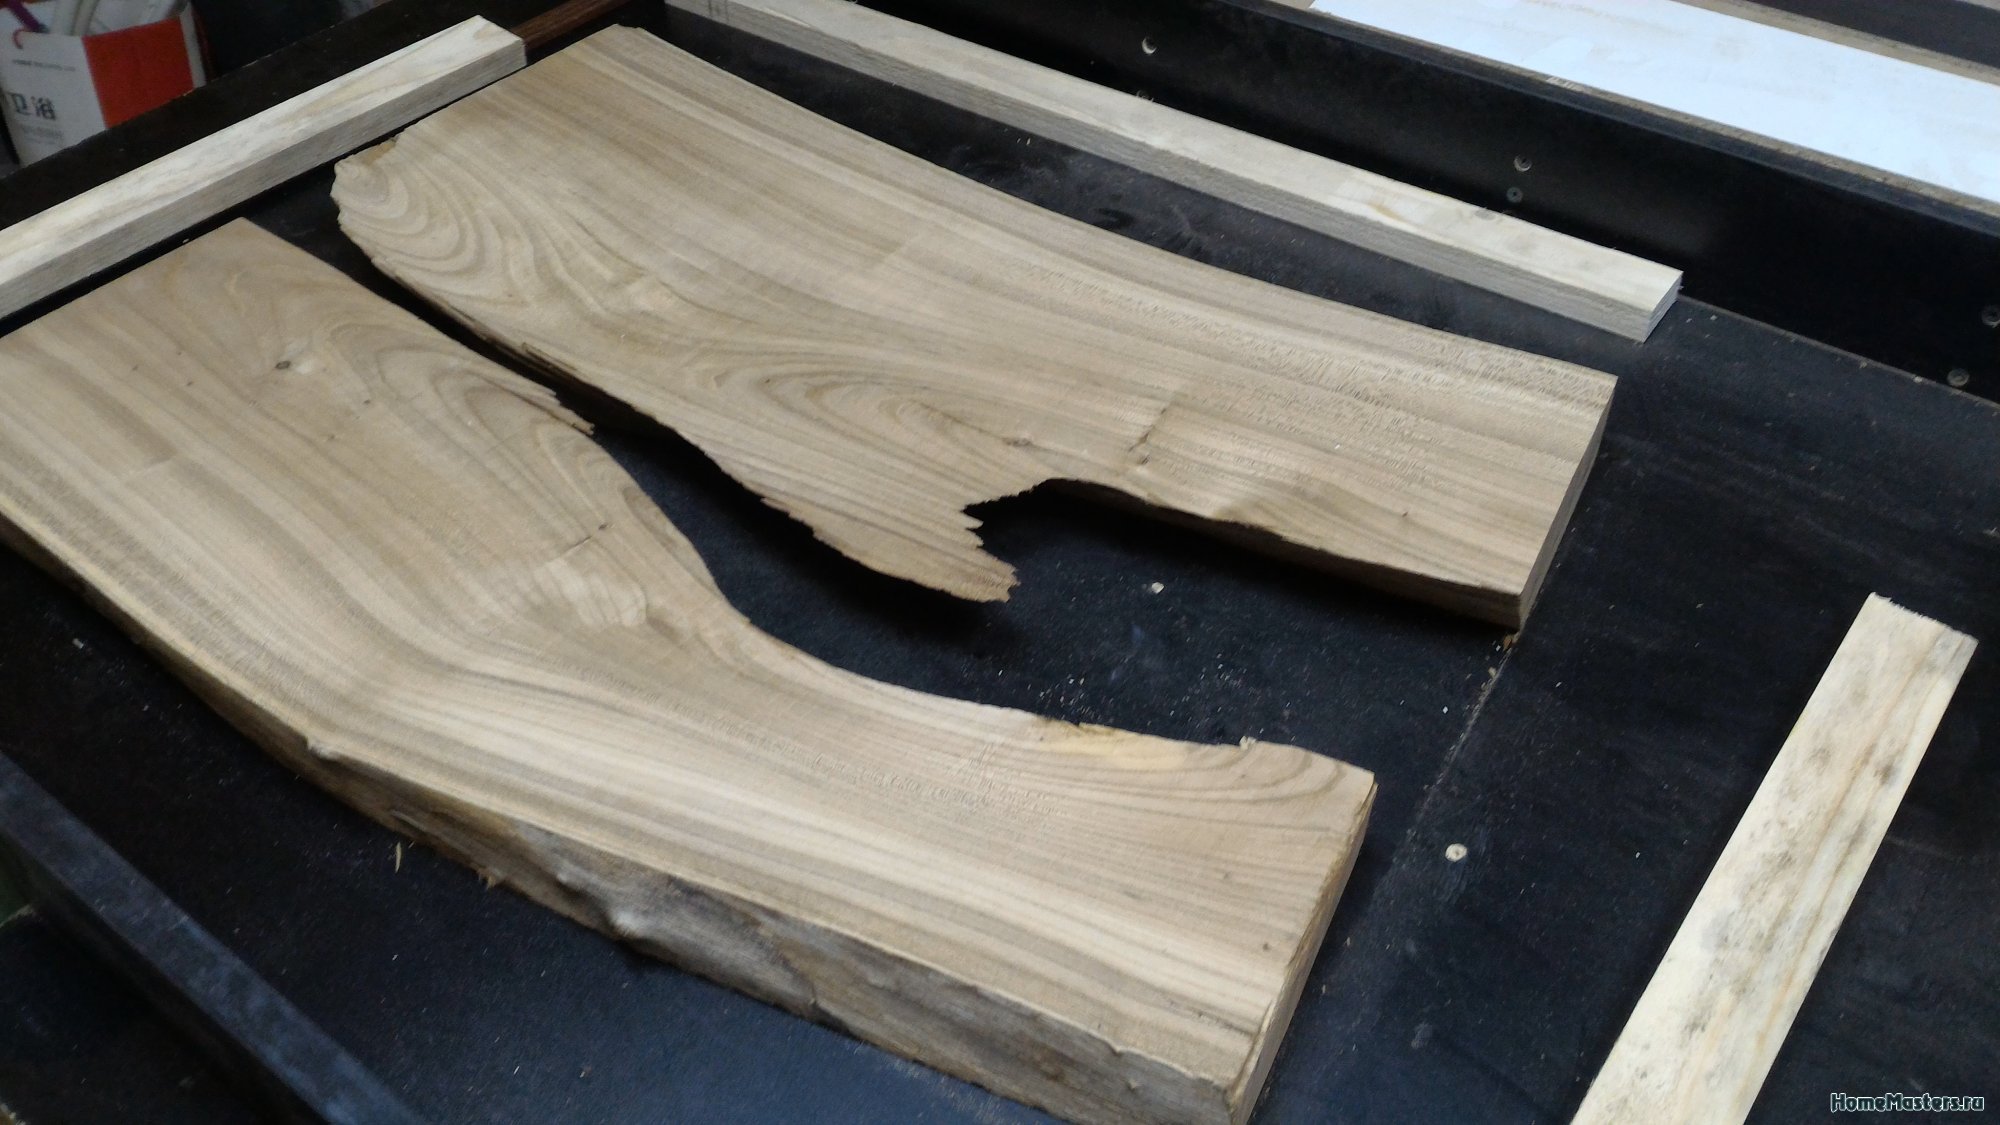
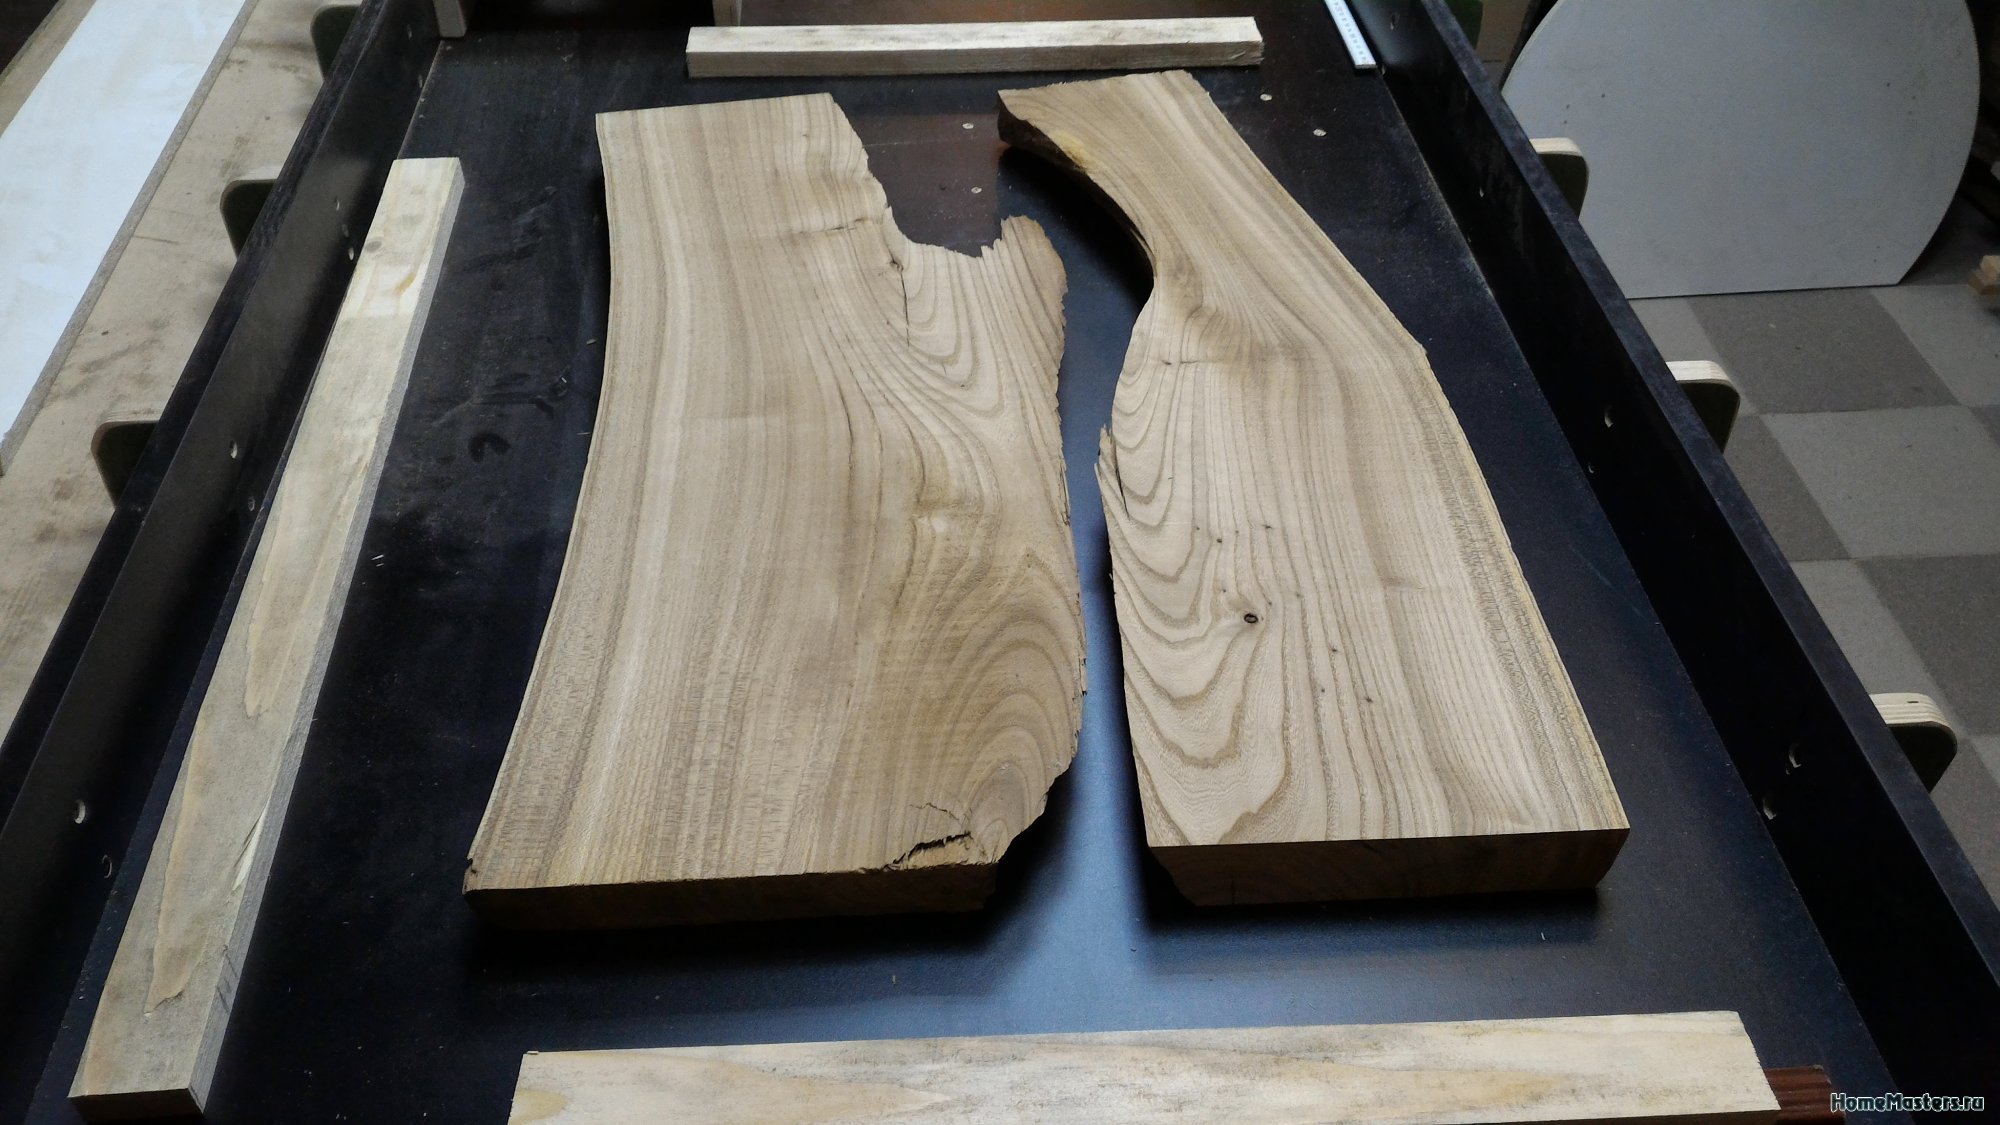
The first attempts to make something out of the brought slabs. Although there may be attempts, the material costs money and the margin for error is as much as there is money in your pocket. Train at your own expense, as they say.
Therefore, each board is carefully examined and measured, the proverb about seven times measure in action.
The work itself is not tricky, creative, there are several boards and you need to pick them up so that it looks beautiful and there is no overrun. All adjustments to the size and trimming are done with the minimum possible removal of material, just sawed off a bit here, cut a little there with a chisel.
Good day, colleagues, help the bedalag!

I scoured the search, but I didn't find a clear solution - poke your nose or maybe we'll discuss it here.
Foolishly, I assembled my column of one-inch welded American women that go without gaskets. I got tired of pulling these American women every time after distillation and installing the second tsar for rectification.Constantly some kind of starts to leak during the process. After rectification, it is again problematic to unwind them!
Maybe there is some solution to this problem? It is clear that the most correct thing is to replace them with normal American women, but this is already in the plans for the manufacture of the next column. Maybe you can put silicone gaskets in such American women?
There was already an idea to score nafig, to disassemble the tsars for the last time, to condense everything with a fumka, to thoroughly clarify the mash and drive both the mash in the SS and SS into alcohol on the river. column. Without removing the lower tsarg, but I'm afraid suddenly the nozzle will gradually clog. And then it will be completely ales.
Each house or apartment has a plumbing supplying cold and hot water, as well as a heating system consisting of pipes and radiators. To repair or replace individual sections of pipelines, a liquid shut-off is required, which is carried out using a valve. It is recommended to constantly monitor the state of the device and, if necessary, to timely repair the valve. Otherwise, in extreme circumstances, you can flood not only your apartment, but also the premises located below.
Valve requiring repair
Two types of valves can be installed on plumbing and heating systems:
The working element of the ball valve is a ball located inside the body. The ball has a through hole. If the valve is open, then the ball is turned by the hole to the stream of water. In the closed position, the ball turns towards the water with its blind side. The shut-off element is rotated with a handle.
Ball valve device
The shut-off element of the valve is a valve with a gasket located on the spindle, which is raised and lowered by turning the handle.
Valve valve device
The device requires repair if:
- the valve does not shut off the water. The causes of the malfunction can be:
- wear of the sealing gasket, which serves as a locking device;
- disconnecting the shut-off valve from the spindle;
- bending of the spindle;
- contamination of the valve with deposits in the water;
- the valve is leaking or dripping. The main reasons for such a malfunction may be:
- the formation of a crack on the body of the device;
- lack or insufficient amount of stuffing box packing.
To repair the valve with your own hands when the gasket is worn out, you will need the following tools and materials:
- adjustable wrench;
- a piece of sanitary rubber;
- scissors;
- pliers;
- knife;
- linen thread or other sealing material.
The replacement of the gasket is carried out according to the following scheme:
- using an adjustable wrench, it is necessary to unscrew the crane-axle box fixing the valve spindle;
Dismantling the valve to replace the gasket
- using pliers, the nut fixing the gasket is unscrewed;
- the washer and the failed gasket are removed;
- a piece of rubber is cut out, the dimensions of which are slightly larger than the dimensions of the valve;
- a hole is made in the center of the cut piece of rubber;
- rubber is pushed onto the valve and fixed with a nut;
- scissors around the valve cut off excess rubber. The finished gasket must fully match the dimensions of the valve;
Attaching a new gasket to the spindle
- using a knife, the valve body is cleaned. It is recommended to carefully remove all deposits not only in the device body, but also in the threaded connection;
- the crane box is mounted on the thread;
- the connection is sealed, after which the device can be fully fixed.
Sealing the threaded joint with linen thread
If the valve is leaking, then in most cases the problem is the absence or excessive sealing of the stuffing box packing. For repairs you will need:
- an adjustable wrench or wrench of the appropriate size;
- stuffing box packing;
- knife or flat screwdriver for sealing.
In this situation, you can repair the valve with your own hands according to the following scheme:
- shut off the water supply to the system;
- remove the rotation handle;
- unscrew the retaining nut. When loosening the fixing, it is recommended to hold the spindle in one position;
- remove the O-ring securing the packing;
- remove the old packing with a knife or screwdriver;
The process of replacing stuffing box packing to eliminate leakage
The process of replacing the gasket and stuffing box packing is described in detail in the video.