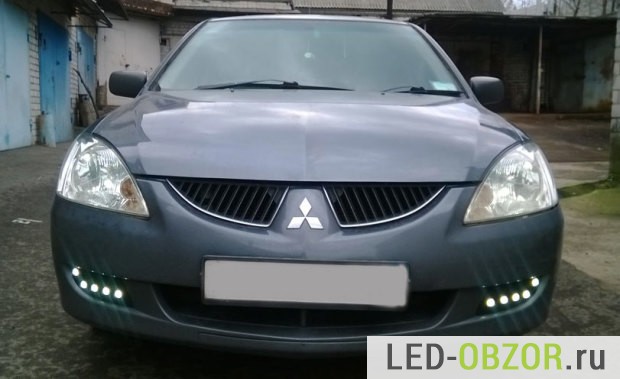
In detail: DIY repair of daytime running lights from a real master for the site my.housecope.com.
Almost all car enthusiasts know how useful LED daytime running lights, or DRL for short, are. Daytime running lights and DRLs are also called. After looking at the prices and assortment in stores, many want to save money and make daytime running lights with their own hands. Usually done without knowing the requirements for them, then they are evaluated by photographing in the dark from a short distance. That is, they do not even imagine their purpose, to increase the visibility of the car in the daytime, and not at night.
- 1. Basic types
- 2. Regulatory requirements
- 3. How not to do DRL
- 4. This is also not DRL
- 5. Accessories
- 6. Classic, option number 1
- 7. Option number 2
- 8. Option number 3
- 9. Mortise
There are many options to make them with your own hands, separate or integrated into the standard optics. In 2016, the technical regulations for cars became more stringent, they require to legalize all the changes made to the car. Of course, they find fault with DRLs, demanding a certificate or a copy of the certificate for them. They can also check the marking on the body of the daytime running lights, which indicates the certification of this model. They can do such checks only at a stationary post. They especially like to find fault at the post on the way to Kazan, my friends often go there. They ask for documents for DRL, although no one is obliged to carry them with them, there are no such requirements in the traffic rules.
Basic types:
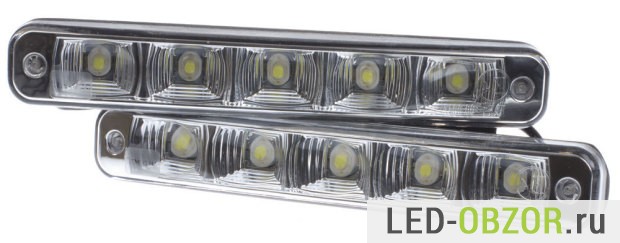
- classic, in a separate building;
- from fog lights, PTF;
- from the distant light;
- from the side lights;
- from turn signals;
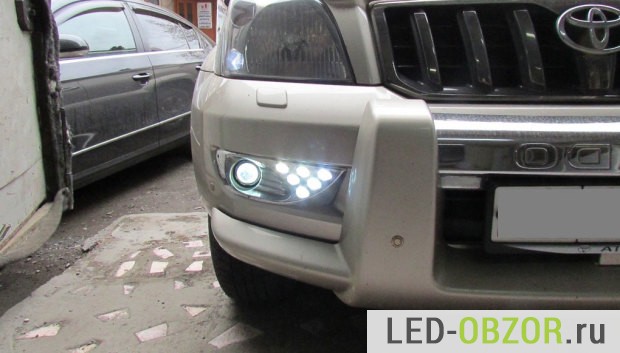
- mortise in the bumper or PTF plugs, such as an eagle eye.
| Video (click to play). |
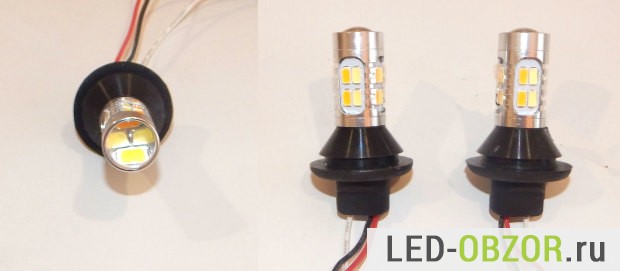
All types, except for the first, require the purchase of LED lamps. Two-color LED bulbs are used for turn signals. The Chinese sell them, promising fabulous performance and brightness. I haven't tested the two-color models yet, but they look weak, the LEDs on them are of low quality.
For making DRLs with your own hands from dimensions or turn signals, there are powerful domestic LED lamps T10 W5W and P21 with a control unit. They are produced by 2 brands, they cost from 5000 rubles. per set, collected at Cree. The main advantage is that they do not change the appearance of the car and have characteristics that meet the standards.
The luminous intensity of the daytime running lights depends on the angle of illumination of the LEDs, with the lenses installed. Diodes without optics shine at 120 degrees, that is, in all directions. Therefore, the focusing of light is required, as in a flashlight. Therefore, the requirements indicate the luminous intensity in Candelas, not lumens. To measure the luminous intensity, place a luxmeter in front of the DRL at a distance of 1 meter. The light meter should be positioned strictly along the optical axis of the light source. Thus, the Suites will turn into Candela, by which you can evaluate the efficiency of the work.
Required characteristics:
- each DRL should have 500-700 lumens;
- power from 6 watts;
- shine with an angle of 35 degrees.
Simply put, if the power is below 6 watts, then this is junk, not a DRL.
GOST requirements:
- luminous intensity 400-800 candelas;
- glow angle 25 degrees vertically;
- horizontal angle 55;
- the luminous area of each is at least 40 square centimeters.
On packages with DRL, inscriptions are often found, such as put it on and you will become perfectly visible, and inside there is junk with a power of 2 watts. And of course, the Chinese help, who write super-bright LEDs, powerful COB, super-powerful on any junk.
I advise everyone to sort out any Chinese budget LED lighting equipment immediately after purchase. This will eliminate assembly defects, apply thermal grease and improve cooling.
On the Internet, I flipped through many options for making DRL with my own hands, but I found only a couple of the correct ones. For each lighting device in the car there are rules and requirements of technical regulations, which are written in the blood of victims of road accidents. Such self-made people do not even understand the very purpose of running lights and do them without knowing the necessary standards.
For maximum savings, they are made from improvised means, usually from LED strips or LEDs. As a result, they get decorative illumination from the tape with a brightness slightly higher than that of the dimensions, which is not noticeable during the day. To make everything not so sad, they check homemade daytime running lights at night from close range. Although it is necessary to check during the day in sunny weather from a distance of 100 meters. After all, they are used during daylight hours. Then they boast of their wretched and wrong creation and advise others to do it.
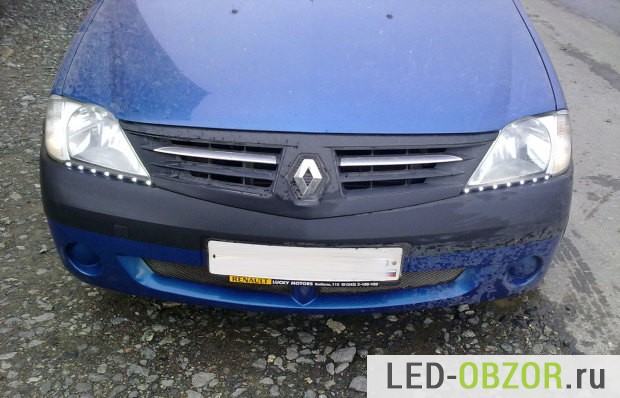
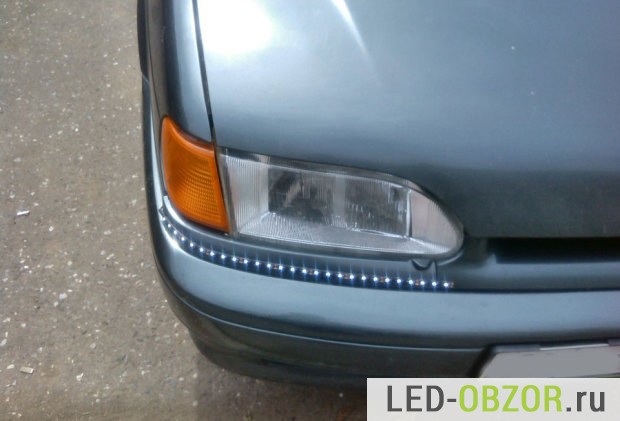
No need to sculpt the LED strip anywhere on the front of the car. The weak one does not shine, but the powerful one requires good cooling. As a result, you will get the result as in the photo below. Everyone takes photos at night when they are visible, and they are applied during the day.
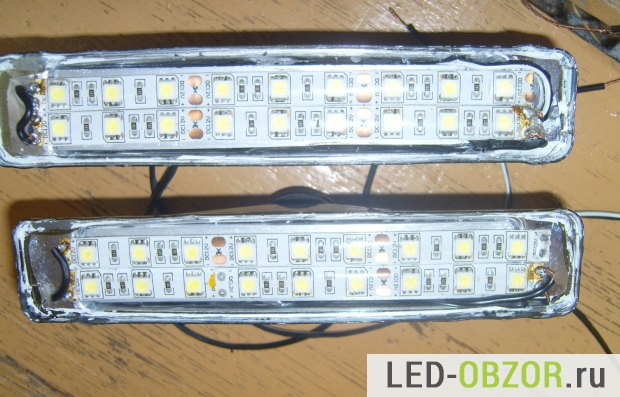
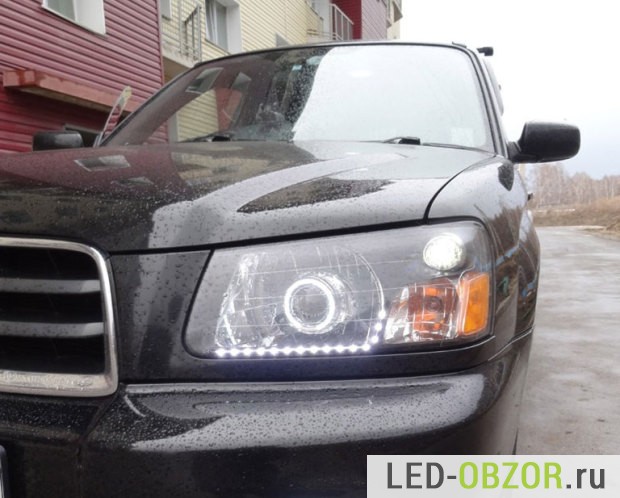
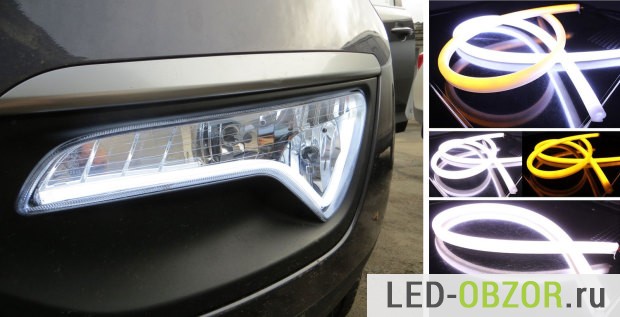
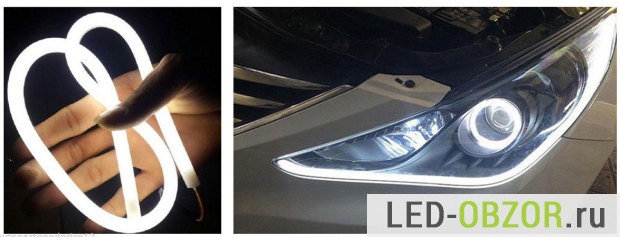
On the Internet, it is very common to find a method of making running lights from an LED strip or an LED tube that resembles a neon one. They are installed inside the headlight or outside. This design cannot play the role of DRL, it will only be a decorative illumination of the headlight.
I think the best option is to assemble the DRL with your own hands from LEDs. Then you will get an analogue of quality DRLs. I do not recommend buying inexpensive DRLs on Aliexpress, it will be a one-time useless junk. Good ones in Russia and China cost the same.
The design depends on the type of LEDs used:
- COB LED bar;
- diodes for 1W or 3W.
To increase the life of ice diodes, a voltage stabilizer and a current stabilizer are needed. It depends on the wiring diagram of the led diodes, using a resistor or driver.
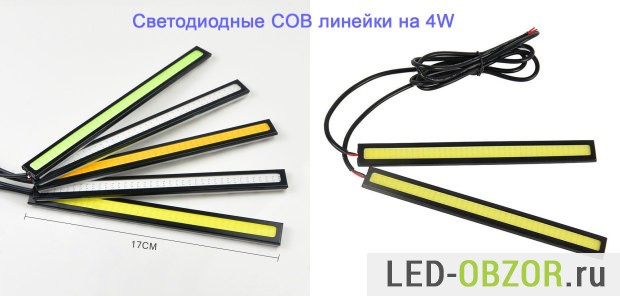
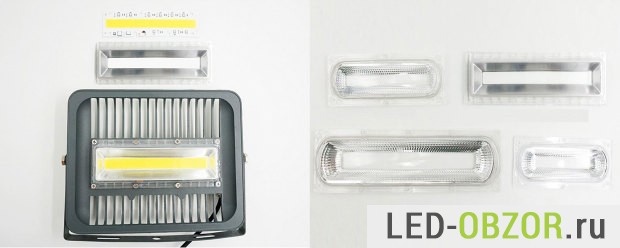
The Chinese inexpensively sell LED strips on COB in lengths from 15 to 25 cm, passing them off as full-fledged DRLs. Naturally, they cannot be running lights, they have a glow angle of 120 degrees. There is no case and lens, in frosty and salty Russia they will quickly fail. They are more suitable for illuminating doors and trunk.
To make decent daytime running lights out of them with your own hands, you need a body and a long lens. The focusing optics can be replaced with a reflector. There is usually double-sided tape on the back, on which they are held. Their power is, as always, overestimated, in reality it is from 3W to 6W, a cooling system is not required. But if you get up in a hot weather in the sun in a traffic jam, I can overheat. Their quality is low, so temperatures above 60 degrees are contraindicated.
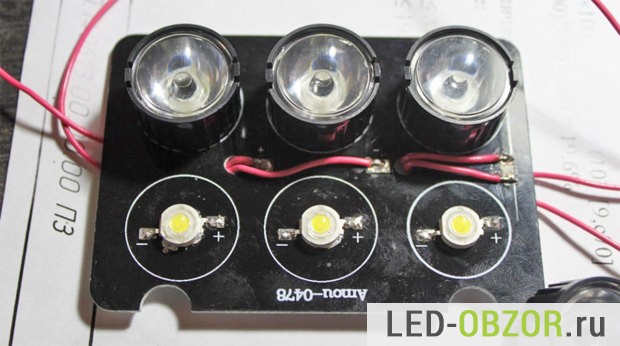
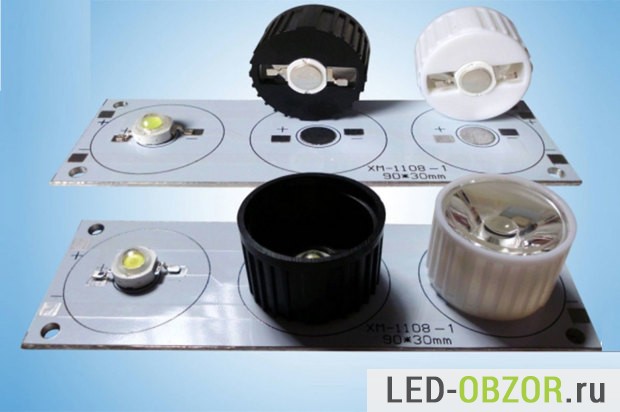
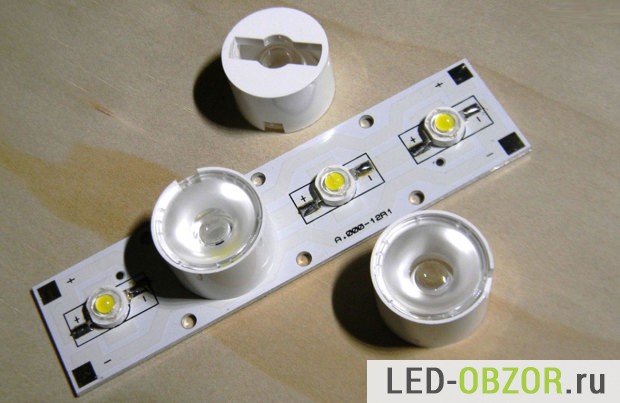
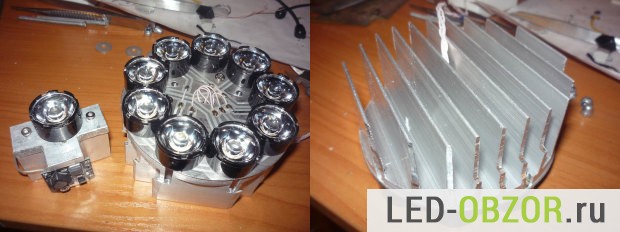
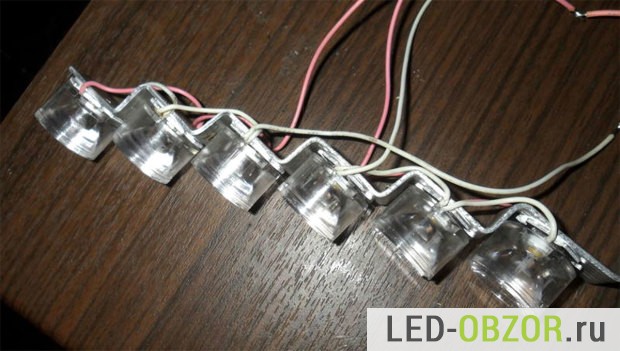
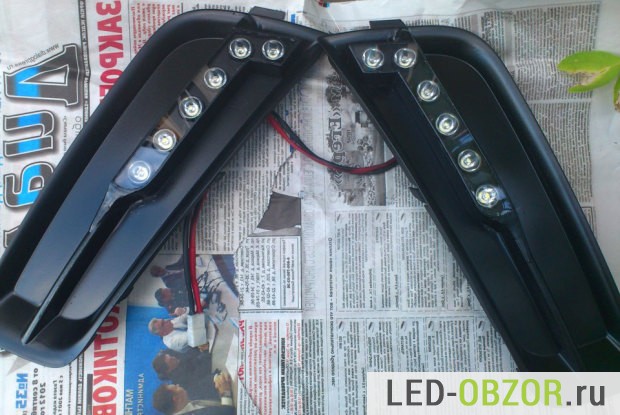
For assembly, you will need 1W and 3W LEDs in the amount of 5-7 pieces per 1 block. You cannot install less than 1W, the luminous intensity will be too low and will not fit into the requirements. The basis will be an aluminum profile or an aluminum ruler with places for mounting diodes. LEDs for 1W or 3W are installed on aluminum through heat-conducting glue.
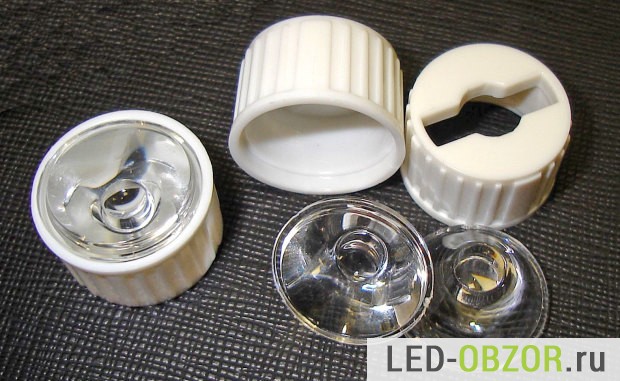
For LEDs, a large assortment of optics is sold with different lighting angles, from 10 ° to 90 °. Lenses required for 30 ° - 35 °, a separate lens for each LED.
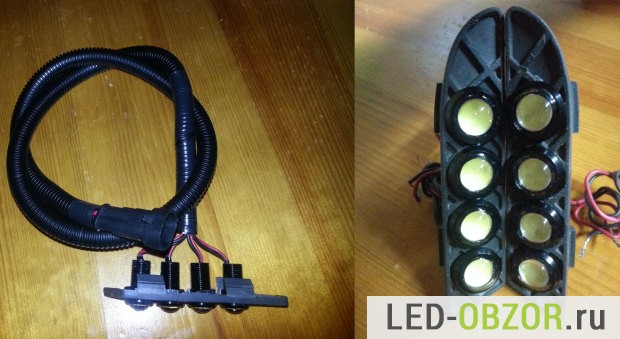
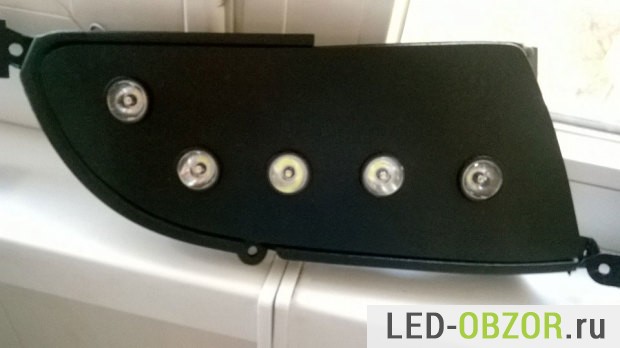
Another affordable way to make your own daytime running lights. Requires a rectangular or square aluminum profile. Holes are drilled in it for the "eagle's eye", in the amount of 5-7 pieces. Then the "eagle's eye" is placed in profile, the wires are brought out in any suitable direction. The void can be filled with sealant, and the body can be painted in any color. The main drawback, the low reliability of the "eagle eye", quickly breaks down. But it can be eliminated by iterating over them. With the help of additional thermal paste, the contact between the LED and the bolt body is improved.The lens is sealed on a transparent sealant for complete protection from moisture and salt.
The Eagle Eye is especially popular. By design, they are:
- in the form of a bolt with a diode head;
- snap-on cylinder;
- tablet on double-sided tape for surface mounting.
The option using scotch tape is not interesting because of the unreliable fastening. Although this is the easiest way to do it yourself. Remains the "eagle eye" with a mortise installation. To do this, you have to make holes with a diameter of 20-25mm. If you then decide to get rid of the "eagle's eye", then there will be holes in the bumper that will have to be repaired and painted over. For this reason, holes are drilled in the fog lamp plugs, which are not painted, just black.
The actual wattage is about 1W, although stores quote 3W to 9W. To mark yourself on the road, you need to place 5-7 pieces on each side of the car. The installed lens can be from 30 ° to 90 °. Optimum will be 30 °, at a higher angle, the luminous intensity will decrease significantly. For example, at 60 ° the force will be 2 times less.
Choosing daytime running lights DRL according to the regulations
How to connect running lights
DIY angel eyes, installation
And what kind of LEDs with a power of 3w are worth taking and, most importantly, where? Is it possible to take lenses of 30-35o from the Chinese? And the case in which to shove this whole structure is it worth taking from the Chinese or are there normal Russian stores? The task is to assemble DRLs in a sealed case with dimensions of 170 * 75mm, and insert them into a vertical hole in the bumper
Good 3W LEDs can be bought at Alik in Chanzon and Honti, they are LED manufacturers, they do not cheat in terms of parameters. And you can buy lenses from them.
Today, daytime running lights are a mandatory type of optics, which must be equipped with all cars used in the territory of the Russian Federation. Since no light source can work forever, our compatriots often face the problem of diode failure. In this article, we will tell you how to repair DRL with your own hands and in what cases it needs to be done.
Why do daytime running lights burn out:
- Due to wear and tear. This reason is one of the most common and it is caused by the fact that diodes over time simply work out their service life. There is no way to avoid this. Unless you can put on a car of better quality DRLs, the service life of which is longer, but the wear of the devices cannot be prevented.
- As a result of exposure to moisture. Diodes can burn out due to constant operation in moisture conditions. Usually, DRLs are placed on bumpers, so when operating a car in wet weather, it will not be possible to avoid water getting on the bulbs.
- The need to repair the running lights may arise due to the burnout of the diode elements. As a rule, such a problem is caused by the fact that DRLs require 12 volts for normal operation, while generators on modern cars generate about 14-14.5 volts. Of course, this is too high voltage for daytime running lights, so they can fail for this reason quite quickly (the author of the video about self-repairing daytime running lights at home is Artem Kvantov).
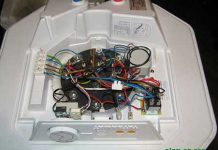
If DRLs on your car stopped working, this is not a reason to throw them away and put new ones. You can always try to repair the running lights - this way you can save money and gain skills in repairing optics. The repair procedure itself includes several stages - dismantling and opening, replacing failed elements, as well as the subsequent assembly of the structure.
DRL repair is carried out as follows:
As for the cost, it all depends solely on the quality of the purchased products. As you know, Chinese LED running lights will always cost less, but their quality and efficiency are generally lower.Moreover, they cannot boast of a high service life. If you want DRLs to work for a long time, then you should not save when buying.
A more visual instruction for the repair of LED light sources with all the nuances is shown in the video below (the author of the video is Yegor Blinov).
... forum about LEDs and light
grafix1 »09 Jul 2012, 18:50
I spent on DRL, I didn't find any Phillips, but the office that “professionally” deals with diodes in cars recommended these. month warranty. on the 32nd day of use, 3 diodes stopped glowing, at 35 another 2 went out (this is on one of the DRLs, the second is still working). In general, throwing out 2500r every month for the family budget is not feasible, so I decided to repair it.
ringing the tester showed that the middle (third) diode flew out, the rest seem to be alive (they glow dimly when the tester is connected)
in the same "professional" store advised to put the stabilizer L7812 for 150r help?
resistance R4 apparently died, probably because of it 4 and 5 diodes stopped working, 3 possibly died from overheating, it does not press in the center, and there was not enough thermal paste there.
current, according to the tester, 840mA on a not wound car (12.2v) and 760 on a wound one (14.5v)
I strongly ask you not to scold me, I am a completely newbie. I held a tester and a soldering iron in my hands a couple of times, I remember Ohm's law, but in practice I did not apply it.
tell me how to upgrade the circuit to work fine.
Batianya »09 Jul 2012, 23:50
Romsik »09 Jul 2012, 23:50
19jurij72 »09 Jul 2012, 23:56
Romsik »09 Jul 2012, 23:58
Romsik »09 Jul 2012, 23:58
We are waiting for your practical advice. Yuri.
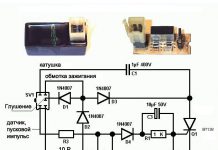
By the way, a question to the Graph - I don't see the drossell-coil on the diagram, maybe it is on the other side of the board, but where are the electrolytes? Where is Drosel?
I think he does not have boxes in the kit, everything is on the DRL board. And in the connector plus or minus and close to the car to jam at night.
Svetoch »10 Jul 2012, 00:27
Romsik 10 Jul 2012, 00:52
ilkose »10 Jul 2012, 00:54
vlad54 »10 Jul 2012, 02:12
grafix1 »10 Jul 2012, 08:13
thanks everyone for the answers
- I wrote that at first 3 diodes went out (apparently due to the fact that one burned out) and then 2 more apparently because of the resistor.
- The driver here is PT4115, how is it in general? normal?
- what denomination to change to change R4? how to find out which one is needed?
- for the price, I know that I overpaid, but this is the most expensive thing that I could find on sale, at least more or less a case and diodes.
- how to check the driver is working or not? connect the power supply and try on a sponge?
Does it make sense to revive the old scheme? can mold a new one? easier?
I do not need the third wire, my power is already turned off when the neighbor is turned on, so only stable work and a scribe are required from the board. can reduce stress? so that you don't get too hot? let it shine dimmer.
Well, and most importantly, how much is needed for such diodes? 3-3.5v?
soyer »10 Jul 2012, 08:33
soyer »10 Jul 2012, 08:45
grafix1 »10 Jul 2012, 12:01
grafix1 »10 Jul 2012, 12:05
On the territory of the Russian Federation, amendments to the rules of the road (SDA) have been in force for more than 6 years, according to which a moving vehicle in the daytime must be marked with dipped headlights, fog lamps (PTF) or daytime running lights (DRL). The use of head and fog lamps for these purposes has a number of disadvantages. Therefore, drivers prefer to buy ready-made running light modules and install them in their car on their own. How to properly connect daytime running lights so that their operation is safe and does not contradict applicable laws?
The main requirements for the installation, technical parameters and connection of running lights are listed in paragraph 6.19 of GOST R 41.48-2004. In particular, the electrical functional diagram of the DRL must be assembled in such a way that the running lights automatically turn on when the ignition key is turned (starting the engine). In this case, they should automatically turn off if the headlights are turned on.
Clause 5.12 of this standard states that headlamps (FGS) should be switched on only after the dimensions are turned on, with the exception of short-term warning signals. When connecting the DRL on your own, this feature must be taken into account.
The correct connection of the DRL is not limited to a well-thought-out functional diagram.It's time to remember about the stabilization unit for LEDs. Without it, the service life of the DRL LED modules is significantly reduced due to constant drops in the on-board voltage. Some car enthusiasts say that it is possible to connect running lights without a stabilizer.
Connecting and installing an LED driver is a waste of time, because DRLs on LEDs regularly shine for months without any stabilization ...
However, this statement is easy to dispute. The fact is that with each voltage jump on the LED module, more than 12V appears, the direct current through the LEDs exceeds the nominal value, which leads to overheating of the emitting crystal. The brightness of the LEDs decreases, which means that such DRLs will no longer be able to fulfill their immediate task - from afar to warn drivers of oncoming vehicles.
Using LED DRLs without a stabilizer means throwing away at least several hundred rubles every year for new modules and wasting time replacing them.
For ease of understanding, the circuits below are shown without the use of a regulator.
The simplest scheme for switching on DRL when starting the engine is shown in the figure. The positive wire is connected to the "+" terminal of the ignition switch. The negative wire is attached to the machine body in a convenient place.
The second version of the DRL connection scheme involves using the side lamp power circuit. For this, the positive wire from the navigation lights is directly connected to the "+" from the battery. In turn, the negative wire is connected to the "+" of the side light, which is electrically neutral at the moment. As a result, the following current flow path is formed: from the "+" battery through the LEDs to the size, and then through the light bulb to the body, which serves as a minus of the entire circuit. Due to the low current consumption (tens of mA), the LEDs start to glow, and the lamp spiral remains extinguished.
This schematic solution has several disadvantages:
- running lights remain in operation when the engine is off, which is contrary to current regulations;
- the circuit will not work if LEDs are also installed in the dimensions;
- the circuit will not work correctly if powerful SMD LEDs are placed in the DRL, the rated current of which is commensurate with the current of the light bulb;
- for safety reasons, an additional fuse must be installed.
This connection method can be improved by connecting the positive wire of the LED module not to the "+" of the battery, but to the "+" of the ignition switch, thereby getting rid of the first drawback.
When the car is parked at night, parking lights are used to indicate it, the use of DRL traffic rules is prohibited.
The following two methods have a common basis and imply the operation of daytime running lights only after starting the engine. The scheme for switching on the DRL from the generator is based on switching a four-contact relay and a reed switch.
- 30 - to positive terminals of LED modules;
- 85 - for the positive wire to the dimensions;
- 86 - to any output of the reed switch;
- 87 and the second output of the reed switch - to the "+" of the battery.
After checking the reliability of all contacts, they proceed to setting up.To do this, start the engine and, moving the reed switch near the generator, achieve its operation and a stable glow of the DRL. Then the reed switch is hidden in a thermotube and fixed in the found place with the help of nylon ties.
At the moment of starting the engine, and then the generator, the contacts of the reed switch and the relay close, supplying the supply voltage to the LEDs of the running lights. In this case, the size lamps remain off, since the current through the relay coil is small to light them.
In the absence of a reed switch, you can power the DRL from the oil pressure sensor. In this case, the 86th contact is connected to the oil pressure lamp. The rest of the circuitry is duplicated.
Now it's time to learn how to connect the running lights via a 5-pin relay. The scheme is the most versatile, and is assembled in order to eliminate the disadvantages of the previous options.
- 30 - to positive terminals of LED modules;
- 85 - on the positive wire of the marker lamp;
- 86 - on the car body;
- 87а - to "+" from the ignition switch;
- 87 - do not connect (insulate).
The circuit with a five-contact relay works as follows. When you turn the key, + 12V voltage is supplied to the DRL, thereby turning them on. If you turn on the side lights or headlights, the relay will open contact 87a and close the inactive contact 87. As a result, the DRL will go out and the dimensions will turn on. The circuit fully complies with the requirements of GOST and SDA and can work with side lights, even based on LEDs.

