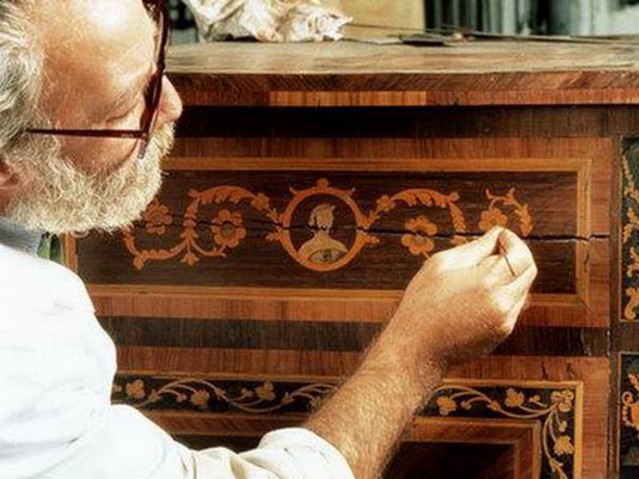
In detail: DIY woodwork repair from a real master for the site my.housecope.com.
Painted, varnished or untreated wood surfaces that have darkened with age, deteriorated due to improper use or storage are all suitable for restoration.
This process is not too difficult, and the tree lends itself well to restoration.
There are two ways to remove damaged paint or varnish layers.
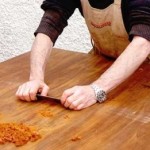
Mechanical - includes different techniques: heating, grinding, scraping, shaving.
It is suitable both for large flat surfaces (for example, a floor) and for small, geometrically uncomplicated objects (coffee tables, shelves, etc.). The chemical method is used for products with complex shapes.
The simplest method is to use washes that are suitable for most paints and varnishes.
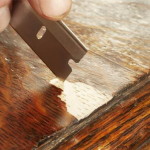
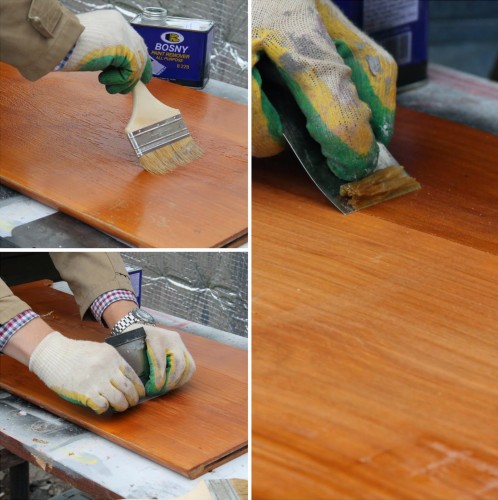
After processing, the softened layers are easily removed with a spatula, the surface is washed with water or solvent and dried within 24 hours. Dried wood is lightly sanded and must be free of dust.
After such manipulations, the surface becomes smooth, but at the same time vulnerable to adverse influences - it needs protection.
The main enemies of wood are mold, wood-destroying and wood-coloring fungi, as well as wood-boring beetles. To protect wooden surfaces from them, it is necessary to carry out treatment with bioprotective and biocidal agents.
Many of these formulations, in addition to antiseptics, contain flame retardants that serve as fire protection.
To remove dark spots that have appeared under the influence of fungi, atmospheric conditions, or simply from time to time, you should use wood bleach - it will return the affected surface to an almost original appearance.
| Video (click to play). |
After processing with these compounds, you can proceed to the next stage of the restoration.
Mechanical damage to wood is by no means uncommon. Chips, cracks and dents are removed with the help of hard wax (they rub over the affected areas) or putty.
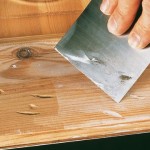
The putty is applied to a dry surface with a plastic or metal spatula, and after drying, it is sanded. It is important to choose the right color of the composition, it should not match the color of the wood, but the color of the topcoat, since when applied, the wood and putty will absorb the varnish unevenly, and it will not be possible to achieve uniformity of color.
For the final stage of work, a variety of materials are used. The stain emphasizes the texture of the wood and gives a rich color. Oil and wax based coatings make the wood smooth and pleasant to the touch.
Varnishes create a smooth and wear-resistant surface. If the initial coating cannot be completely removed or the number of defects is significant, it is better to use paint for the finishing.
To give a wooden product a touch of noble antiquity so beloved by designers, you can use craquelure varnish, which covers the wood with a mesh of the smallest cracks.
- For minor blemishes, you can use wax crayons, markers, or sprays to fill in minor damage - scuffs, dents, and cracks.
- It is important to accurately maintain the allotted time between all stages of work. If the wood is not sufficiently dry before applying the next coat, the surface will crack or deform.
- Before restoring wooden furniture, you must first completely disassemble it, and during the assembly process, replace the fittings with a new one.
Do-it-yourself countertop restoration
The dining table has worn out over time: scuffs have appeared on the wooden tabletop, veneer has come off in some places. I didn't want to change the table, so I decided to repair it. She spread bright striped curtains on the table, covered them on top with thick PVA glue and with a hard brush from the center to the edges "drove" each bubble from under the fabric, bending the edges under the table top. I dried it with a hairdryer and, for a more firm adherence to the fabric, I applied another layer of glue from the center to the edges, let it dry. Then she covered the table with four coats of acrylic lacquer, drying each one with a hairdryer.
So by the time my husband came home from work and the surprise of all the household, by the evening we already had a new table! The coating can withstand hot plates, and we put the pots on the supports for safety reasons.
On a note
In the process of work, a solvent got on the fabric, painted over the problem area with paint to match and varnished it.
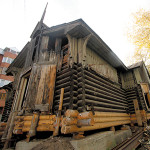
Restoring wooden houses, pieces of furniture, stairs, floors, window frames and other interior details or facade decorations is a common practice that allows you to extend the life of valuable or simply beloved wood products. We will tell you about the basic methods and rules of restoration work.
If you want to know how to restore an old wooden table - read our article.
Before restoring an old wooden table, you need to familiarize yourself with the rules of work.
Wood has been used by man since time immemorial for various purposes, including as a building material and raw material for the production of all kinds of products, furniture, musical instruments and household utensils. Remarkably, the material has not lost its relevance today, moreover, now wood is experiencing a new round of popularity.
Mankind began to get tired of new materials, the initial euphoria from realizing oneself as a creator passed, and many people understood the uniqueness and inimitable quality of simple natural raw materials. Indeed, it would be foolish to deny the superiority of wood in industries such as furniture, decorative coatings, building beams, musical instruments, boxes and other such products.
As you can see in the photo, wood is a uniquely beautiful material.
However, wood is a rather picky material that is afraid of a number of damaging factors, including moisture, bacteria, fungi, ultraviolet radiation and xylophagous insects. Even a properly manufactured and processed product does not last forever, and no amount of care will save it from aging and related problems.
However, most of the old and antique pieces of furniture, facades, bas-reliefs, panels, etc. made so well and beautifully that throwing them away is like outraging art itself. Often such items are inherited as ancestral memory. This is where the need for high-quality restoration arises.
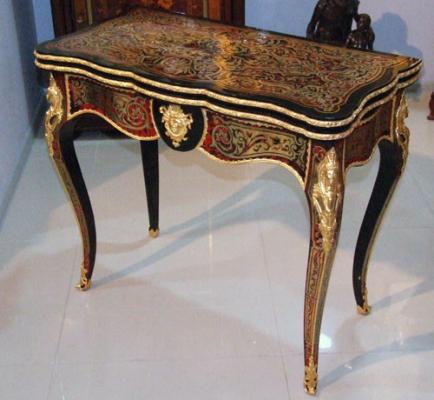
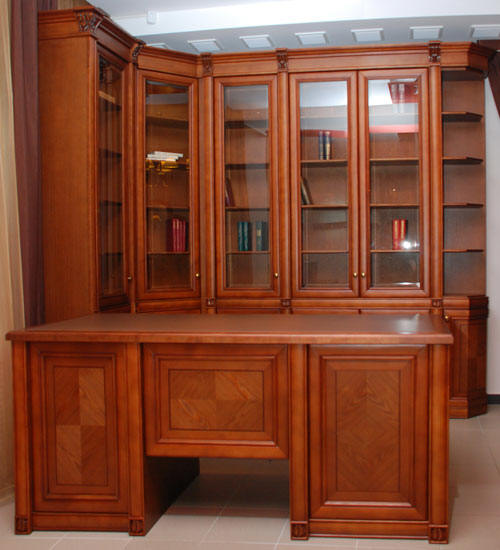
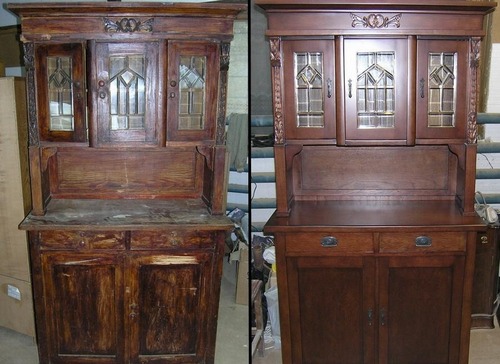
Old furniture after restoration looks much better than new.
Important!
The work of a restorer is partly a craft, partly an art, but for the most part it is routine painstaking work that requires the highest patience, endurance and accuracy.
There is another type of similar work that does not involve fine crafts and antique furniture. This is the repair and restoration of building structures, for example, restoration of wooden floors, facades or windows. A completely different approach is practiced here, but the essence of the technique remains the same.
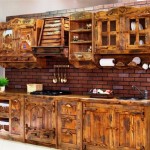
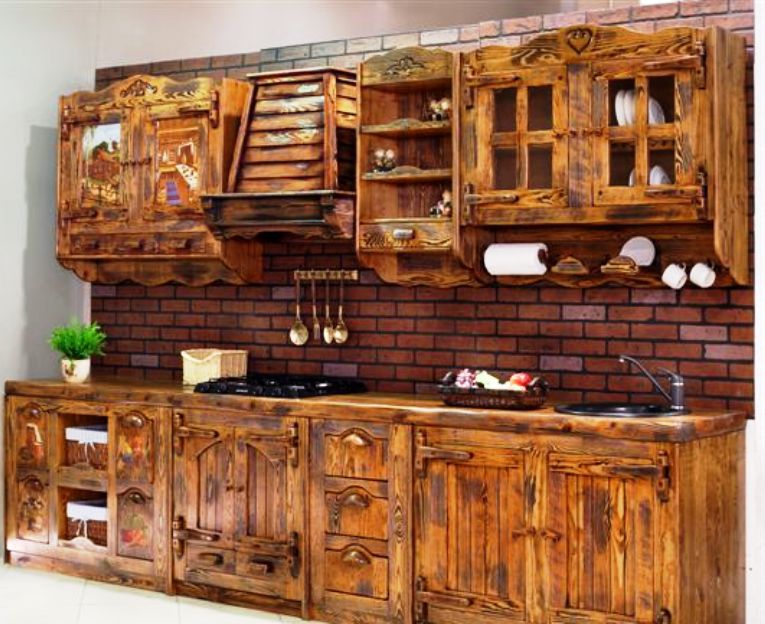
Do-it-yourself kitchen furniture will last a long time.
Initially, the word "restoration" was associated with works of art and monuments of material culture. That is why this term is often perceived as the most accurate restoration of the original appearance and shape of the product.
It is also important to extend the life or the very existence of the thing.This work is called conservation, and it is aimed at protecting the material from natural, man-made and operational destruction. Conservation, as a rule, is an obligatory part of restoration work.
Changing the shape, component parts, material composition, color and functionality of a product is called reconstruction. As a rule, reconstruction is not included in the number of restoration work, but sometimes it is impossible to do without partial reconstruction.
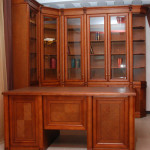
The result of the process should be a fully usable piece of furniture.
So, we can distinguish three main tasks of restoration activities:
- Restoration of the original shape, color, surface quality, finish, functionality and performance characteristics of the product;
- Preservation of the highest possible material quality by means of constructional or chemical agents. In the case of wood, it comes down to antifungal and antiseptic treatment, protection from moisture, fire, oxygen and ultraviolet radiation;
- If necessary, partial or complete reconstruction of the whole object or its details.
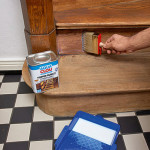
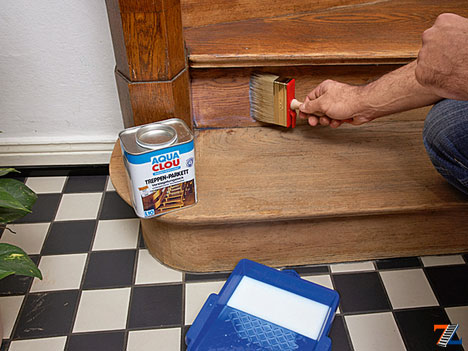
The restoration of wooden stairs is required especially often.
Since we are talking about wooden objects, we want to consider the specific features of working with this material.
Recovery measures are reduced to the following operations:
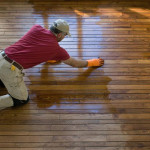
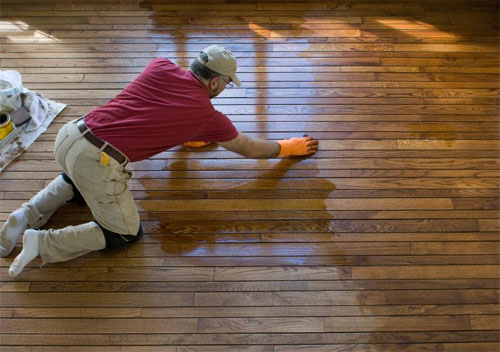
Do-it-yourself restoration of a wooden floor is able to return the coating to its original beauty and strength.
Important!
Often, restoration is understood as a cosmetic repair of finishing coatings, an example of which is the restoration of an old wooden floor or the replacement of old paint on window frames.
Only high-quality wooden furniture is subject to do-it-yourself restoration - this must be understood and recognized.
It makes sense to breathe a second life only into something that has served faithfully for many years. What was done by the masters with a capital letter.
Agree, furniture made of Chinese chipboard hardly falls under this concept. Its fate is recycling.
Old furniture, in which a piece of soul was put in during creation, should not die. Such things are an elegant decoration of any private house, any spacious apartment. Cleverly "refined" wooden furniture can become a key accent in the interior, inspire the creation of interesting design solutions - from classicism to Provence.
If there are small frivolous "injuries" on the furniture - scuffs, scratches - then they can simply be painted over. How? Any artistic paint: the only thing is that you need to carefully choose the color. You can hide the "treated" place with a special compound or ordinary transparent nail polish.
Deep scratches and cracks are successfully fought with furniture wax. On the market, you can find transparent or colored, soft or hard samples. Heat and rub in the product. In the case of using transparent wax, the area will need to be painted over with enamel or colored varnish.
Transparent wax is able to rescue your "property" more than once - it is more beneficial economically.
If there are chips or deep pits on the surface of the furniture from impacts, you will have to go to the store for putty on wood. The product should be applied gently, in thin layers, allowing each of them to dry thoroughly. When the defect is completely eliminated, the area must be sanded, wiped and covered with varnish.
If the state of your furnishings is so serious that one cannot do with varnish, paint and putty, only a major do-it-yourself restoration of wooden furniture will help change the atmosphere in the house.
Restoration technology step by step
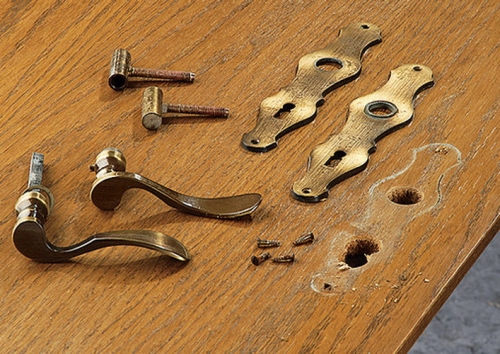
- Removing old hinges, fasteners, etc., if their reliability and appearance leave much to be desired.
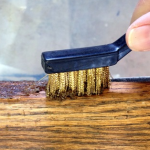
- Removing old paint. For this, the surface is covered with a paint remover using a flute, and an hour later they are passed over it with a spatula.Rusted metal elements are treated with a special solution. Decayed, dead areas of the surface must be removed with a metal brush. Then the structural elements are quickly rinsed under running water.
Note! Water should not penetrate deep into the wood - just rinse.
- Drying. It is carried out in the open air, but in no case under the scorching sun (several days).
- Putty. It is worth making a reservation right away - it is not always needed. For example, when the restoration of oak furniture is carried out and there is a desire to preserve the effect of antiquity on a surface that has not been damaged by time.
- Painting. Acrylic is perfect for painting prepared items - it will protect the wood from destruction. Of the enamels, alkyd is better - although it dries for a long time, it is of high quality. You can refer to the formulations in the spray. A sponge, brush, roller are used as a "working tool". Two or three layers of coating are made, each of them is allowed to dry thoroughly. As for the color scheme, cream, coffee, peach and other pastel shades will be just right, especially for painting.
- Varnishing. Choose a glossy, matte or silky varnish, depending on how much shine you want.
- Painting. This item is solely at your request. Do you want to show your creative ambitions? So why not! For a Provence style house, choose a floral and floral theme, for a country house - stripes and squares. In general, you can come up with your own unique style - the main thing is not to overdo it.
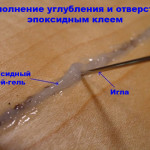
If it becomes necessary to glue individual structural elements, you should use a two-component epoxy adhesive. Both surfaces are lubricated (a certain pause is maintained) and compressed tightly. During the day, things do not touch.
In some cases, the restoration of old wooden furniture may require replacement of backs, walls, doors, legs. What to do? Of course, ask experienced craftsmen to make an identical part. At home, it is not always realistic to crank up such a scrupulous business, since machines, cutters, etc. will be required.
The restoration of oak furniture, as well as furniture made of walnut, ash, and spruce is definitely a worthwhile undertaking, they throw it out only if there is absolutely nothing to be done.
Views: 4442
Comments: Comments on the record Do-it-yourself wooden furniture restoration disabled
Before talking about methods of restoring wooden furniture, I would like to clarify that this procedure is only suitable for high-quality products. In other words, if a master put his soul into the process of making a thing, then saving such an object is a matter of honor. Breathing a second life into a flimsy Chinese table made of chipboard will only be a waste of your time and energy. The magic of restoration is able to turn a thing, crippled by time, into an elegant work of art that will delight several more generations of its owners.
In Italy, there is an interesting custom - on New Year's Eve old things fly from the windows of houses onto the street: tables, chairs, vases, cabinets and even appliances. This tradition goes back to the Middle Ages, when people believed that starting a new life should be completely clean slate, getting rid of all the junk in the house. Modern Italians are more economical and rational, so today you can not be afraid that someone's stool will fall on you on New Year's. On the territory of the post-Soviet space, the situation is much more serious - people who are accustomed to living in short supply for years are simply unable to get rid of their own old furniture. Resourceful craftsmen cleverly repair rickety wardrobes, polish scratched tables, and things regularly serve their owners for many years to come.
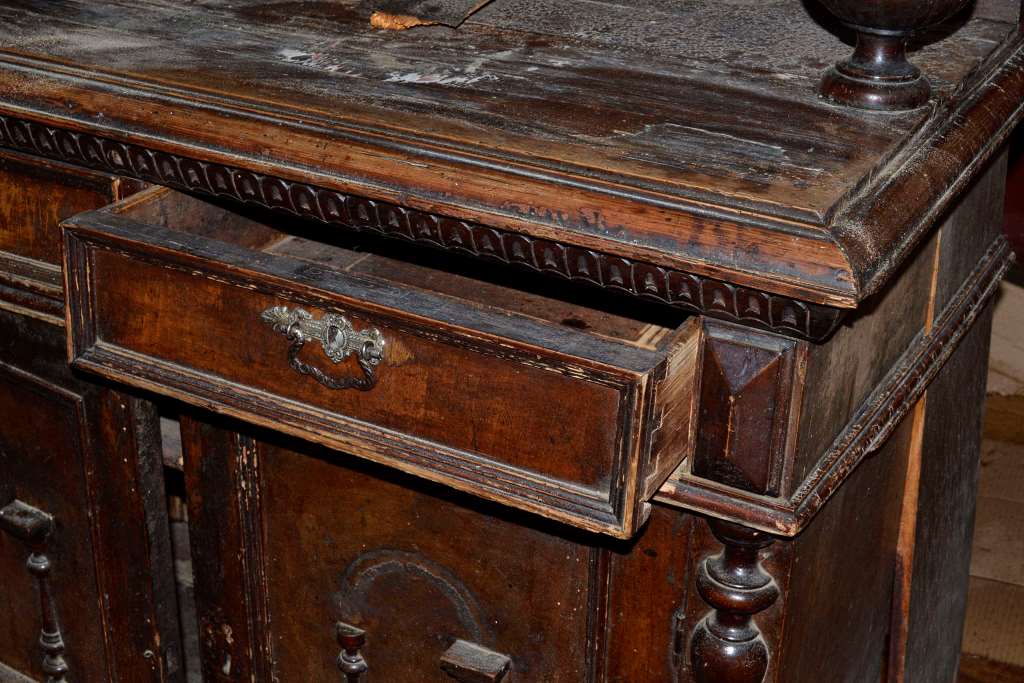
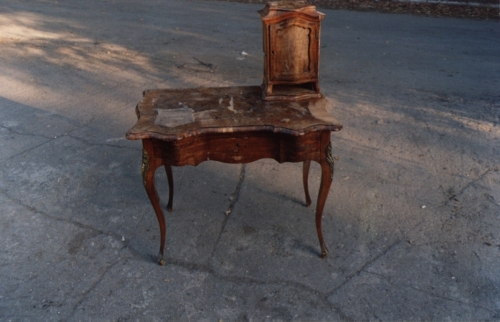
The restoration of old wooden furniture is not just the correction of defects, but a true transformation and return to the object of its former gloss and luxury.Naturally, this applies only to solid furniture made of precious woods or beautiful carvings, works of talented craftsmen of the past, or just things made with conscience.
Small "injuries" in the form of scuffs and shallow scratches on furniture can be dealt with in no time. If the piece of furniture was not used as an exhibit, but was used for its intended purpose, then such defects are completely natural - worn out corners of the chest of drawers, scratches on the countertop, etc.
In this case, special retouching markers and pencils are used for restoration, which simply paint over the defects. You can buy them in specialized hardware stores or order them on the Internet.
Types of retouching markers and pencils:
Upholstery wax effectively helps to deal with deep scratches and small chips. There are many varieties of wax, ranging from soft transparent products to hard colored samples. To apply wax to a surface, you must first warm it up. Then rub the product into a scratch or chip with smooth movements.
If you use transparent wax to restore wooden furniture, then the damaged area must be painted over with enamel or tinted varnish. If you have valuable antique furniture or simply wooden items that you cherish at home, it will be useful to stock up on a jar of clear wax. It is not so expensive, but working with it is quick and pleasant. In addition, it is always better to immediately eliminate the defect than to wait until a whole "bouquet" of them accumulates in order to spend more than one day on restoration.
If there are deep chips or dents on the furniture, then ordinary wax will not be enough here - you will have to buy wood putty. You can buy it in almost any hardware store by choosing an option that is suitable for cost and color. The filler should be applied very carefully in several thin layers. Apply each subsequent layer only after the previous one has completely dried. When the chip or dent is evened with the surface and the defect has been repaired, sand the area with fine sandpaper, wipe it with a rag and cover with a layer of varnish.
Very often, ugly stains are found on old polished furniture. This is especially true for kitchen furniture or coffee tables - traces of accidentally spilled coffee or wine, oil stains, etc. Finding out the origin of the stain is often difficult, especially if you bought vintage furniture from a junk dealer. In this case, gasoline will help you.
No, we will not burn the stained furniture, but we will try to clean it. Gasoline is an excellent solvent for stains of unknown origin.
- Dampen a rag with gasoline and wipe the stain.
- If after drying it still remains, repeat the operation and rub the stain at regular intervals until it disappears.
- Wipe the polished surface until it shines with a cloth rag.
- Restore damaged polish by rubbing the furniture with a mixture of linseed oil and denatured alcohol.
Spots from hot objects (kettles, irons, pots, etc.) can be dealt with with regular alcohol or vodka.
- Dampen a swab or rag with alcohol and wipe the damaged area. If necessary, repeat the procedure several times, waiting for the alcohol to dry.
- Restore the polishing surface with a mixture of linseed oil and denatured alcohol.
- In case of severe "burns" it is necessary to make a mixture of drying oil and alcohol. Wipe the damaged area with the resulting compound until the stain disappears. Then wipe the area with pure alcohol and polish with a cloth rag.
If the varnish and putty are not enough to restore its former beauty, it is necessary to proceed with the complete restoration of wooden furniture with your own hands. In this case, the effect will be simply amazing, and the nondescript wreck will become a real source of pride for its owner.
To get rid of the old coating, be it varnish or paint, you need to purchase a special remover. As a rule, for the repair and restoration of furniture made of oak, cedar and other valuable species, emulsion washes are used. They are slightly toxic and are not able to harm the tree. In addition, the risk of fire for such compounds is close to zero, which is especially important if you work in your apartment.
Washer tips:
- The wash will "corrode" the old coating in one go, it is enough just to apply the composition to the surface with a flute brush and wait for the right time (indicated on the package). Usually, to remove the polyester varnish, you need to wait one and a half to two hours, and in the case of nitrocellulose or alcohol varnish, you can start cleaning within 20-30 minutes after applying the wash.
- It is recommended that you scratch the polyester before covering it so that the compound penetrates quickly and evenly. Using a regular nail or awl, scribble a mesh with cells with a side of 15-20 mm.
- The consumption of the remover is from 300 to 500 grams per square meter of surface. Cover the furniture with waxed paper after application.
- After the specified time has elapsed, remove the remnants of the old paintwork with an ordinary spatula and rinse the surface with a solvent.
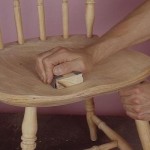
It remains to dry the furniture for one and a half to two hours, and then grind it with sandpaper No. 5 or No. 6. When you wipe off the dust with a damp cloth, you can proceed with disinfection.
Furniture restoration involves not only renewing the coating, but also competent handling of the structure. So, if a thing has been gathering dust in the attic or balcony for a long time, if you bought it at a flea market in damp weather, in general, if the object has been in a place with temperature and humidity changes for a long time, it needs to arrange a gentle adaptation period. If you immediately start sanding and varnishing such furniture, then after a while it may dry out (cracks will appear), and all your efforts will go to waste. To prevent this from happening, the thing needs to be kept at room temperature for a day or two. Imagine that you suddenly find yourself in a tropical country with an unusual climate. You will need time to adapt to new conditions of life. Likewise, furniture must "come to its senses."
"Acclimatization" is the first step in disinfection. When the furniture is dry, you can start to strengthen it and fight fungi. You can be sure that there are fungi. If a thing has been in the aforementioned places for a long time with an unstable climate and questionable sanitation, then there will certainly be pests inside it. Special antifungal drugs will help get rid of them.
Means for disinfecting wood at home:
- pentachlorophenol;
- stain;
- sodium pentachlorophenolate;
- "Drevotox" (from the grinder beetle);
- sodium fluoride;
- antifungal drug "Pentabos".
There are many other drugs that you can buy at specialized hardware stores.
To carry out high-quality disinfection, it is necessary to completely disassemble the furniture.
For painting furniture, acrylic or alkyd enamel is mainly used. Some people prefer sprays, as they allow the paint to be applied in a thin, even layer and even go into hard-to-reach places. For high-quality painting, you need to make two or three "runs", applying each subsequent layer after the previous one has completely dried.
If bonding is required, use a two-part epoxy adhesive. Lubricate both surfaces, wait a couple of minutes and press firmly against each other. Leave the thing for a day until the composition has completely hardened.
Finally, we recommend that you familiarize yourself with an interesting video about the restoration of an old chair:

