In order to protect the car, StarLine alarms are often used. Security systems are functional and reliable in operation. However, with prolonged use, car owners find that the Starline complex does not work. Car alarm key fobs are mainly faced with breakdowns, the repair of which can be done independently. First, you should find out the cause of the breakdown and choose the best way to eliminate it.
ATTENTION! Found a completely simple way to reduce fuel consumption! Don't believe me? An auto mechanic with 15 years of experience also did not believe until he tried it. And now he saves 35,000 rubles a year on gasoline! Read more"
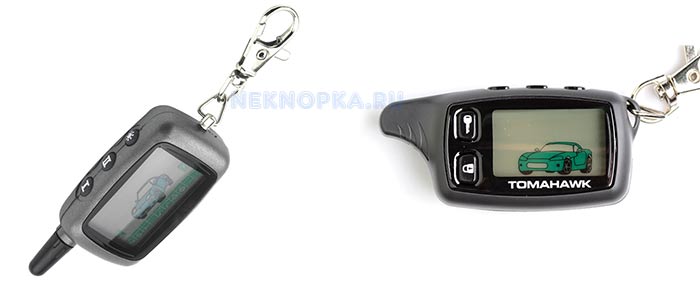
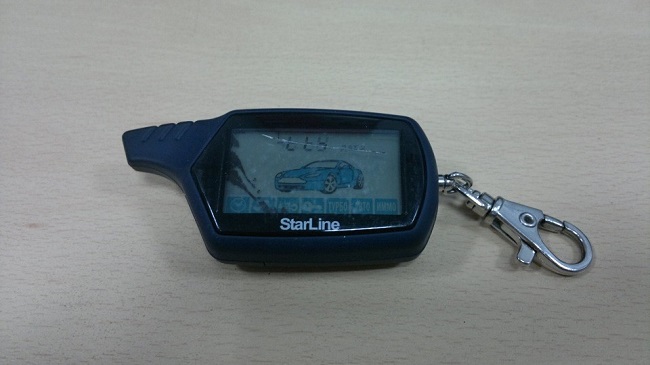
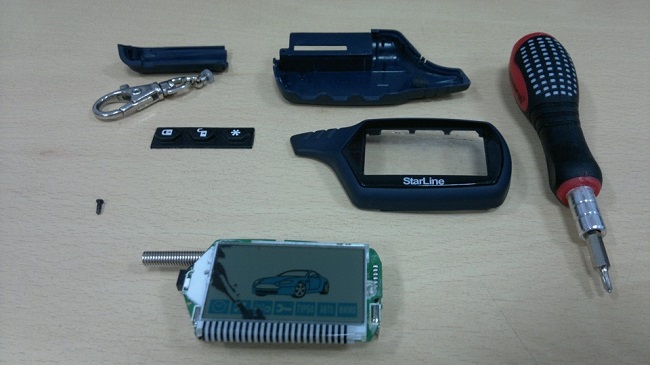
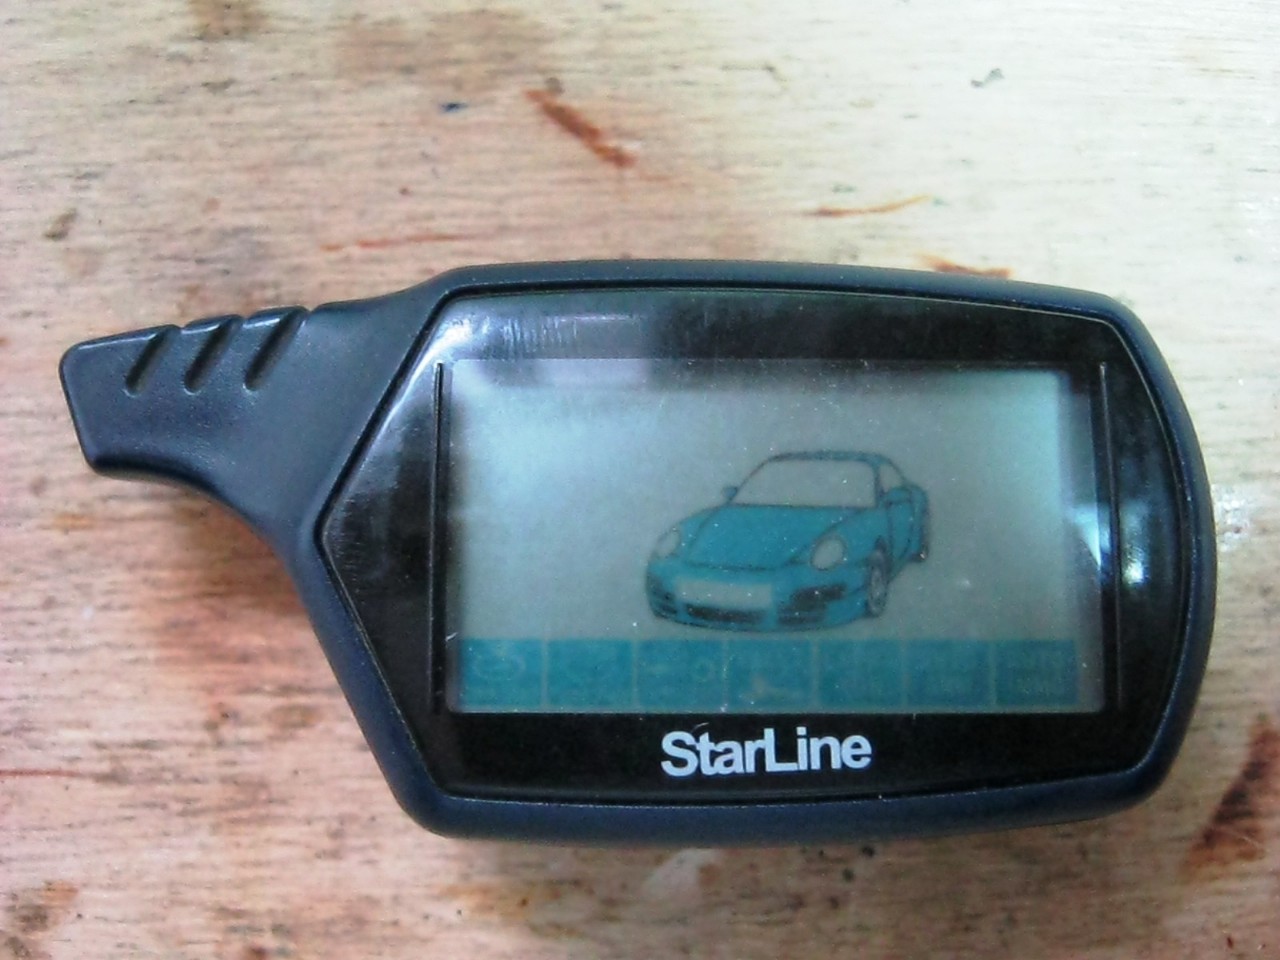
VIDEO The Starline alarm key fob is mostly dealing with damage to the display, so it's worth finding out how to repair it yourself. The procedure is simplified if it works normally and the glass is broken. Replacement will not require a lot of time and money. A cover that not all drivers use can protect the display and case in case of a fall.
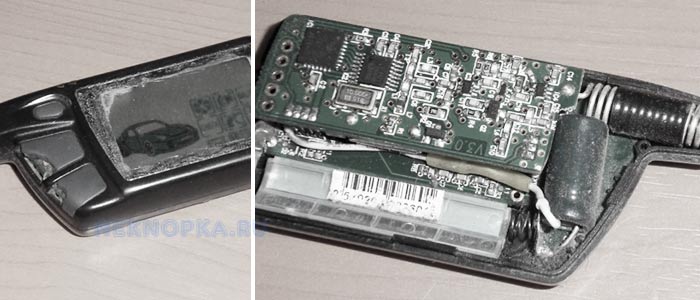
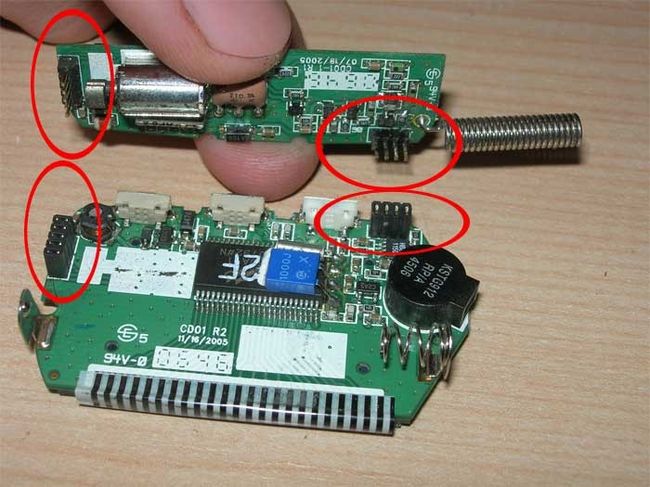
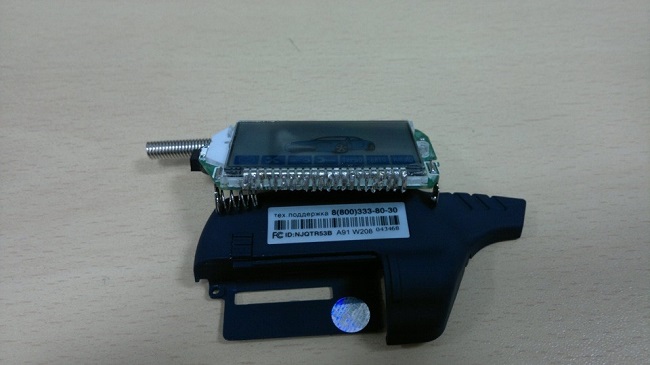
The next step is to install the board into the car alarm case. Basically, the part slides into place with ease. It can be difficult to install a new case and cover. If there are unnecessary pins in the new case, they must be cut off with a clerical knife. Then fasteners are installed on the car alarm panel using a screwdriver. Then you can put on the protective cover for the keychain. The display has a special protective film. It can be eliminated at the time of assembly of the device.
It is important to check the functionality of the key fob. The display must show all the necessary details, it must respond to pressing buttons and all alarm functions must be performed when necessary. If the device is fully functional, you can start operating the car security system.
Starline car alarm key fob often encounters malfunctions. To prevent them, you will need to install the cover and be careful during use. Spare parts for the device are inexpensive and easy to install. Do-it-yourself keychain repair is available, subject to the recommendations of specialists and following the proposed instructions. With a minimum of effort, the car owner will be able to use the car's security complex again.
It would seem that what is easier - to take and replace the battery in the alarm key fob. The owner himself will be able to perform this action without errors. Only now, after the replacement, the connection between the key fobs and the signaling is somehow lost. In fact, there is a loss of synchronization, and the consequences of this "loss" can be corrected according to the text of the manual supplied by the manufacturer. Here it is considered what actions should not be allowed when repairing car alarms, as well as immobilizers and key fobs.
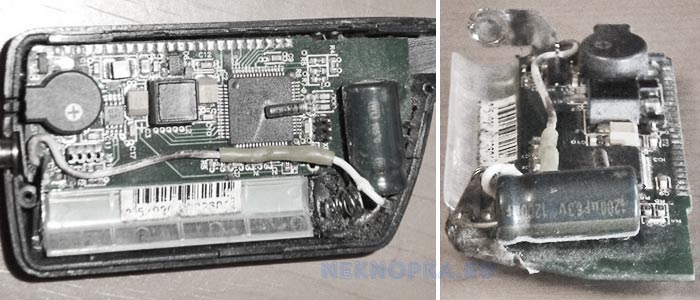
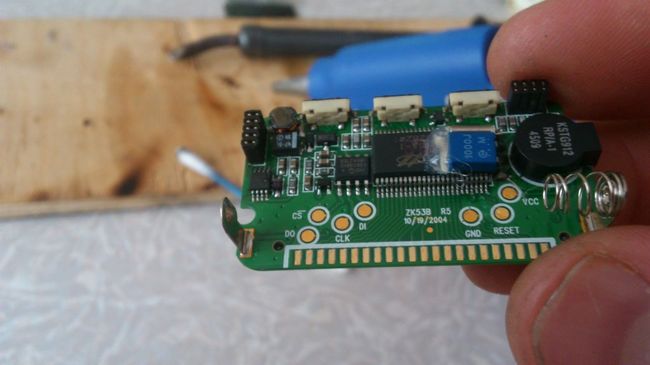
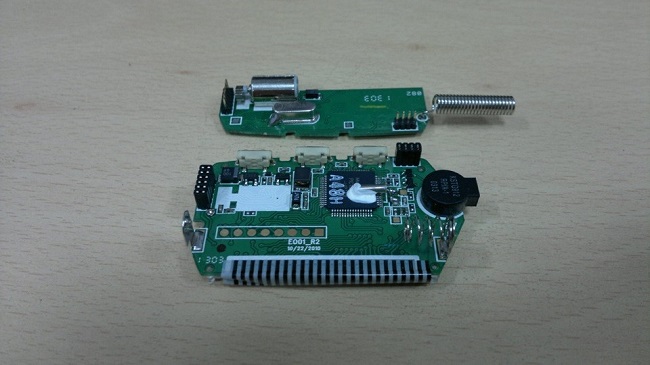
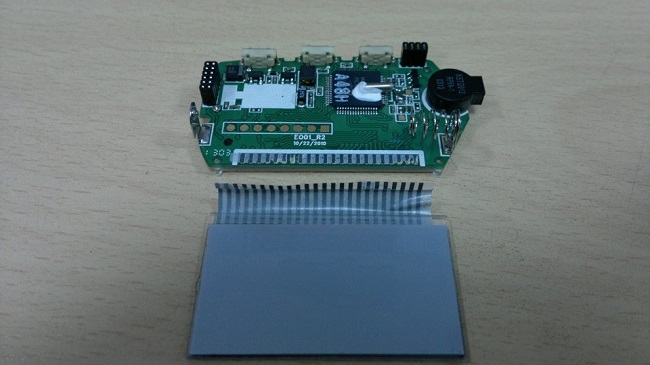
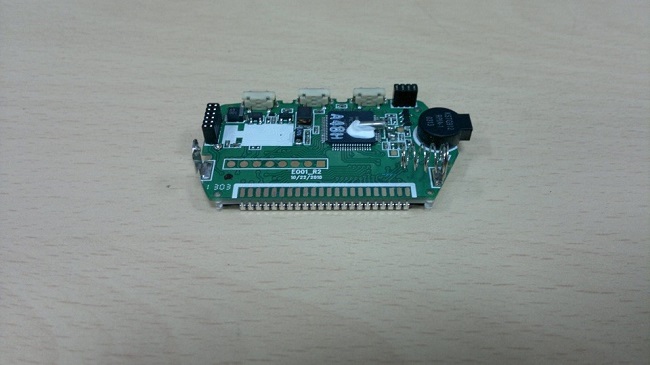
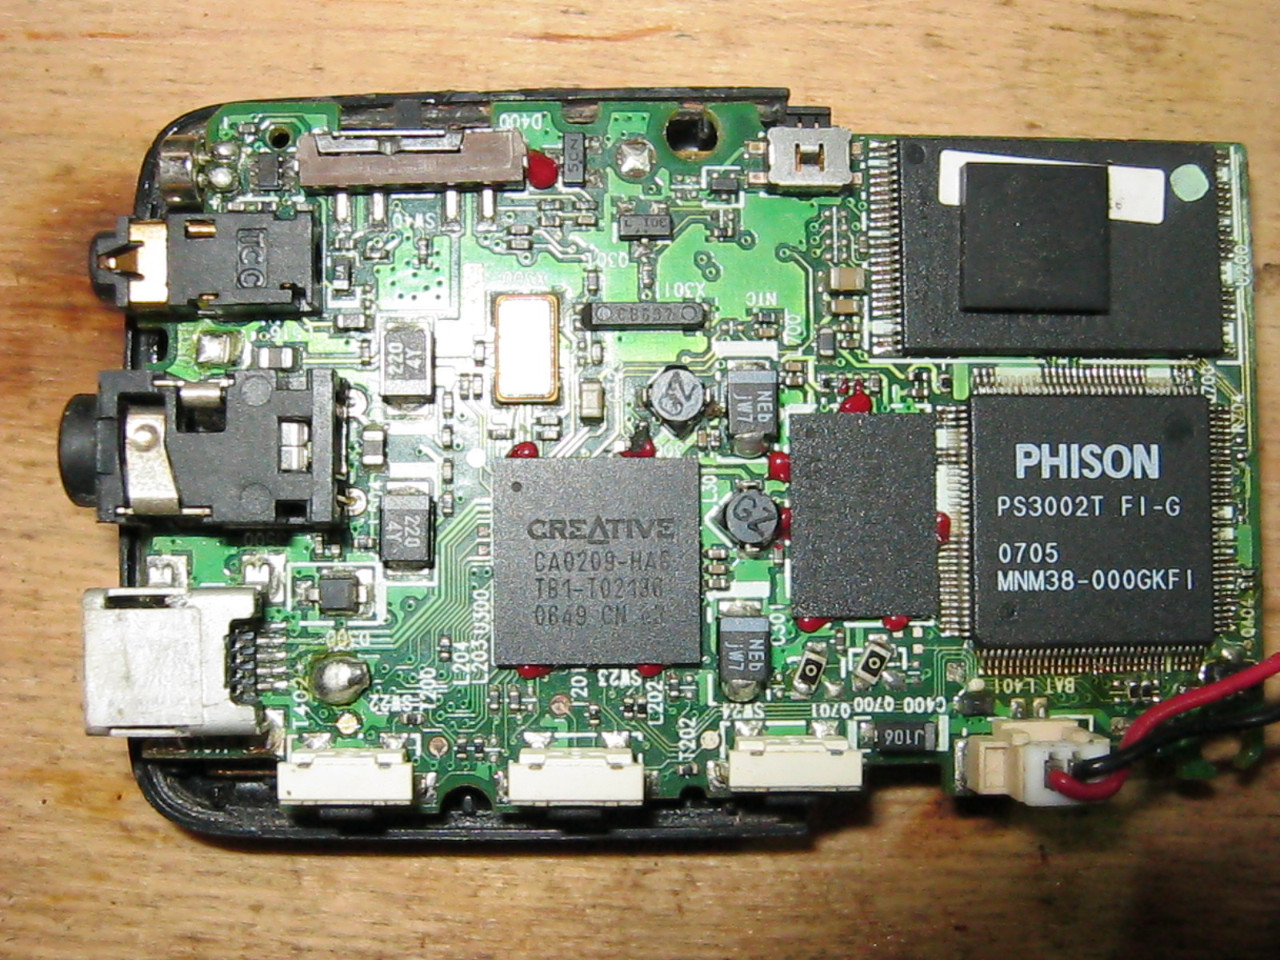
A key fob with feedback, or the so-called pager, contains several elements in its design. The display is connected to the printed circuit board via a ribbon cable. But it is difficult to solder this part (loop) in practice. This is precisely why the replacement operation has an increased cost.
Nevertheless, you can do this replacement yourself. What is proven in the video.
Having disassembled and opened the plastic case, you will notice an important detail covered with a metal shell. The cylinder is a watch quartz, and you need something similar.
Let's say the pager display shows that there is no connection. In this case, the repair of the alarm key fob is done as follows:
Solder the junction with the antenna, perform assembly, check;
If the defect remains, change the main quartz.
In general, the repair of car alarm key fobs does not involve searching for defects using special equipment. More often they are guided by logic, changing "suspicious" nodes and details. They also strive to eliminate mechanical defects: they replace button modules, restore contacts. The main thing is to remove all power supply elements before soldering. And wait 20 seconds.
Do-it-yourself keychain repair is a painstaking and difficult job. Having removed any battery, it will be necessary to restore the synchronization. But the equipment working with the dialog code does not lose synchronization.
Any modern car has a module that automatically blocks the engine. Such modules are called "immobilizers", and their malfunctions are characterized as follows:
The starter cannot be started even with your own (standard) keys;
Commands from the remote control buttons (key) are not perceived in any way.
It happens that the malfunction lies in the electronics of the console. But hardly anyone will undertake to repair it.
Here, it is considered how to repair the immobilizer, more precisely, the antenna and the main unit. The unit itself, at least, can be disassembled by hand, without using special equipment.
The standard equipment of the MAZDA GF-626 car is an immobilizer, in which the main communication frequency is set by a ceramic resonator. The specified detail looks like this.
Over time, the parameters of the parts change. Therefore, the repair of the immobilizer will consist in the following: we solder the "bad" resonator, install a new quartz in its place. The frequency of the quartz resonator can be selected experimentally (here the numbers 2.4576 are indicated on the case).
Let us make a digression regarding the choice of resonators. Having bought a replacement quartz with the corresponding numbers, a good result can not always be obtained. The reason is the following:
Low thermal stability;
Frequency jitter.
In general, a new part is selected as one of several. What you need to know when repairing an immobilizer, key fob and even an alarm. Who said it would be easy?
The immobilizer reads the data from the key, establishing communication with the latter by radio.For standard car systems, the following is characteristic: an inductive antenna is wound around the ignition lock. For example, you cannot start the starter even with your own keys, stitched in the memory of the main unit. Then the immobilizer repair begins with checking the antenna, completely disconnecting it from the connector.
The external view of the antenna module is shown in the figure above. It may turn out that the resistance between the black and white wire is equal to infinity (open circuit).
No one will be able to wind a similar coil with their hands. But you can do the following:
A soldering iron without solder is installed between the turns, and each turn goes through this way until the ohmmeter shows 5-10 ohms;
The gap is eliminated, even with the appearance of short-circuited turns.
When carrying out alarm repairs, you will not encounter the problem discussed here. The antennas are located there in a separate module, and their appearance inspires respect.
Consider the diagram of the main module of a homemade alarm.
The value of all resistors sometimes has to be selected so that the operation is stable. This must be remembered when repairing an immobilizer or signaling that does not have electromagnetic relays in its circuit.
Alarm repair is a difficult task, and special training is needed to solve it. But the block design provides for the replacement of blocks. This property should not be neglected in practice. The choice between the speed of repair and the cost due to the price of a block or module will be made by the owner.
There are many publications on how to fix a car's electrical equipment with your own hands. These publications provide advice: you need to disconnect the negative terminal of the battery. Probably, no one should neglect this recommendation. We wish you success.
VIDEO
It is not difficult to repair the alarm keychain on your own.
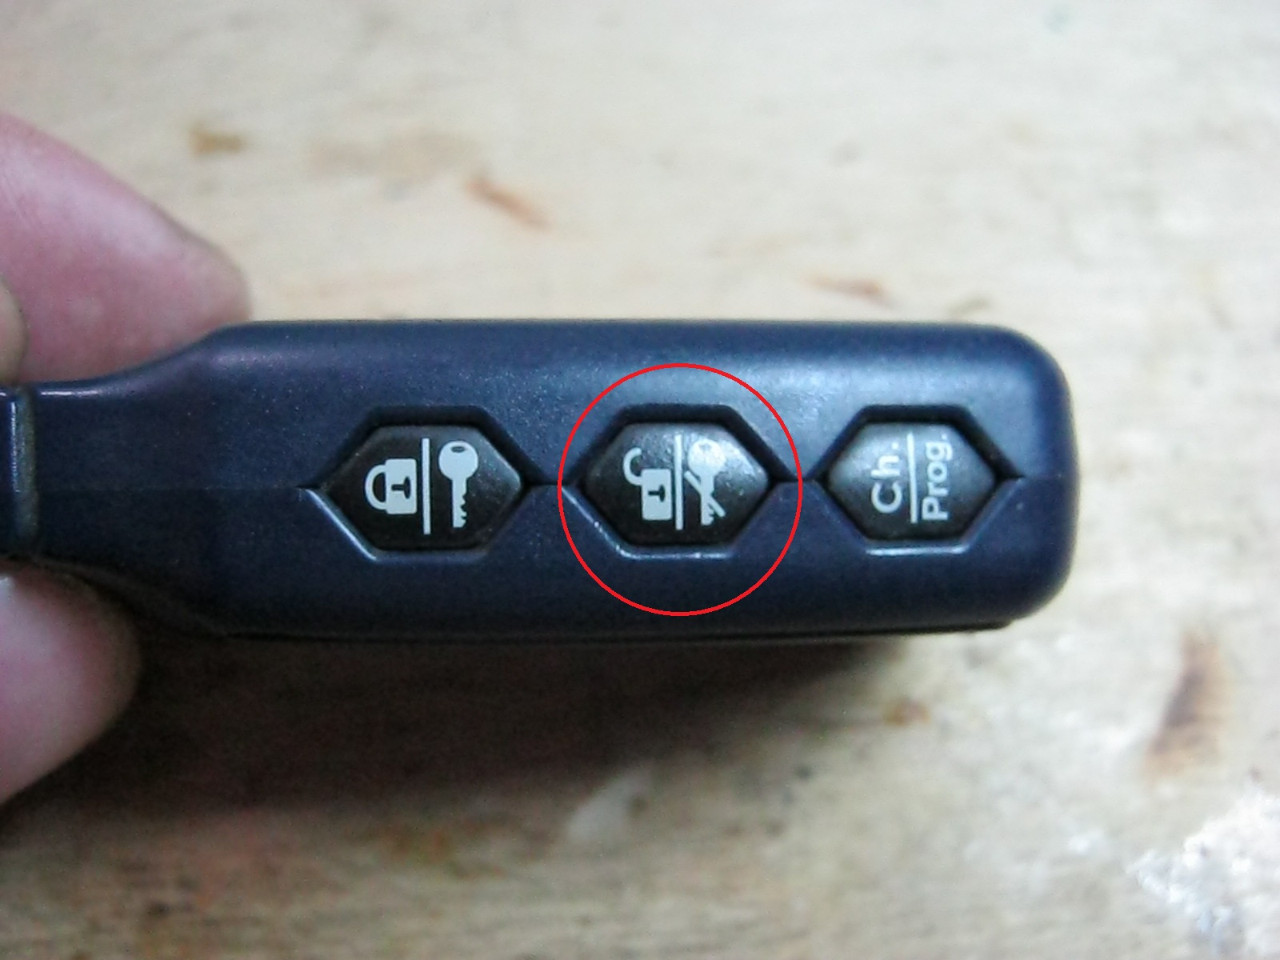
Received for repair here is such an alarm key fob:
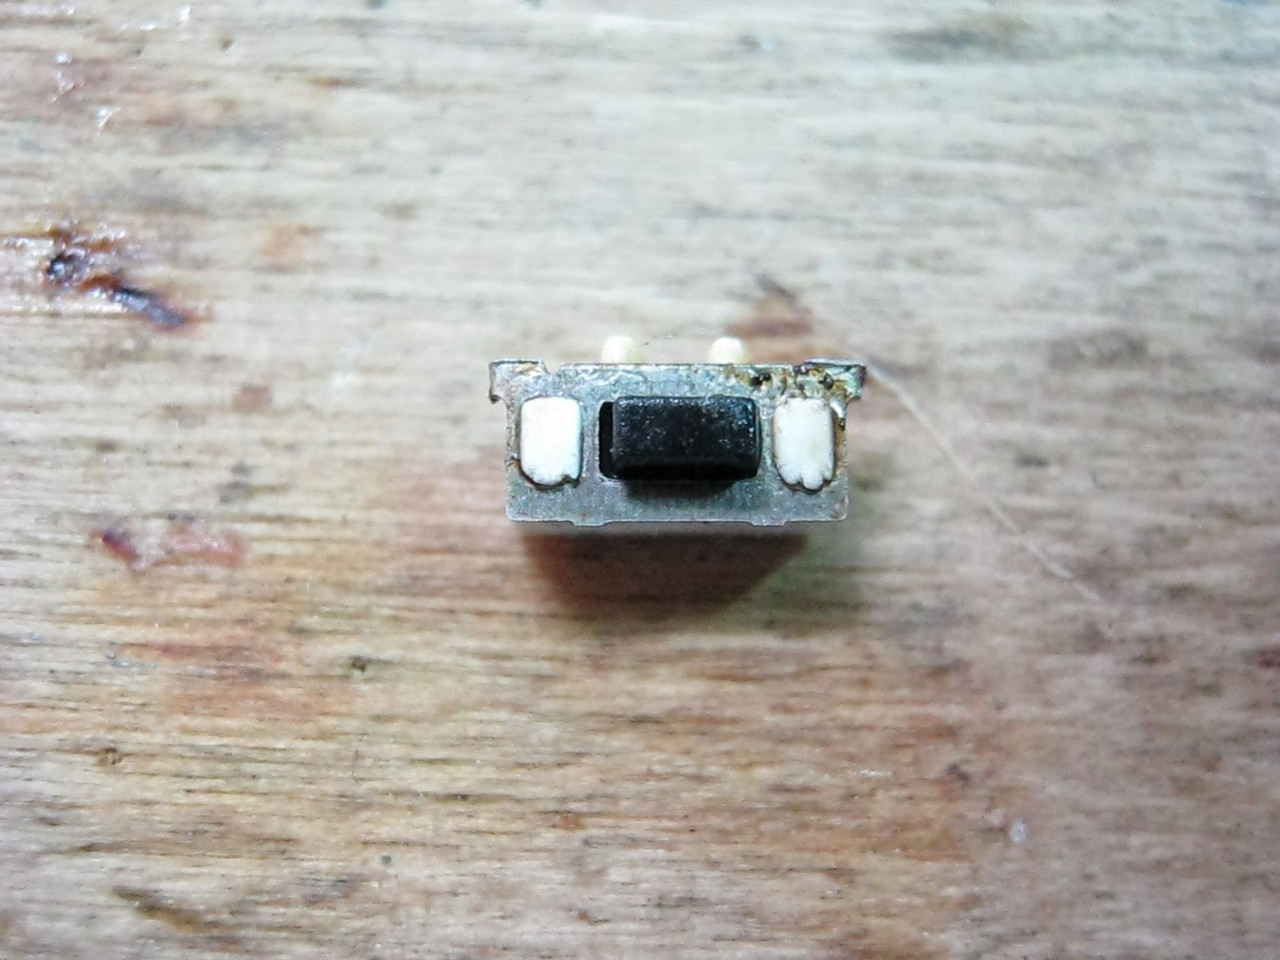
The client complains that the button for opening the car locks does not work for him, that is, this very button in the red circle
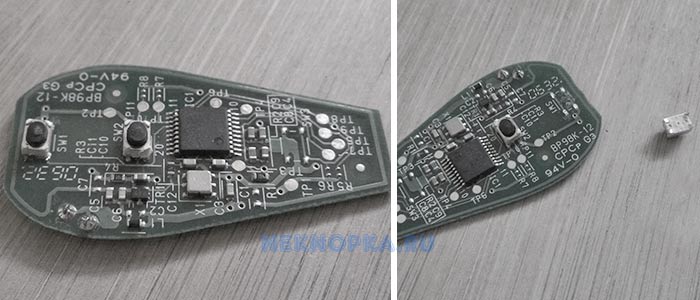
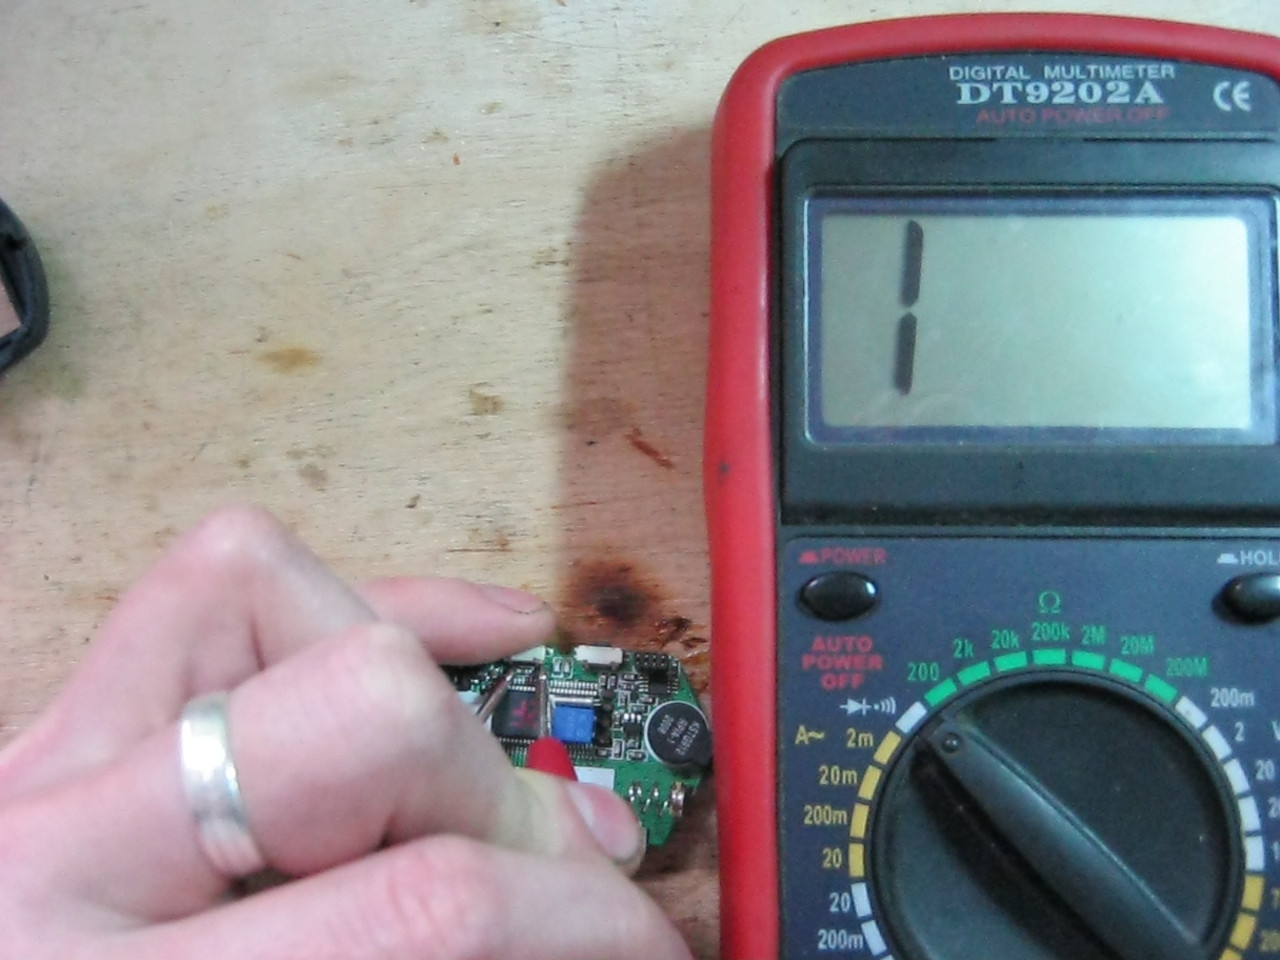
Gutting our pendant, and we find that very button, and here it is:
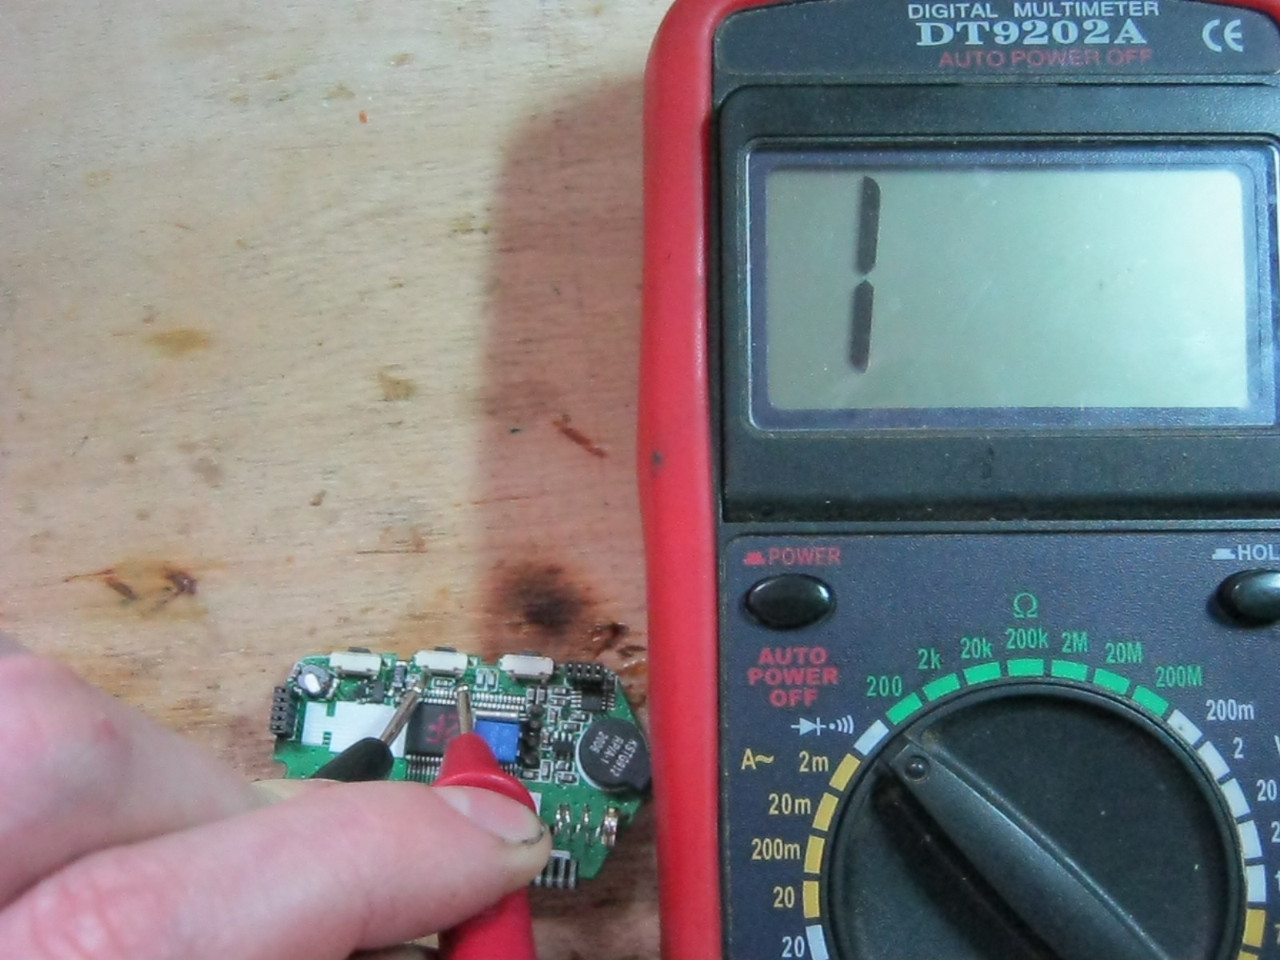
In order to check whether our button is alive, we take a cartoon, put it on the dial and touch the two bottom contacts of the button.
Next, we press the button, if it is working, before we have these two contacts should close together, and the cartoon should show zeros on the display and its proprietary signal "piiiiiiip".
But this, as you can see, did not happen with us. Hence, our button is dead.
It became a broke for me to go to the store for a new button. So I found a donor. It turned out to be a dead player. And here is his scarf with the same buttons:
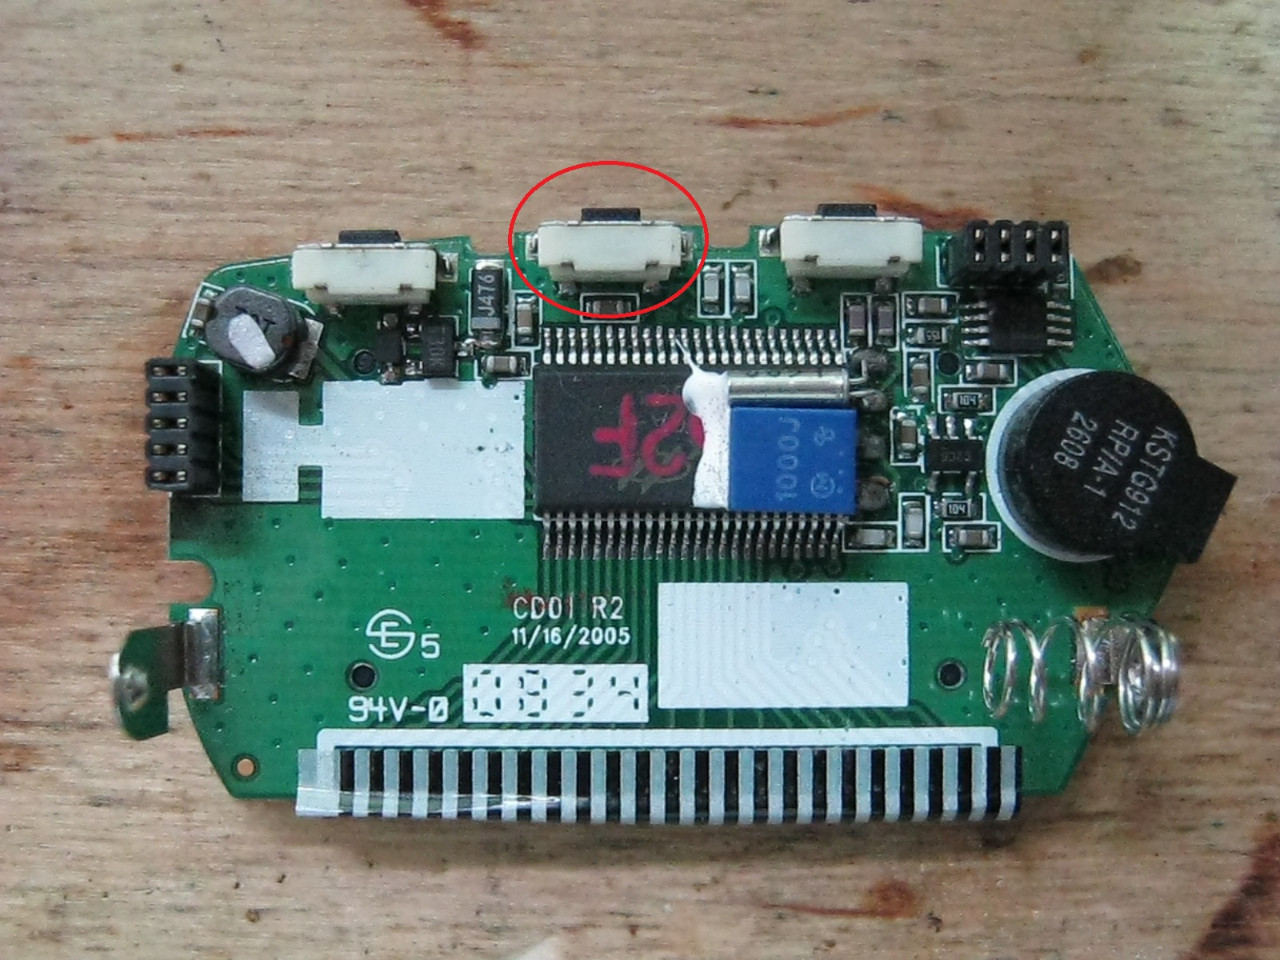
Well, it's time to drop the button out of there. It is most convenient to remove the middle button, since there are no radio elements nearby.
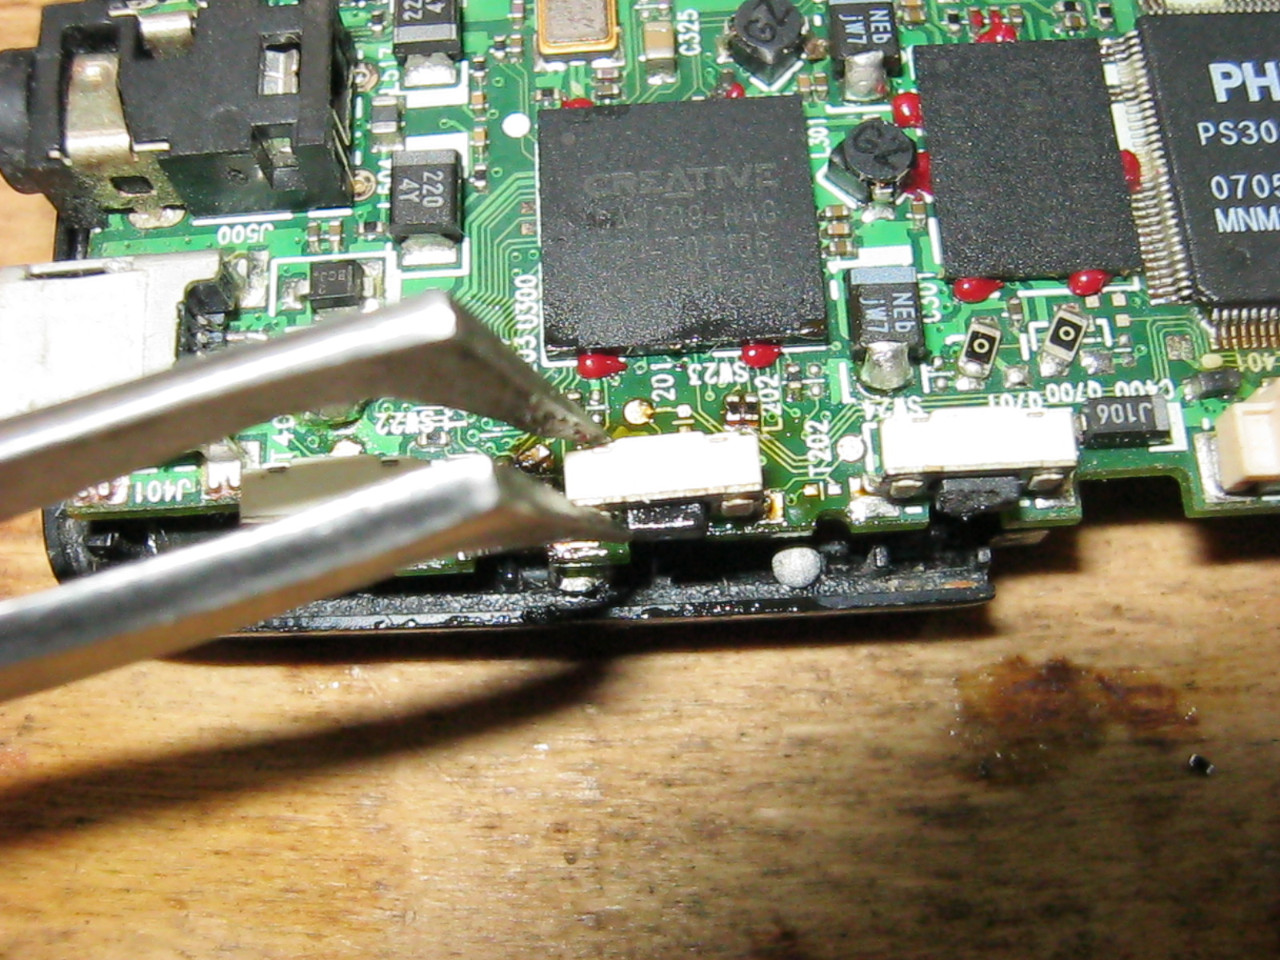
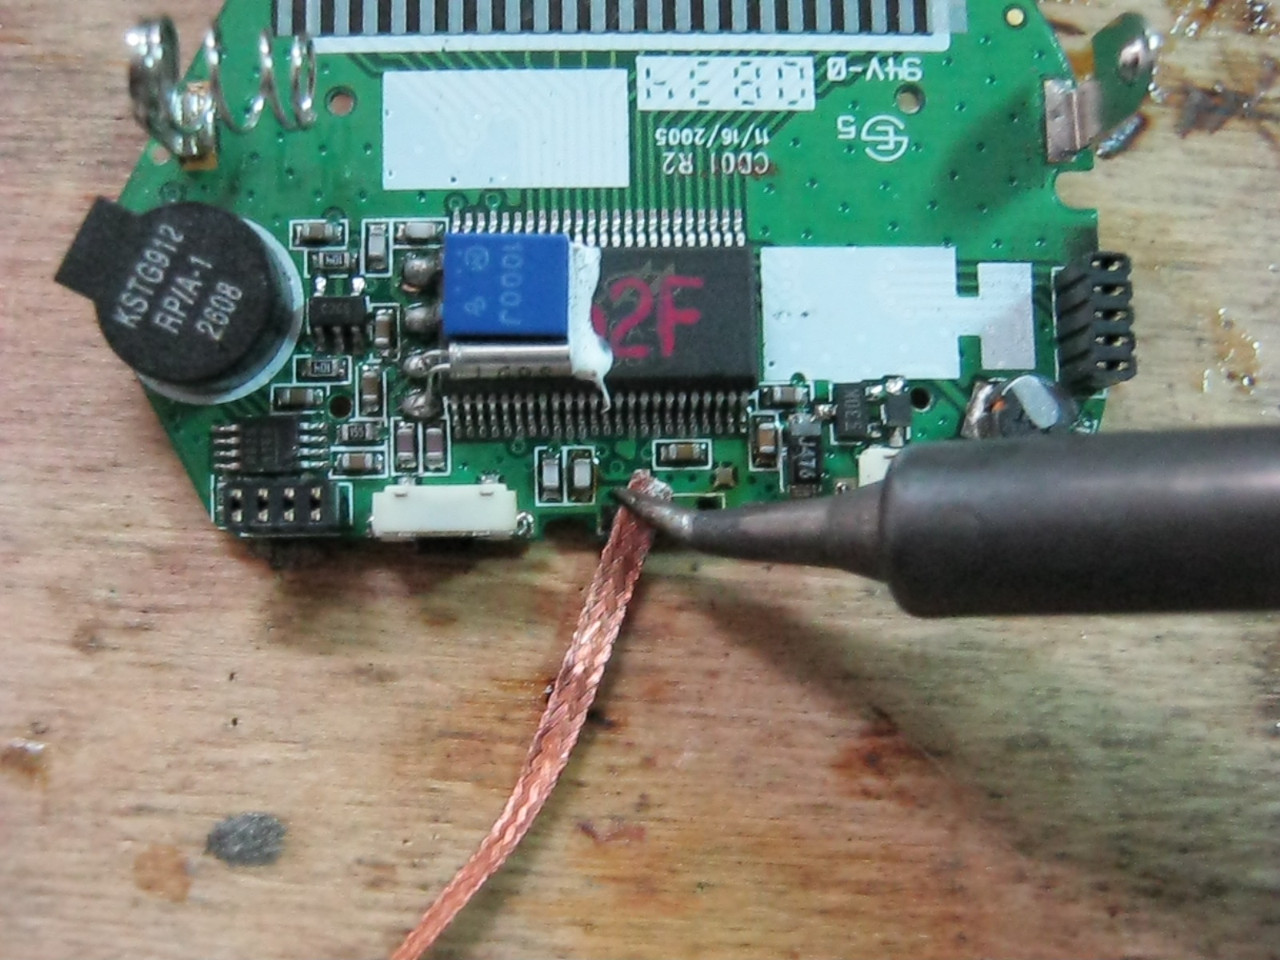
Lubricate liberally with FluxPlus flux, then apply Wood's alloy to all contacts, and then carefully remove excess solder using a copper braid. If even after all these procedures our button does not come off, then we take a hairdryer, set the wind to the highest flow, set the temperature within 250 degrees and blow on the button.
We check the soldering with tweezers, blow with a hair dryer all the time, and as soon as the residual soldering melts, we pry it off with tweezers
Voila! The button is soldered, alive and well
We clean it from various poop and tinker contacts. Who has forgotten what tinning is and how it is done, then this is the place for you.
A small lyrical digression. For buttons, soldered from the donor, the contacts can be slightly "powdered" with flux and a little bit of solder applied. To solder new button, we have to clean the contacts well, and tin them. Ordinary fluxes cannot properly wet the contacts of the pads, since the material from which these buttons are made is poorly tinned with an ordinary flux, like FluxPlusa. For such buttons, as well as for various connectors, I recommend you flux
very good thing, I liked it.
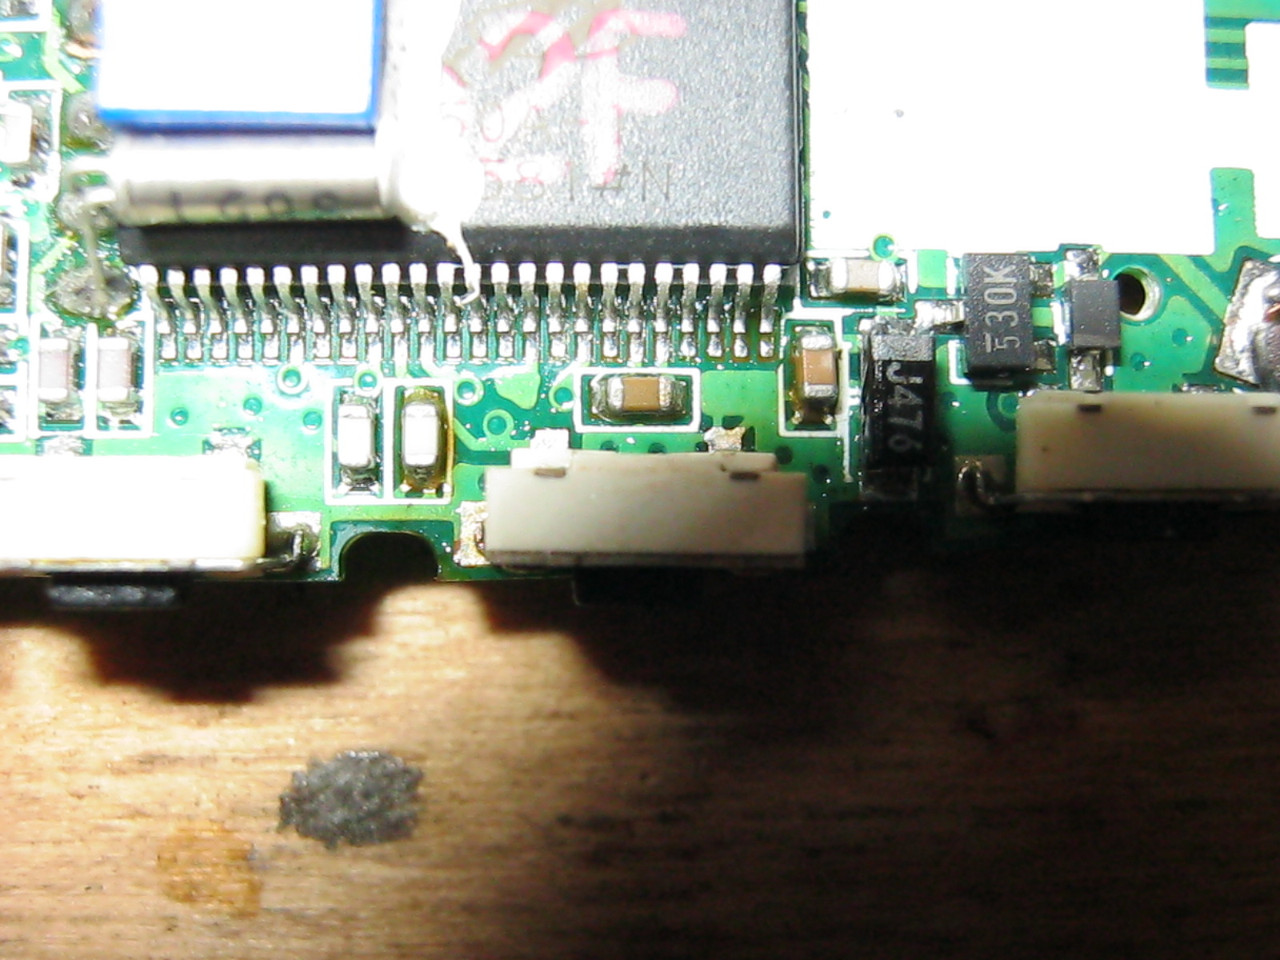
Well, we have tinned the button, now we are preparing our patient for the transplant.To do this, we clean the contact pads with a small portion of FluxPlusa and copper braid.
We put a button there and slightly grease the contacts with a flux.
And then, with the help of a soldering iron and a drop of solder on its tip, we solder all the contacts one by one.
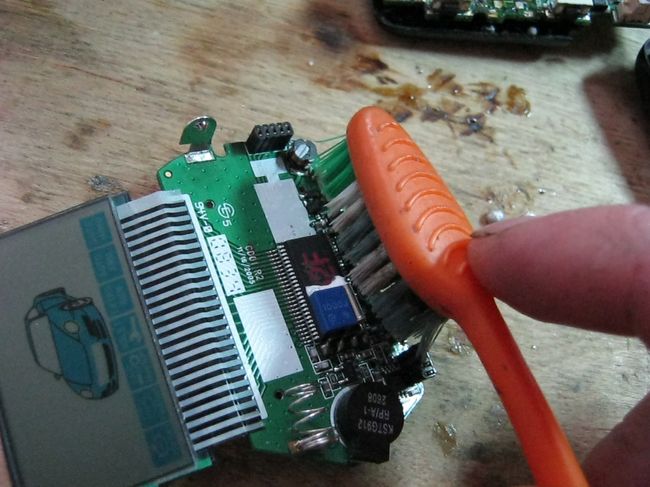
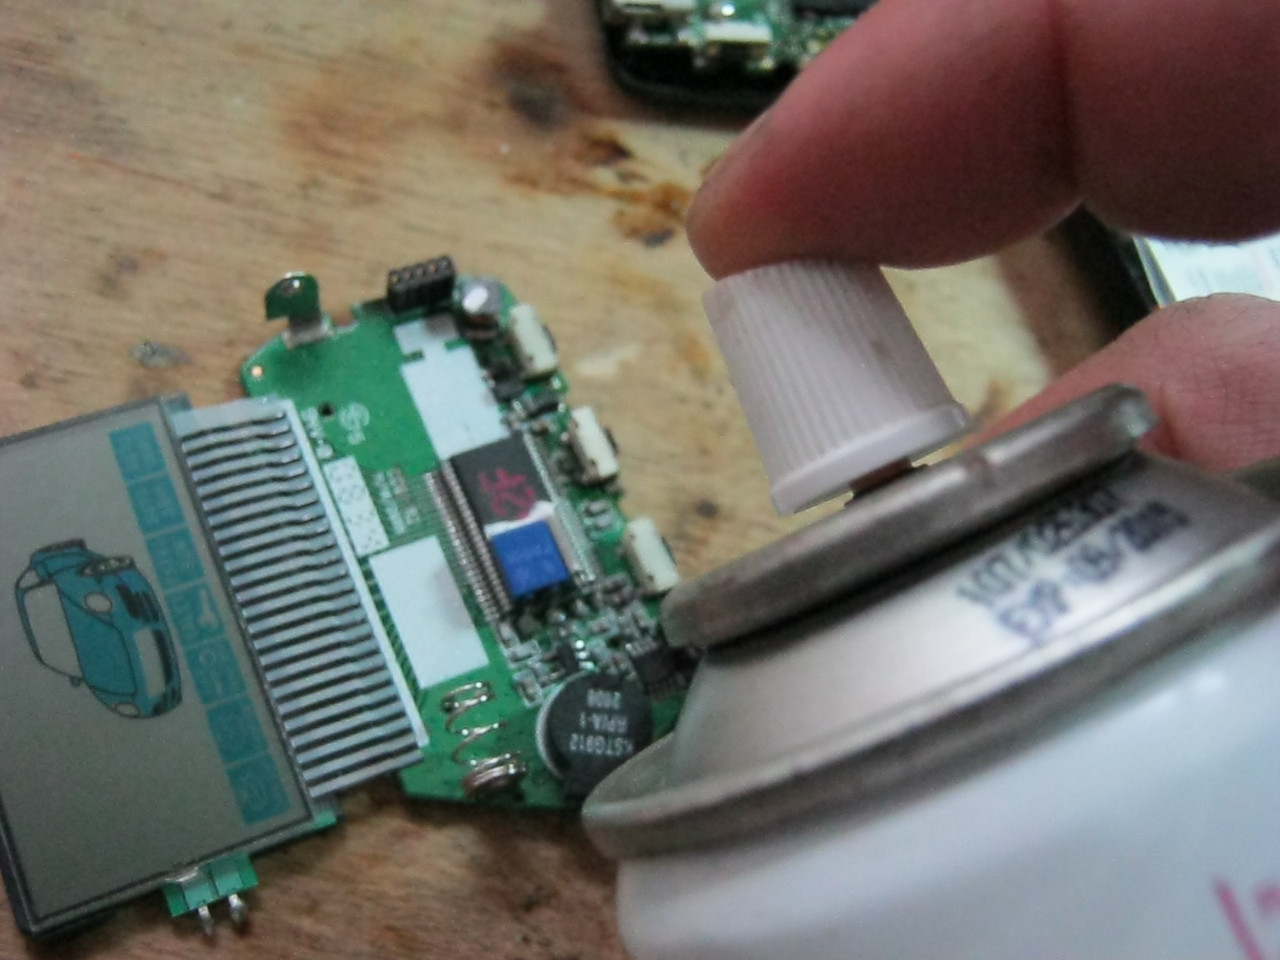
And we clean from poop and soot with a toothbrush
We collect the keychain, check it, give it to the owner.
All alarm faults can be conditionally divided into the following types:
nutritional problems;
wiring problems;
software failure;
false positives;
malfunction in the key fob.
Let's take a closer look at each of the malfunctions in car alarms.
You need to start with the key fob. Inspect it for mechanical damage and traces of water. If the key fob gets into water, condensation will form on the inside of the display lid. The operation of such a device (if it turns on) will be unstable. If the key fob did not fall and fell into the water, but the display is turned off and nothing happens when you press the buttons, then the discharged battery is to blame.
If the key fob is completely functional, but nothing happens when you press its buttons, then there may be two reasons for this - strong external interference or problems with the car and the alarm. Try to bring the key fob to the part of the car where the car alarm antenna is installed and press the button. If nothing happens, then the malfunctions need to be looked for in the car itself or in the alarm equipment installed on it.
Next, power and wiring diagnostics are performed. Check the battery charge and inspect the terminals for oxidation. The full charge of the battery can be easily determined by the operation of the on-board electronics. If everything is in order, then the next step is to check the wiring. To do this, you need a special tester with which the contacts are called. Inspect the wires for mechanical damage. Special attention should be paid to fuses. Usually they are in a box, which is located on the wire coming from the positive terminal of the battery.
If the cause has not yet been found, then a defect in the control unit or a failure of its software is to blame. It will not be possible to eliminate such a defect with your own hands, but with a software failure, everything is much easier - it is enough to carry out simple manipulations, which we will talk about below.
Most often, when the key fob falls from its board, quartz comes off. To eliminate this defect, it is enough to disassemble the keychain and solder the quartz to its original place.
To fix cracks in the display, you need to completely replace it. Remove the old display, strip the contacts and solder the cables of the new display. The process itself is not very complex and requires initial soldering skills. The difficulty lies in finding a new display. You can hardly find it in stores, so you will have to order from China via the Internet. Defects caused by water ingress cannot be eliminated by yourself.
Power and wiring problems are solved by stripping the battery contacts and terminals, and replacing fuses and damaged wires. To avoid unnecessary work, use the tester to find the exact cause of the problem and then fix it.
To resolve software crashes, you need to reboot the system. To do this, de-energize it by disconnecting one of the terminals from the battery for a few minutes. If this does not help, then set the factory settings of the car alarm. Step-by-step instructions for resetting the settings can be found in the instructions for your alarm model.
Video (click to play).
Most of the problems associated with the operation of car alarms can be eliminated by hand.It is better to entrust the repair of the control unit and other complex electronics to specialists. If, after following the above recommendations, the breakdown is not eliminated, then you need to contact a car service. To continue driving with a broken alarm, you need to master the process of turning it off with a secret button, which you can read about in the instructions for the car alarm.