Do not carry out all the repair work yourself. If necessary, the execution of repairs or only particularly complex measures can be entrusted to experienced specialists. Firstly, knowledge and experience will allow them to carry out repairs efficiently and quickly. Secondly, you do not have to buy expensive tools with which the screed is poured or the tiles are laid out.
Even if the process of installing an interior door seems simple to you, the slightest inaccuracy in this regard is unacceptable. Of course, you can hang and arrange furniture in the kitchen, level the walls and do a little painting yourself. However, entrust more complex repair work to specialists so that later you do not have to redo them, which will significantly increase financial costs.
When the preparatory work was completed: sketches and plans for the repair were drawn up, lists of all tools and materials were prepared, a decision was made about the possibility of repairing the room on your own or with the help of repair specialists, you will calculate the average total cost of the planned repair.
Do not rush to buy all the materials on your first visit to the store. In the lists of tools and materials that you have drawn up, put down the cost of various stores, which will save on purchases. Carefully consider the choice of the services of the construction team. Special attention should be paid not only to the cost of repair work, but also to the reviews of our friends about the quality of repair services.
To ensure that your furniture is reliably protected from damage, construction dust and dirt, collect it in a central area of the room. Then cover with plastic wrap. Therefore, free up access to the ceiling and walls. We recommend moving expensive equipment and clothing to other rooms.
Repair work should start with the most dusty ones: replacing windows, window slopes and installing new window sills. Thus, you will be able to avoid dust and dirt when painting, when it is forbidden to open windows, in order to avoid an increase in humidity and temperature extremes. When slopes, windows and window sills are installed, cover them with hardboard or plastic wrap to exclude accidental dirt and mechanical damage.
VIDEO Take care of marking the places for installing additional sockets, do the wiring of electrical appliances. At this stage, do not install outlets or connect them to the shield.
When using welding jobs (for example, when changing batteries), do them at the same time in different places in the apartment in order to quickly complete this difficult and dusty stage of work, which sometimes includes breaking down walls.
Before repairing floors, walls, ceilings, you need to carry out their condition with a water or laser level. Start by applying the thickest layers of the mortar. As they dry, you can carry out other small jobs without downtime.
Upon completion of this preparatory stage, proceed with the repair, performing it in the following sequence: repair of the ceiling, walls, floor. First, work is carried out using putty, gypsum, cement mixtures. Then proceed to the installation of the floor, doors and slopes.
The last stages of renovation work:
painting or pasting the ceiling;
painting walls or wallpapering;
installation of flooring;
installation of sills, plinths and platbands.
By following the correct order during the repair and having a clear plan of action, you can avoid many mistakes, save time and money. This is one of the main components of a durable and beautiful repair, along with the observance of technology and the quality of the materials used.
Old furniture, boring colors, uncomfortable zoning, scattered things because there is nowhere to store them ... All this can really interfere with life. At some point, it becomes completely unbearable, and the person makes a volitional decision: changes are needed. We will help you! We will fill you with inspiration, put together a collection of ingenious solutions, impressive interior changes and photos of great ideas for apartment renovation.
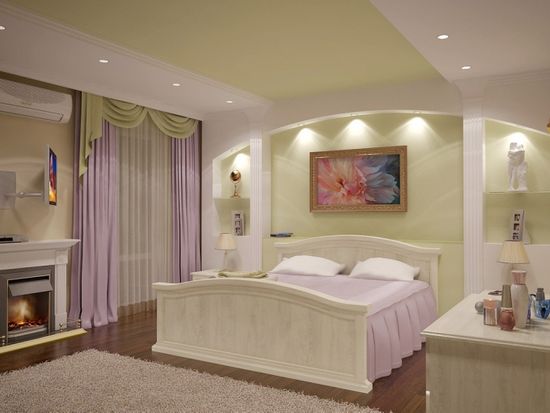
Photos "before and after" clearly show how good, constructive ideas and a couple of interesting techniques can transform any room. Colors, materials, new flooring and functional furnishings will change the apartment in ways you don't recognize. Narrow spaces will appear wider, gloomy ones will become pleasant, and in the same square there is room for all things. Magic? Not at all! Only skilful room planning and the right furniture.
Design project from All Design
Do you want a minimalist apartment decoration? Great idea! Stylish, functional, nothing more. Minimalist white is a great choice for small rooms that need optical magnification.
After opting for minimalism and white, look for furniture with simple shapes and clean lines. To avoid the feeling that you are in the operating room, set accents with wooden elements - parquet or laminate flooring, wooden furniture. Live plants will perfectly fit into the environment and add coziness.
In narrow rooms, light is of great importance. White walls and reflective surfaces keep the sun out of the way. Our tip: Avoid vertical placement of dark colors, and only place dark surfaces horizontally.
Design project Dziurdzia Projekt
The attic floor is often neglected, not used at all. But attic rooms have their own charm, their own individuality. From a technical point of view, waterproofing and window openings should be carefully considered if none are available.
Design project Superpozycja Architekci
Every housewife dreams of a large, beautiful kitchen with everything you need. When considering the design of your stylish new kitchen, consider the architectural features of the room and take into account the location of drainage and ventilation.
Design project Kliff design
The layout of the rooms in our apartments often leaves much to be desired. There is only one way out - imagination and creativity. Light pastel colors gave the room a fresh and relaxed mood.Our tip for narrow spaces: Avoid tall furniture like wall cabinets and bookcases as they visually take up too much floor space.
In the Scandinavian style, light is at the forefront. In no case should dark furniture be allowed to take away at least a piece of the available lighting. The dominant color is white. Several accents of gray and greenery of plants diversify the interior and make it cozy.
Minimalism is the perfect solution for the interior of a small room. The same color of walls and ceilings, painted white parquet and gray textiles create a single image. Tip: replace the handles on the cabinets with the push mechanism for opening the doors, as shown in the photo. The laconic facades have almost merged with the wall, making the room seem larger.
Most often, in the nursery, we need to find a place for the bed, and for the table, and for the closet ... And it often happens that, having placed the bed, we can no longer find a place for everything else. Our advice: don't buy ready-made furniture. Order furniture made for a specific room.
When making custom-made furniture, you will proceed from the individual characteristics of the room and the needs of the person living in it. You will be able to make optimal use of every centimeter of space. In the photo above, you can see a built-in wardrobe and custom-made shelves at the head of the bed.
Design project Czysta Forma
At a certain point in life, all children come to the stage when a person has his own view of what his room should be. The child has constant and serious hobbies, interesting topics for him. And in adolescence, when the time for wallpaper with bears passes, the child wants to participate in equipping his own room. A good solution for the decor of a teenager's room is functional furniture with a simple but practical design and color accents, set with the help of individual pieces of furniture and textiles.
In the design of a nursery, it makes sense to abandon themed wallpapers and furniture, which in a few years will no longer be interesting for the child. Our tip: bean bags and ottomans perfectly fulfill the role of multifunctional furniture, which will definitely please the little family members.
With the help of accents in the design of the nursery, you can play up the child's hobbies. At the same time, it is necessary to think over how these accents can be changed in the event of a change in the interests of the owner of the room.
Design project Tutaj Concept
This toilet used to be a pitiful sight - small, narrow and dirty. The designers extended the room and managed to find a stylish combination of all kinds of techniques: gray-blue colors, the floor is decorated with ornamented tiles, one wall is painted in a calm gray tone, the other two are covered with photo wallpapers that create a feeling of endless perspective.
A narrow bathroom with an awkward layout and a protruding water pipe is not the most attractive sight. Randomly scattered things do not add beauty to her. Our tip: combine two matching colors.
In this project, the designers combined white and wood, placing them on all surfaces. Glossy options were chosen for white tiles and furniture. Together with the mirror, reflecting light, they make the room brighter and visually enlarge it.
Design project Bluecat studio
A design project designed to renovate a small bathroom on a limited budget. The blue and white interior looks fresh and modern, and the bathroom is cozy and beautiful.
Design project Studio monocco
The idea of indirect lighting is very popular and works wonders, especially in small spaces. Create glowing "ribbons" on the longest elements of the bathroom - on the bathtub itself, washbasin or cabinet. Glossy surfaces enhance the aesthetics of the effect by reflecting soft light.
A safe bet is the bathroom interior in black and white.This design project is interesting for its extravagant black floor and brick-like wall texture, which is unusual for a bathroom.
Design project Dziurdzia Projekt
You have a very small bathroom, but you wouldn't want to give up a bathtub. A small bathtub designed for seating can be a way out. Our advice: choose narrow furniture and light colors.
Even the smallest bathroom needs storage space. A stone stand for small items and compact built-in cabinets with glass facades will come in handy and will present a narrow room from the advantageous side.
Of course, if you also need to place a washing machine in a small bathroom, the room will become even smaller. In this case, you need to find a very clever solution. Designers fit the washing machine into a series of built-in wardrobes, combining the entire lower level under one worktop. A wall cabinet with mirrored facades was placed at the top. The entire interior is designed in gray and white colors, which could have looked rather boring if it were not for the bright green accents, placed with the help of textiles and trifles.
After reading this article, you will learn how to renovate a room with your own hands, how to come up with a design, choose finishing materials and, step by step, complete all the work.
The houses, designed 20 years ago, have balconies that tightly block the windows. Thus, sunlight cannot enter the room at all.
The atmosphere of home comfort, according to an old Soviet habit, is created by lining up brown cabinets on one side, and the opposite wall is usually occupied by a row of seats (a sofa and a pair of monster armchairs).
The view of the cabinets from this angle is indeed the most panoramic. Thus, the missing feeling of a narrow corridor is given to the room. Carpets on the walls with psychedelic patterns complement the cozy interior of a typical room in a typical apartment. Sound familiar?
When deciding what repairs to make in the room, first of all get rid of the trash, as well as the design ideas of a past era. Bright rooms, cheerful colors, functional furniture and large spaces are in vogue today.
Decide which room to start the renovation from. According to all the rules, major repairs in an apartment begin from its farthest corner.
Last but not least, the hallway is being repaired. Why? Because the corridor is the most passable place in the apartment. Therefore, construction debris, dust and dirt will appear here one way or another. Not so offensive if they cover up the old trim that you intended to remove anyway. But if the debris settles on the brand new recently finished walls in the hallway, you quickly realize your mistake.
Having decided on the place of repair, decide how the outcome of your work should look like. Do you want to make only cosmetic repairs or are you dreaming of global interior changes?
On a sheet of paper or in a specialized computer program, create a sketch of the future room. Once the “project” has been approved with the family and aligned with the budget, write down the step-by-step steps to achieve your goals.
Note! Even if you are very economical in spending money on repairs, at the stage of drawing up a design project, it would still not hurt to use the help of professional designers. They will help not only to competently change the interior, increase the space, but also to choose finishing materials that fit perfectly into your budget.
VIDEO
The sequence of repairing a room, like any other room, as a rule, does not differ in variety.
Repair begins with the removal of old coatings from the walls and ceiling. If you plan to remodel the flooring, the demolition work will also touch the floor. .Preparation for dismantling consists in taking out all the furniture. If this is not possible, it is better to cover all surfaces.
At this stage, the wallpaper is removed, paint and plaster are removed from the walls and ceiling. Further actions will depend on what kind of decoration of the apartment with your own hands you are going to do.
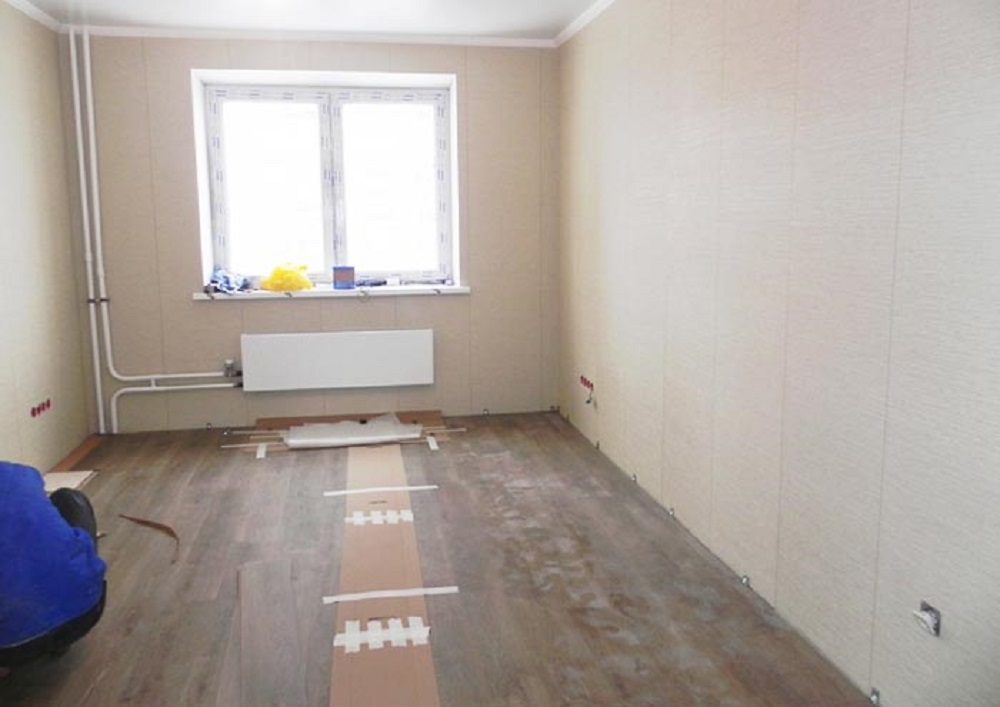
If the walls are planned to be pasted over with thick wallpaper, upholstered with wall panels, and the ceiling is closed with a tension or curtain structure, you can not waste time on leveling the surfaces. The listed finishing materials will perfectly hide all the flaws.
If the repair consists in pasting with thin paper wallpaper, applying a layer of decorative plaster on the walls, a flat surface will be necessary. An excellent result is achieved by applying a primer to the walls and ceiling and 2-3 layers of putty.
Note! Allow the putty to dry for 24 hours before applying each new coat.
If the repair involves the installation of electrics, reinstallation of heating pipes, installation of an air conditioner, stretch and suspended ceilings, these works are performed before the start of finishing the premises.
The last stage is wallpapering the walls, installing wall panels, applying decorative plaster. Of all the above, the most affordable price is inherent in wallpaper.
When choosing materials, it is worth considering the type of room in which the renovation is being carried out. For example, inexpensive paper wallpaper or decorative plaster, which is resistant to mechanical damage, is suitable for decorating a nursery.
When renovating the hall, purchase more expensive materials, because the living room is the face of the house. Bathroom decoration presupposes the presence of heat and moisture resistant materials - tiles, film stretch ceilings.
For the renovation of a room, 16 sq. m can take 6 rolls of wallpaper and 6 packs of wallpaper glue. It is worth considering these numbers when purchasing materials from a store.
Thus, repairing a room is, albeit a tedious, but solvable task, which (if you put the whole family on it) can be solved in the shortest possible time. Of course, it all depends on the size of the room that you are going to renovate.
We hope you found our article helpful. In order to more accurately understand the technological and practical issue, our website contains detailed photo and video instructions, in which you will find useful information on this issue.
Dear readers, for a long time we have not had such extensive posts-tutorials on apartment renovation. I am pleased to offer one of the reading aids.
This summer we did a phased decoration of a two-room apartment. First, all the furniture and things were dragged into one room, locked and sealed. After the renovation of the adjacent room and kitchen, everything was moved to the finished premises and the remaining room, corridor, bathroom and toilet were completed. In general, it is not the most convenient repair option. Task: to make good-quality inexpensive repairs from budget materials. Terms: June 10-July 24 - the first stage, August 4-September 10 - the second stage. Estimate: 295800r (only work + stretch ceilings) All work, except for the installation of interior doors and the installation of two of the three windows, was done on our own. There are a lot of photos, so I will post as much as I can and free time appears. So, this is how the “object” appeared before us
the parquet fell off by itself, dismantling consisted of collecting it from the floor and folding it into bags.
This pipe leads to the coil in the bathroom.
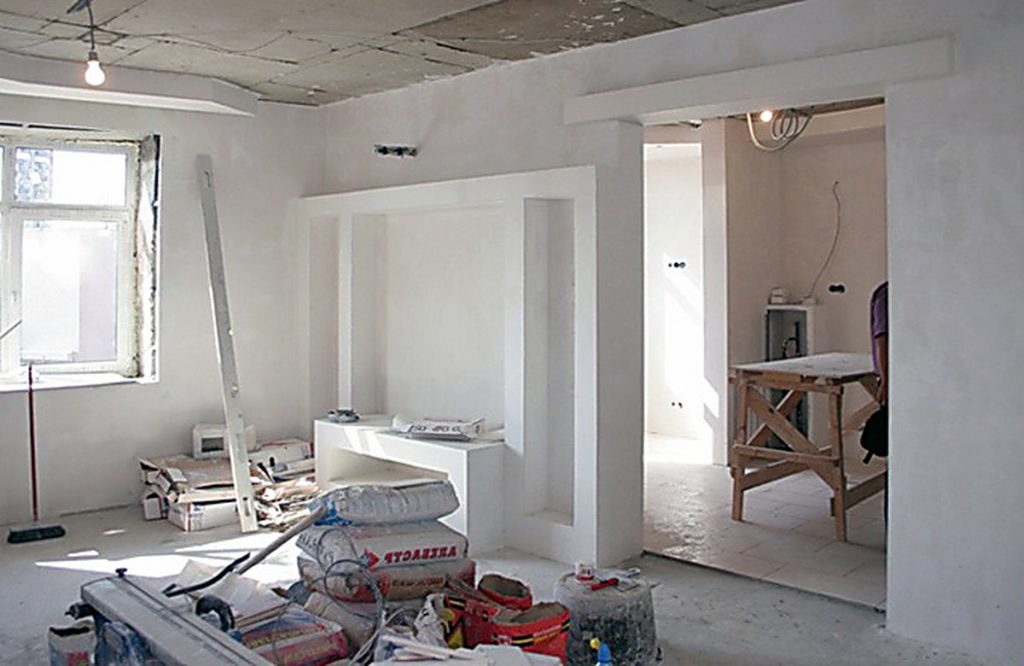
Here is such a horror object, we dismantle everything that is possible
First of all, the windows are installed, this window was installed by another company with which the customer agreed earlier
a cold cupboard can be seen under the window, and a radiator hangs behind a door leaning against the wall. The logical solution was to insulate the cabinet and install a new radiator in its place.
on the Perlfix assembly glue we glue the extruded polystyrene foam, then the gypsum board on the same glue
Getting started plastering
first of all, we put our branded beacons
in some places we use the combined technology of leveling the walls, from above the gypsum board is glued to Perlfix, and from below the layer is plastered less
Waste plasterboard can be embedded in a thick layer of plaster
we change the hot water and cold water pipes, the piping to the coil, fill the grooves with plaster
When plastering corners, do not forget about 90 degrees, and of course, verticality
we form the entrance opening using a plank box
We install the window sill and slopes
We bought a special grinder for sanding the walls, it connects to a vacuum cleaner, a great thing
before leveling the floors, we fill in all large defects of the DSP floor
We level large differences without beacons with a semi-dry screed
In the corridor we break part of the old screed with a large crusher
vacuuming, priming, making a rough leveling, vacuuming priming.
we divide the corridor into parts using scrap materials.
slippers for “walking on water” are made of OSB, self-tapping screws and a glamorous strap with rhinestones
During the installation of the stretch ceiling, a force majeure arose, the baguette was torn from the wall
And this happened due to the fact that a thick layer of soft seal was laid between the gypsum wall and the ceiling
the cracks were repaired with pearlfix, putty and the ceiling was put on. That is why it is better to stretch ceilings before wallpapering. Another reason why you should stretch the ceilings before finishing the walls is a possible hit during the installation of the baguette into the electrical wiring (for example, as in this video) And finally, even with the most careful installation of the ceiling, there is a risk of damage to the wallpaper, therefore, we glue the wallpaper only after the stretch ceiling, and we lay the floor coverings after them too.
Video (click to play).
a mandatory attribute for finishing, this is a vacuum cleaner. As they say, cleanliness is a guarantee of quality

