In detail: do-it-yourself office desk repair from a real master for the site my.housecope.com.
For a better understanding by you of the images in the photographs and the text, I must make some explanations. I retired from the enterprise in October 2011, but sometimes I appear in production so that the team would not “relax” without me.
In due time I do it yourself made furniture for the workrooms of the enterprise. One of the last pieces of furniture made by my own hands was a large work table with a lid size of 2400x1000 (mm).
The surface of the table top was finished with the remains of finishing materials, so the varnishing was done in two thin layers with the hope of making a solid protective varnish in the near future. But, this temporary solution turned out to be permanent for as long as 10 years. At the same time, the table served not only as a desktop, but also as a festive table with all the ensuing consequences for it.
A serious touch to the ditching of its surface was added by conscientious cleaning women, who wiped the damaged varnish film with a very damp cloth.
As a result, bulges appeared on the surface of the table top, which increased in size with each cleaning of the room, tearing off pieces of a thin varnish coating (photo 1) along with the painted texture.
Currently, I do not do any work on the manufacture or repair of furniture at all, so a natural "tension" has arisen with tools, auxiliary materials and a special room. But what can't you do for the sake of my respected Internet visitor.
In addition, in the garage, which I chose as my work shop, I removed the inspection pit lid a long time ago, which created additional difficulties with the freedom of movement around the large table top (photo 2).
| Video (click to play). |
But there is one undoubted plus in this - I will show you that even in “unsanitary” conditions and with a minimal set of tools, you can make, repair or restore furniture with your own hands quickly and with a fairly decent end result.
Table cover was made of non-laminated chipboard, since at that time there were no other types of this material. The top lacquer surface is damaged in many places with surface swelling.
If table cover does not have enrichment along the contour, then you can restore it in two ways: finish the reverse, intact side or try to restore the front plane. As an example, I decided to take a more difficult path and chose the option of restoring the severely damaged face of the table top.
Before starting work on table top restoration or any parts of cabinet furniture, it is necessary to prepare all the necessary materials and tools (photo 3).
Required materials and tools:
- white enamel paint NTs-132 (800gr) for priming the prepared surface of the table cover and preparing the putty. As a filler, you can use chalk (50-100gr) or dust collected after grinding the surface of the table top;
- matte furniture varnish NTs-2139 (800gr) for applying the last varnish layer;
- solvent No. 647, 2 bottles. The solvent must be in bottles that are used for painting with a spray gun. One bottle is filled with primer paint and the other with varnish;
- two sheets of standard cut fine and medium grit sandpaper;
- a brush with a flange 50 mm wide and a spatula of the same size;
- color scheme or gouache paint of the required color of the future texture.The color scheme can be made up of several colors before applying the texture;
- spray gun and compressor. The spray gun can be a homemade one-time use, and the compressor can be borrowed for 3 days. In the absence of a compressor, you can use a vacuum cleaner that works in two directions.
Desirable materials and tools:
- a large spatula, in case of significant damage to the surface or puttying of the entire surface of the table top;
- wide brush to remove dust after sanding the surface. A dry cloth or broom can be used instead;
- a grinder, and in its absence, a wooden block, which is wrapped with sandpaper. In the latter case, sanding will require more time and physical strength;
- two funnels for overflowing paint and varnish and a piece of old women's tights for filtering varnish;
- utensils for putty, color guidance and solvent draining when emptying bottles;
- a foam sponge for applying texture and a brush or stick for stirring paint, color and varnish.
Now directly about the process of work, which may be useful to you in the manufacture, repair or restoration of any furniture parts, followed by painting or varnishing.
For the convenience of working with the surface, we have table top on two stands. In my case, I used two stools that allow you to walk freely around the table top. If you use a different type of stand, keep in mind that its height should prevent dust from rising from the floor during varnishing with a spray gun.
We carefully grind the entire surface. In places of damage, we check the results of grinding with the palm of our hand, first sweeping the grinding dust to the side.
Visually, the quality of grinding damage can be determined by the smoothness of the transition of the edges. Since in chipboard all moisture damage has a convex surface, then the undamaged varnish should not be sanded off - this is the level of the future finish (photo 4).
At the end of sanding, with a large brush or broom, sweep the dust onto the floor or into a separate dish for use as a filler for future putty, if you do not have the usual finely ground construction chalk.
Now we take a jar of prepared white paint and paint with a small flute brush all the defects that appear as a result of grinding (photo 5).
In order for the work to move forward quickly, we do not paint in spots, but in areas, but with the obligatory painting of damaged areas.
This is done so that the exposed areas of the chipboard will absorb the paint and create a surface film that will provide improved adhesion of the putty to the base.
In the prepared dishes (in photo 3 - this is a bucket of “Grandma's Seeds”) we dilute the chalk with white enamel with the addition of a solvent to obtain a putty of the thickness of liquid sour cream. It is strictly forbidden to use water-based fillers for chipboard.
Using a spatula of the required size, putty the surface with the greatest damage. The choice of the size of the trowel depends on the area of the putty and the availability of free time. All defective points must be filled with filling (photo 6).
Now we start sanding from the place that we started to putty first. Drying time for paint and putty should be at least 10 minutes. Such a procedure for sealing defects in a varnished or painted surface facilitates sanding and reduces the time required to prepare the surface for finishing.
As an experiment, you can try sanding the surface after painting the damaged areas. Even after daily drying, the paint will roll off from heating, grinding will turn into unbearable and long work, and new defects formed by paint pellets will appear on the plane.
The putty applied to the paint eliminates the appearance of pellets, as it immediately dries and cools the paint. The surface is sanded quickly and easily, the adhesion of the putty to the paint in places where the surface is damaged is quite strong (photo 7).
With such a sequence of work, high-quality repair of defects occurs in one go.
When performing a large amount of preparation of the surfaces of furniture parts for finishing, the putty is induced in large quantities and undergoes a trial check for quality. In our case, we use the composition of the putty that turned out. As a result, the sandpaper can become clogged during sanding and the process slows down.
To clean the skin from putty, paint or putty dust, take any light and resilient rod or rail, 50 centimeters long and lightly tap on the skin. In my case, I came across a piece of PVC corner, which easily coped with the task (photo 8).
Upon completion of the surface grinding, carefully sweep away all the dust from the cover surface and prime it with a thin layer of liquid white NC paint. We prime the entire surface, including all side edges. To do this, first we go around all the edges with painting, then we stand on one, convenient for us, side of the lid and do a complete painting without changing position.
On the primed white surface, all defects that we missed or poorly eliminated before priming become visible.
To eliminate them, we take a small spatula and putty on individual defective areas. Then, with a fine sandpaper, without the use of bars and grinders, manually grind each putty spot with light movements (photo 9).
The surface of the table top is now fully primed for finishing. If we are not planning to create a texture under the transparent finish, but are going to perform an opaque surface finish with one of the types of paints, then a final primer is not needed.
Instead, the first coat of paint is applied. Let me remind you that for reasons of strength, the layers of paint should be thin with the obligatory complete drying of each layer, and their number should not exceed three. To create a durable protective film on individual pieces of furniture, you can apply the required number of layers of varnish on the first or second coat of paint.
The fine primer is applied in a thin layer to create an even white surface. The stains to be repaired should not stand out in color, but dullness may be visible, which will be removed with subsequent varnishing.
If the surface to be restored has a contrasting color, then this must be taken into account - the first layer of primer is applied so thick that the second layer completely evens out the color of the surface. Sometimes for this, a tint of paint is used and instead of white, tinted to the required shade is used.
Let the clean primer layer dry for at least two hours. Such a period of time is required for the solvent to completely evaporate, which repels water from the primer surface and makes it difficult to apply the texture with water-based paints. At the end of drying, be sure to use fine emery paper to remove the pile from the surface prepared for applying the texture.
Next, we prepare the required color scheme for applying the texture - pour 100 milliliters of water into a clean dish of small volume and add gouache or color to it by the volume of about a teaspoon. The diluted water-based paint should be a compote-like liquid.
We apply paint to the surface of the table with a large brush, spray or simply pour from a plastic glass that I used (photo 10). We rub the resulting puddles and puddles of colored water with a simple foam sponge over the entire surface.
This is the moment when you are given the opportunity to show your imagination and absolutely not straining to create any texture to your liking, experimenting on the go.For example, the streaks shown in Photo 11 can be easily transformed into the original texture simply by splashing with another paint or with water in your mouth.
Be sure, no matter what abstraction you draw - this is an exclusive that will look pleasant and be perceived normally by others. It is important that painting "raw" always creates very beautiful and unique textures, which seem impossible to depict with your own hands.
In my case, it is necessary to make the texture of the same look, so after rubbing the paint over the entire surface of the table lid, I draw straight parallel lines with a foam rubber sponge, as far as possible in the cramped conditions of the garage (photo 12). You can read how to make straight lines by following the dedicated link.
The texture applied with water-based paints should be allowed to dry thoroughly and before coating with the first layer of furniture varnish, no contact with the surface, since the liquid-diluted paint is almost devoid of a binder.
To fix the texture and create a durable protective film, we prepare furniture varnish. For this, furniture matte varnish NTs-2139, without stirring in a can, is poured into a bottle and diluted with solvent No. 647 to the required consistency, which makes it easy to paint with a spray gun.
An unmixed matt varnish without matting additives becomes glossy and harder and more durable than a varnish with matting additives. For the first layer, increased strength is required, as a light, fine surface sanding is required.
The first coating with varnish is done in a continuous, even and thin layer. Be careful, overflowing varnish at some points can dissolve the primer and ruin your work.
Let the first layer dry for at least 20 minutes. We use this time to prepare the varnish for the application of subsequent layers.
Stir the varnish remaining in the jar thoroughly. In order for the matting additives to mix well, add the solvent to the jar until it becomes thick, ready for painting with a spray gun. We pour the varnish into the bottle only through a filter cloth, which will prevent undissolved lumps from getting into the finished varnish. The nylon material of women's tights is perfect for filters.
Lightly grind the dried first layer of varnish with fine emery cloth to remove small irregularities formed from the remnants of dust particles and small fibers. Sanding is done only along the drawn lines of the texture without pressing.
The quality of the flatness and cleanliness of the lid surface is checked with the palm of your hand. Sweep away the dust with a clean, dry, lint-free cloth or with your hand and apply two more coats of varnish with an interval of 10-20 minutes (photo 13).
Dry the finished table top for at least three hours and put it back in place. The table was new again.
To give the furniture surfaces special strength, the lacquered surface must have:
- at least 5 layers applied with a spray gun;
- at least three layers applied with a roller;
- at least 10 layers, glazed with a cotton swab.
Many people have old furniture at home or somewhere in the country. And most often these are not expensive antiques from tsarist times, but the most ordinary wardrobes, dressers, tables and chairs. At first glance, it may seem that most of these things should be thrown away long ago, but take a closer look - often these are solid wood products or maybe even forged metal that will last more than one year if they are beautifully restored. In this article, we will talk about ways to decorate tables - kitchen, dining, coffee, work - different in size and shape.
However, many of the options presented are equally suitable for other interior items. Perhaps these examples will inspire you to turn nondescript shabby furniture into a real work of art, because it is so pleasant to contemplate the beauty made with your own hands!
The best way to update a dilapidated table is to paint it, but the surface needs to be prepared first. The paint and varnish remover will help to clean the product from the previous finish.
If there is rust on the metal legs or accessories, soak it abundantly with vinegar, Coca-Cola or a special agent, and after 15-20 minutes wipe it with a hard scraper.
The wood is sanded with sandpaper, dust is removed, then impregnated with an antiseptic and a primer is applied. All chips, cracks and irregularities are rubbed with acrylic putty on wood.
For painting, you can use alkyd enamel, acrylic or epoxy paints, varnishes, aerosol compositions for metal. You will also need painting tools - a brush, roller, sponge, spray.
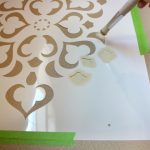
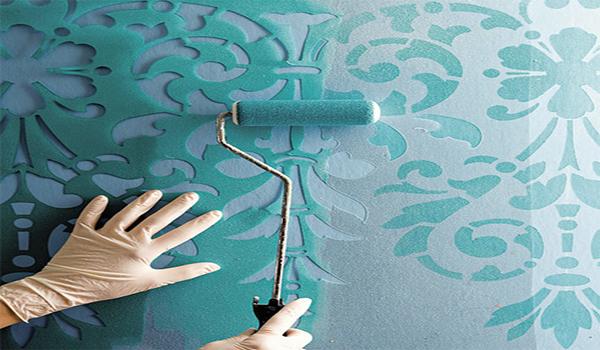
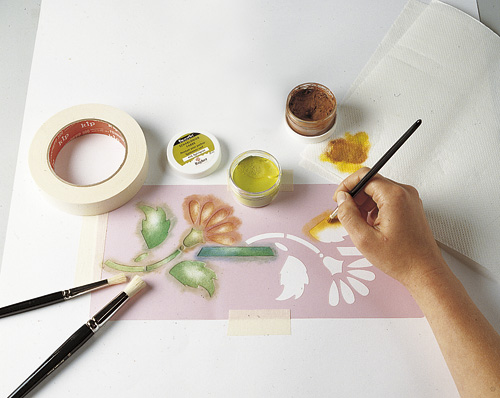
To give the table a more spectacular look, you can paint it not entirely, but only individual parts. For this, masking tape or stencils will come in handy.
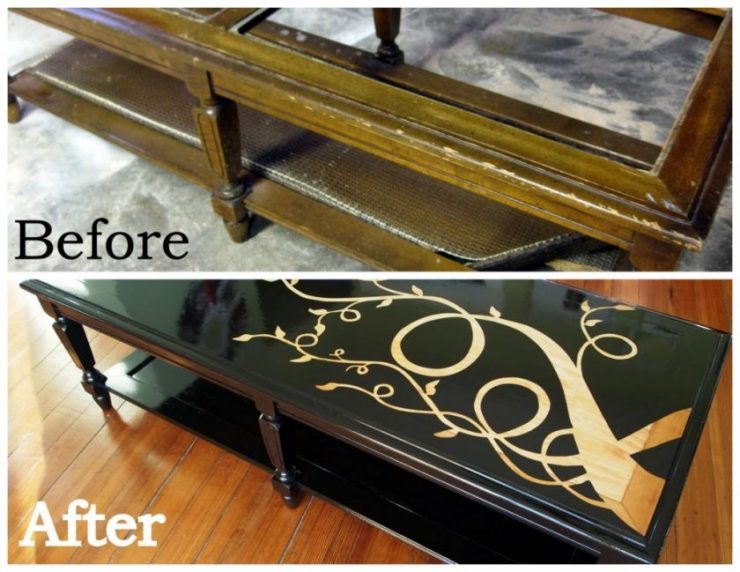
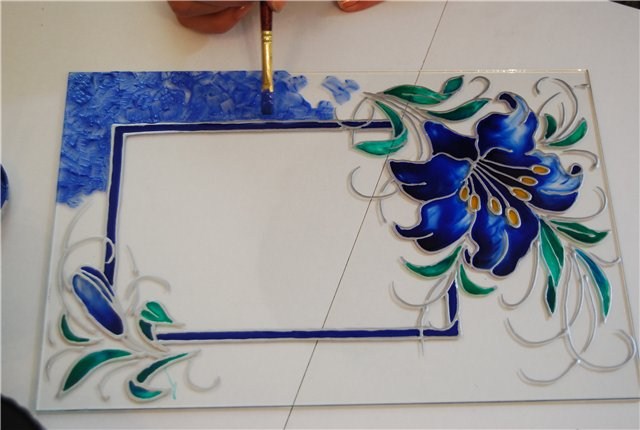
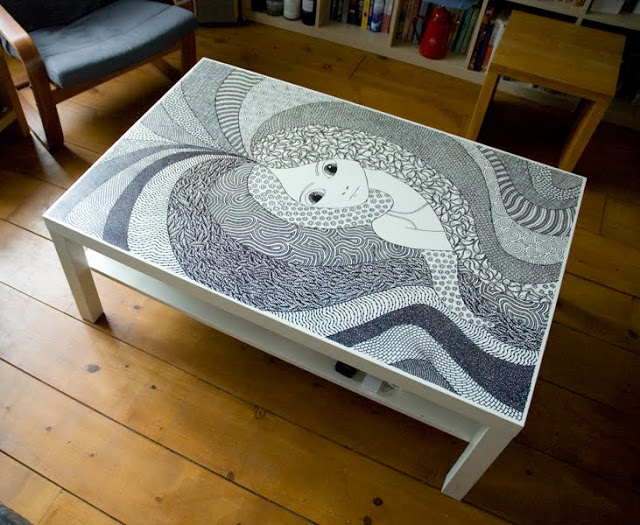
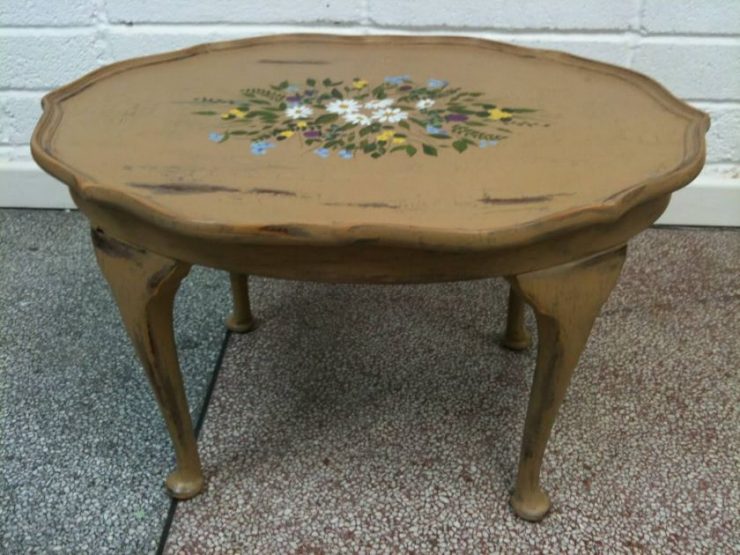
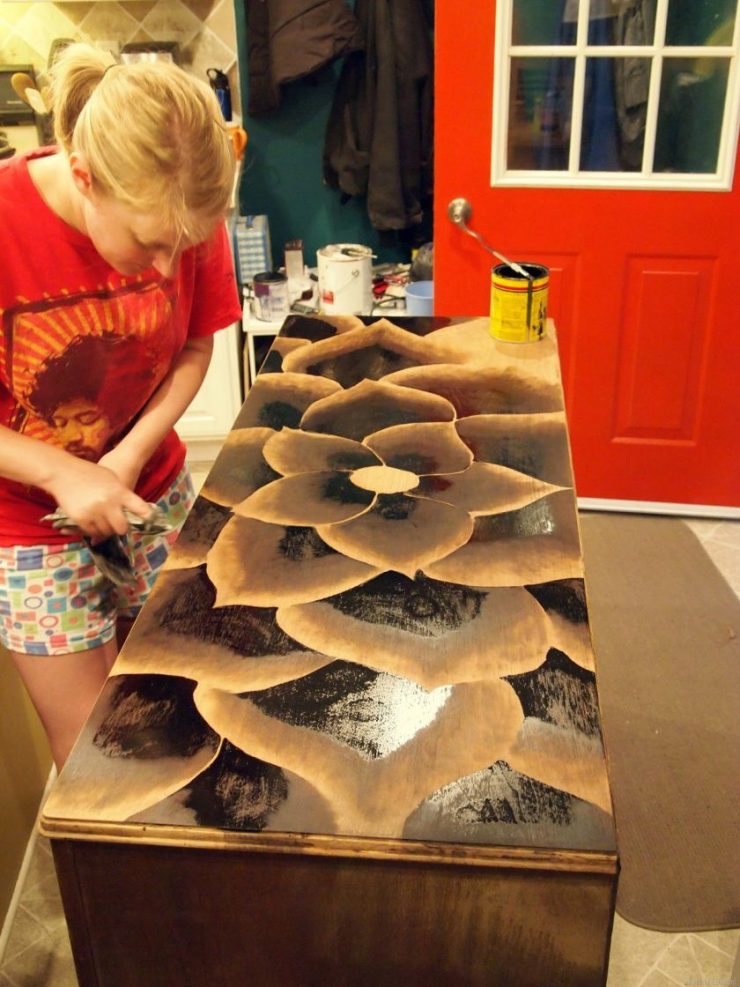
If a plain finish seems too boring, try decorating an old table with patterns. Drawings can be applied with a brush and acrylic paints - by hand, through a stencil or along the lines made with tracing paper.
A table with art painting will perfectly complement the interior in ethnic or rustic style, and images of animals, fairy-tale and cartoon characters will appeal to children.
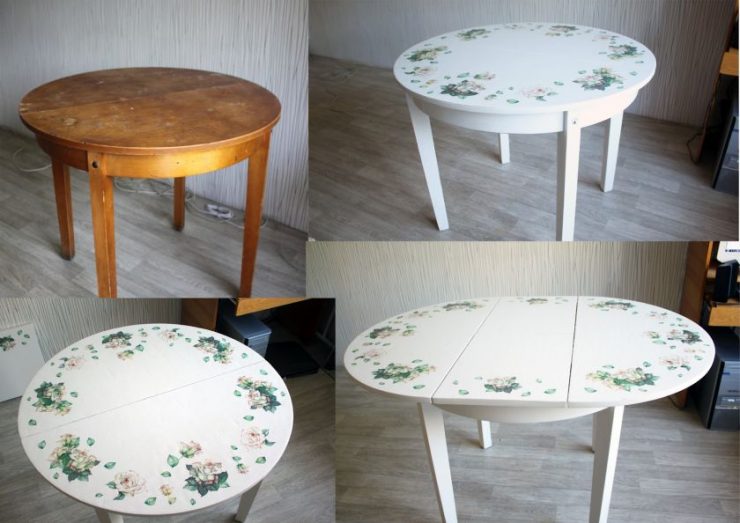
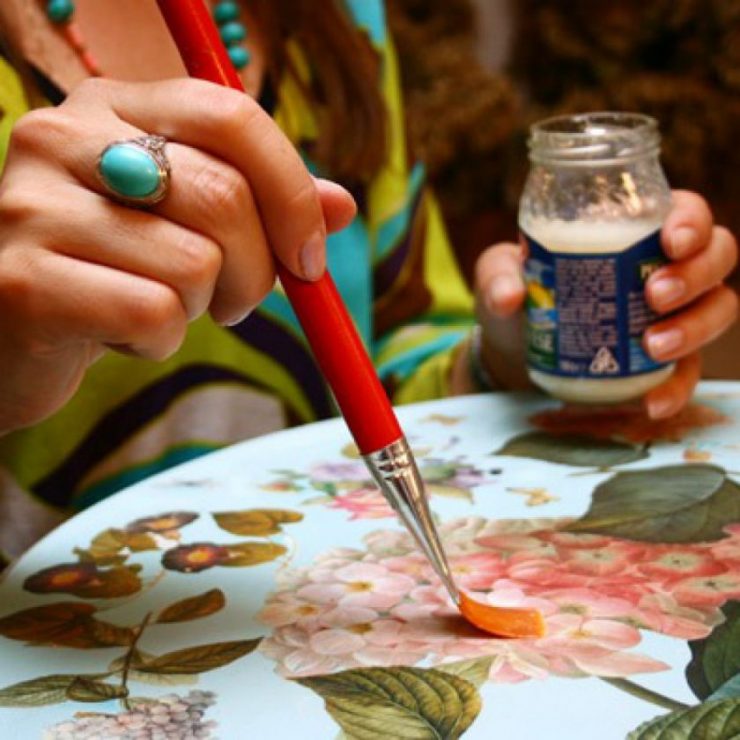
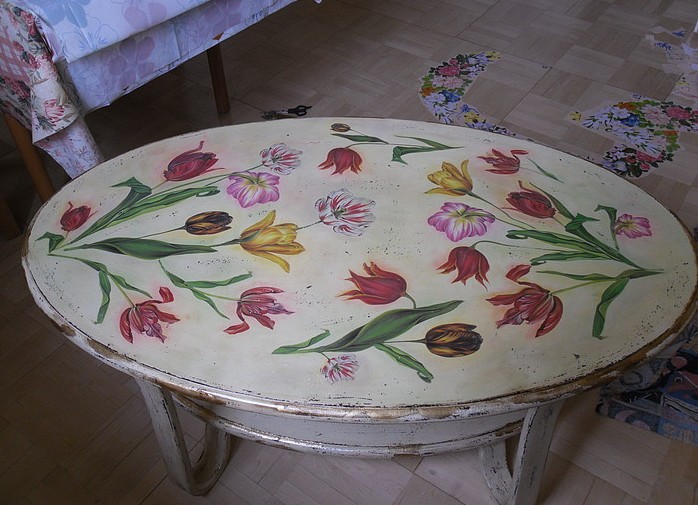
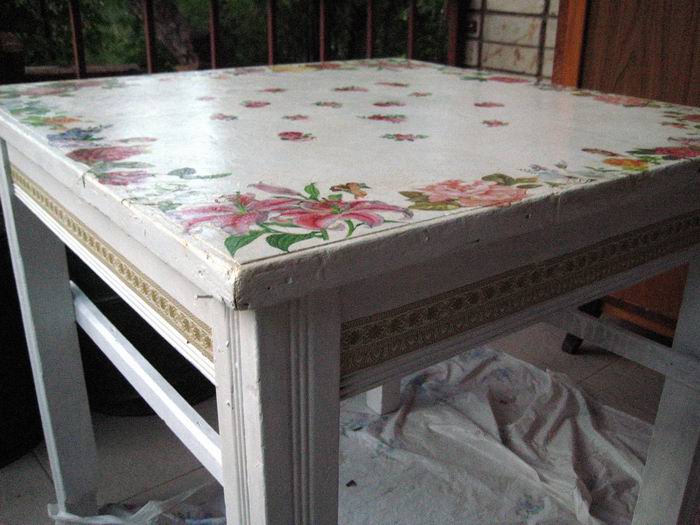
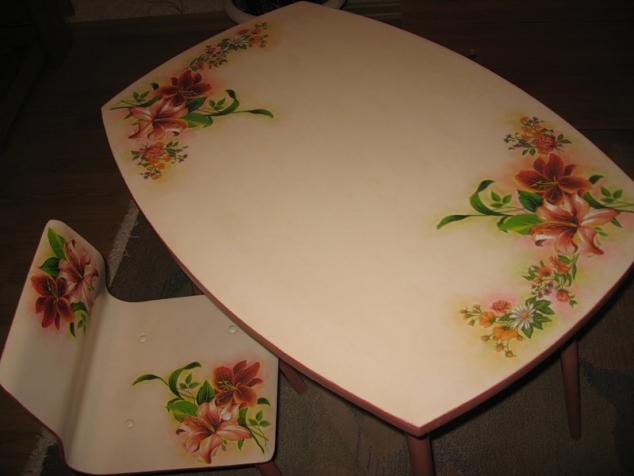
For such a decor, you will need a brush, patterned paper napkins, PVA glue and clear furniture varnish.
Pictures are carefully torn off or cut out with scissors, the lower layers of paper are removed, then the resulting thin applications are placed in the designated place, and coated with glue on top, trying to avoid folds and tears.
If some element cannot be attached the first time, it must be immediately wiped off with a sponge moistened with warm water, and try again with a similar fragment.
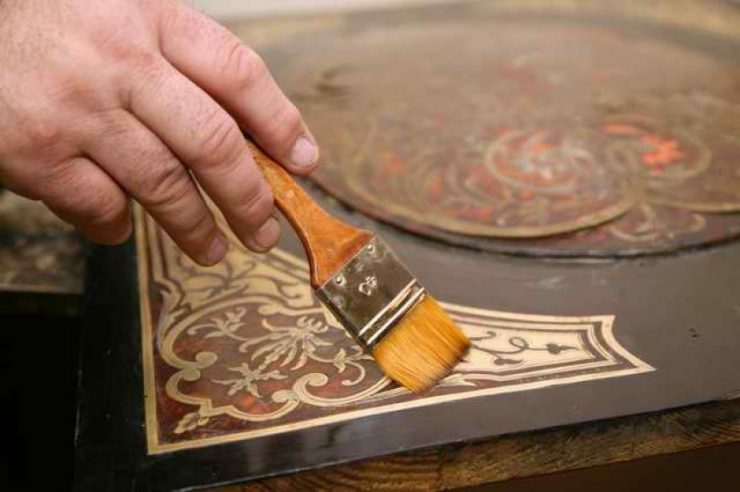
Dried decoupage is covered with several layers of transparent varnish for furniture, otherwise the paper decor will quickly be erased.
Craquelure is a cracking varnish, with the help of which the product is deliberately given a look that imitates the texture of old paintings. It can be one-step (the composition is applied in one layer and cracks as it dries) and two-step (two mixtures are used - one based on epoxy resins, the other on a water basis, they interact and a characteristic texture is obtained). The color of the veins is determined by the undercoat of acrylic paint and by the shade of the grout. Most often, a powdery golden pigment or pastel is used for this purpose.
A two-step craquelure is usually complemented by decoupage or hand-painted to achieve the effect of an aged picture. One-step is more suitable for products without drawings.
It happens that after the repair there is a small supply of ceramic tiles. It can be used to decorate an old table - just tile a wooden base with tiles. The laying technology in this case practically does not differ from wall or floor decoration.
The ceramic surface is ideal for a table in the kitchen, terrace, porch, gazebo or even outdoors.
To give the table an attractive look, in addition to plain tiles, it is worth using patterned borders, decorative panels (perhaps even with some subjects) or stylish patchwork.
Small fragment paintings decorate many galleries, temples and palaces. They will look just as exquisite in the house, for example, on the surface of coffee tables.
Mosaic elements can be ceramic (even broken tiles are suitable), glass or acrylic.
From the materials at hand, small round wood cuts, cut CDs, colored pebbles are suitable. It is enough just to come up with an interesting pattern and attach the pieces to the table with glue or liquid nails.
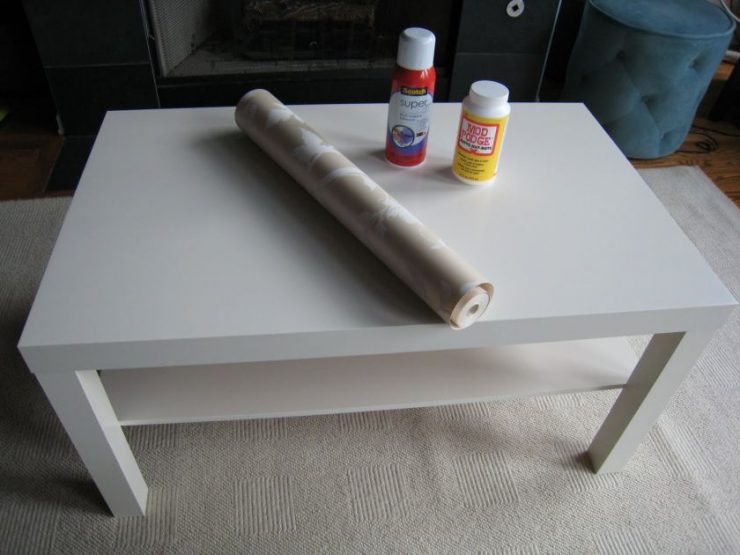
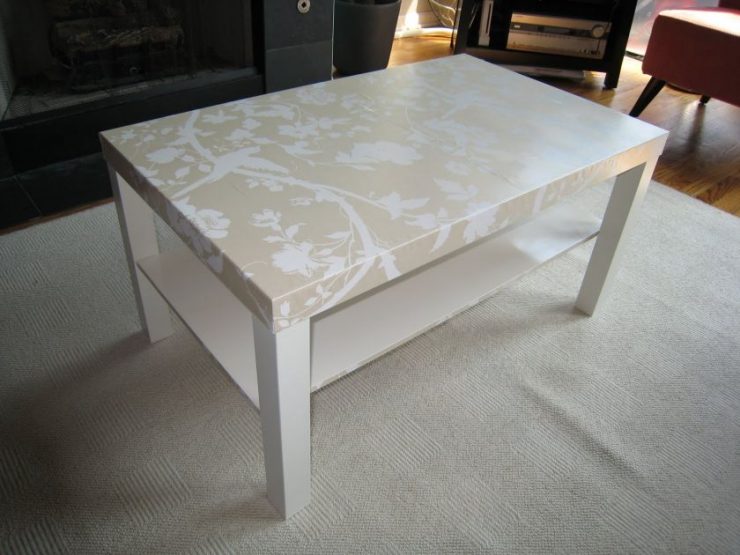
The simplest and most beautiful option for decorating an old table, which does not require fiddling with paints, is gluing a film.
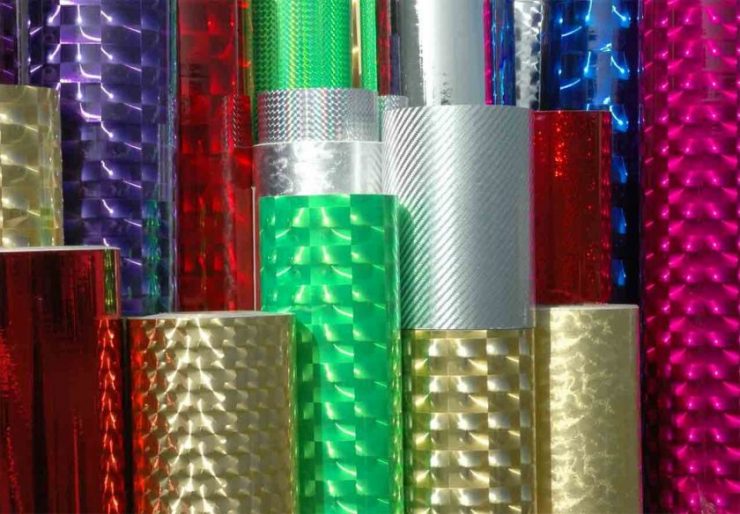
This available material can mimic any surface - from rare woods to marble, it can have any kind of patterns, patterns and textures.
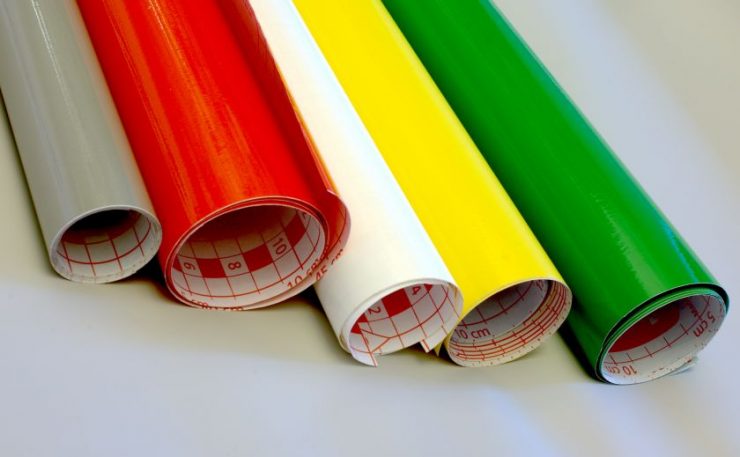
Self-adhesive film is on sale in rolls, and it is easy and pleasant to use it.
In the stores of stationery and goods for creativity, a wide selection of decorative self-adhesive tapes has recently been presented. It will take you no more than 30-40 minutes to decorate the old table with multi-colored tape, and a new bright thing will appear in the interior.
If you want to change the finish, the adhesive strips can be removed just as quickly, and if glue remains somewhere, acetone will dissolve it without any problems.
Epoxy is a liquid substance that hardens quickly in the open air, turning into a hard, transparent plastic.
Cracks in wood filled in this way look very unusual, and if you add luminescent powder to the liquid phase, they will glow brightly in the dark.
Also, dried flowers, leaves, shells, coins can be placed in epoxy resin, and due to the transparency of the substance, you get the effect of ice or amber.
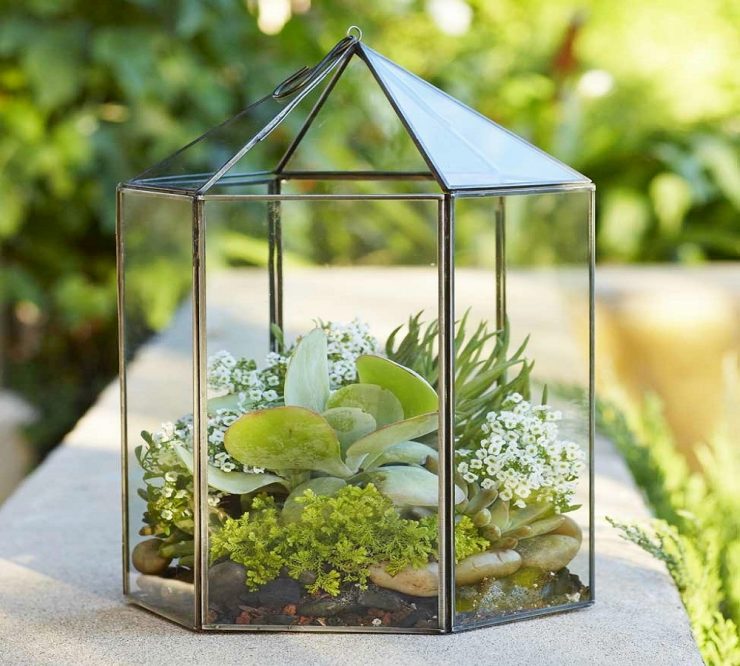
An original decoration of a table for the living room will turn out if you make a recess inside it, placing there any thematic decor (sand with shells and starfish, moss or miniature cacti, Christmas balls and branches, small car models, beads, etc.), and close the top with transparent glass.
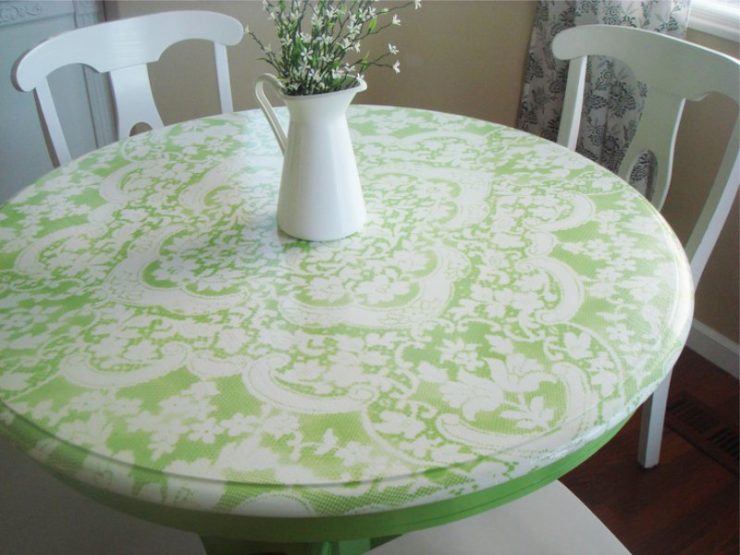
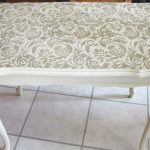
Painting the table through tulle should be done over the base layer with a pigment of a contrasting color. Before this, the lace must be firmly fixed to the surface so that it does not move and there is no gap. For the same reason, it is advisable to use an aerosol or spray bottle.
Gold monograms are a wonderful decoration for a table in a classic style. They can be stencilled with glittering acrylic paint, but a more realistic effect can be obtained with overlay. In essence, it is the thinnest foil imitating precious metals that is used for artistic purposes.
So that the gilding does not crumble, it is covered with transparent varnish on top.
A small video master class on how to decorate an old table with your own hands, creating an unusual lace print on its surface.
If you own an old table that needs to be updated, or you have purchased a table that looks very boring and you want to decorate it with something, then the tips below are for you!
In fact, changing the look of a piece of furniture like a table is easy enough. And there are many ways how exactly this can be done.
Let's start with the simplest way - using self-adhesive tape. Surely you have seen such a film in stores. It is usually sold in rolls like wallpaper.
At the same time, it has a smooth surface that is easy to wash and which simply cannot be damaged or deformed in any way.
First, take measurements at home - exactly how much of this film you will need to purchase. Take it a little with a margin so that there are no ugly joints on your table.
The very process of using self-adhesive film is very simple - there is no need to prepare furniture before this. You simply peel the film off the paper and apply it to your desk, gently pressing it against the surface.
The table doesn't even have to dry. He will immediately be ready for use in an already updated form.
If you are ready to get a little more confused than sticking a self-adhesive film on your piece of furniture, you can, armed with paints and a brush, appear in the image of a graphic designer.
The most important thing is to come up with a storyline for your table. Think about what you would like to portray on it? It can be whatever you want. If you have the makings of an artist, you can start painting right away, with or without sketching.
But if you are “for you” with art art, do not despair! Stencils will come to the rescue.You can purchase a stencil at a stationery store or make your own.
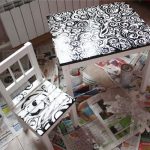
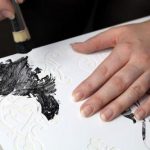
To do this, it is enough to cut out a drawing from a magazine and use it as a kind of template, according to which this drawing will be transferred to your furniture.
Or draw any of the items you like with a pencil on a sheet of paper, cut it out and, in the same way, putting it on the table, paint over the gap of the cut stencil with paint. After removing the stencil, you will see the drawing on the table.
If you think this method is difficult to do, you can turn to a professional artist for help, for whom this type of work will not be difficult.
True, the artist's services will need to be paid for and this method can no longer be called budgetary.
As for the paint to be used, it must be moisture resistant. Acrylic paint is considered the best option. It is odorless and dries very quickly.
In addition, acrylic does not fade in the sun, is resistant to water and high humidity in general.
We can safely say that a table covered with acrylic paint will serve you for a whole century, and this will not be an exaggeration.
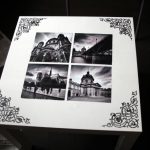
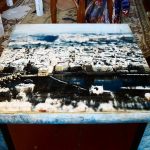
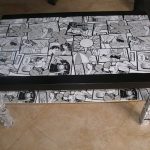
There is another way to decorate a table, which is very similar to using stencils. This method is simply called decoupage. What is it?
Any fragments of drawings from magazines, napkins, various albums are taken. It can even be photos from your personal archive or just your favorite pictures from the Internet.
In general, whatever you like. You cut out the elements that interest you and put them on the countertop. First, see if it looks pretty. If you like the option and you are ready to decorate the table with these fragments, then you can get to work.
The piece of furniture must be thoroughly sanded, paint removed or varnish removed. The table surface must be clean, dry and perfectly level. In general, it must return to its original appearance.

