In detail: do-it-yourself asus tablet repair from a real master for the site my.housecope.com.
Content
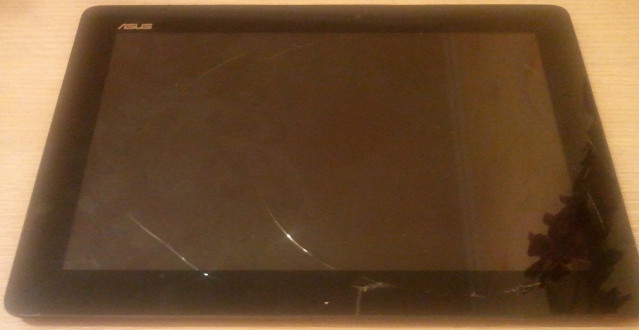
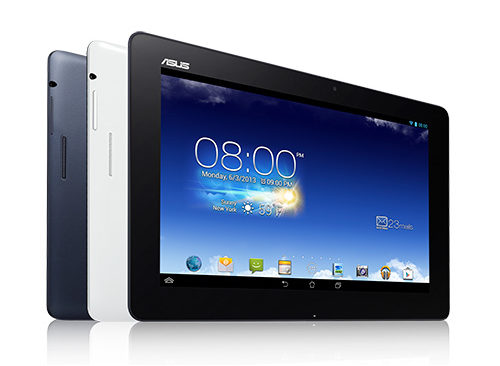
Recently, one trouble happened to me, accidentally crushed the touchscreen (touchscreen) on my ASUS TF300T tablet (the tablet was lying on the bed and I pressed it with my knee, the cover did not save me from such pressure).
As a result, the tablet works, but the touch sensor is buggy to the point of impossible. Repair needed.
I turned to the service center - they announced the amount of 5000 rubles. for repairs and an indefinite period of repair (1 month minimum, but maybe 2-3). Neither the amount nor the terms suited me, so I decided to repair it myself.
On the Internet, I read that there are several options (revisions) of the touchscreen for this tablet. The touchscreen revision can be recognized by partially disassembling the tablet.
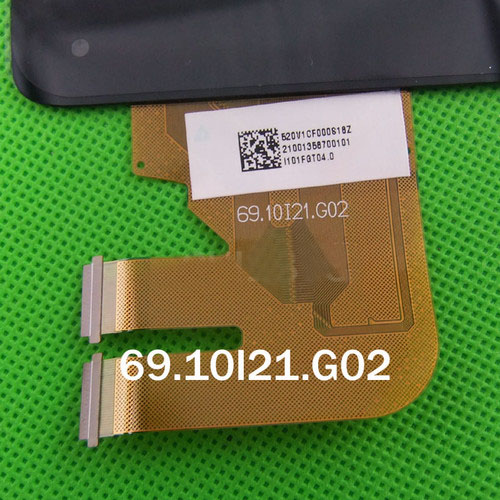
Total revisions 5: G01, G02, G03, Only white Label, 5158N FPC-1 06WW (NEW).
1) Preliminary analysis of the tablet.
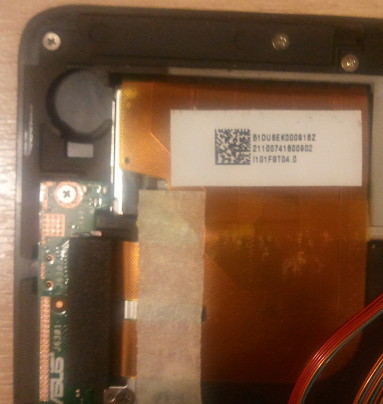
He took off the back cover (you can see how to remove the cover in the video clip that will be below).
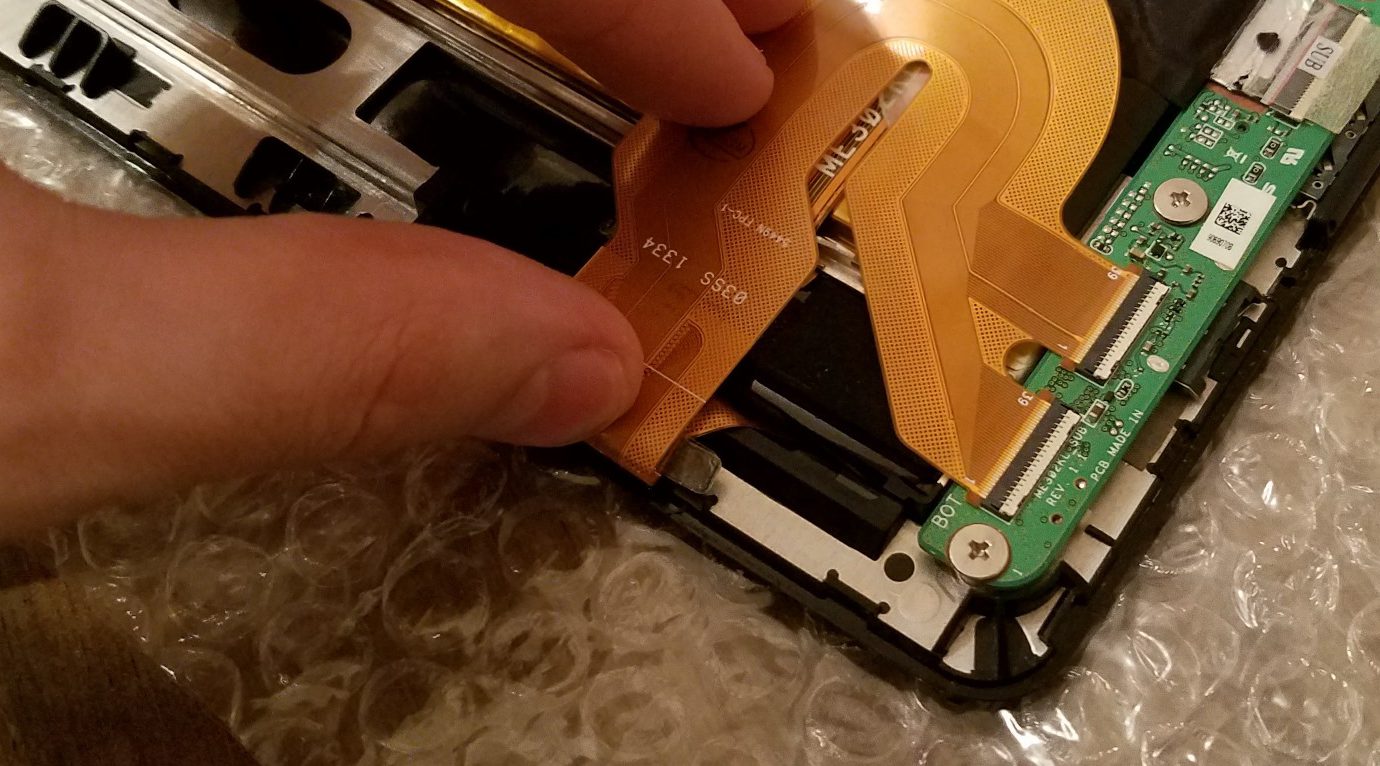
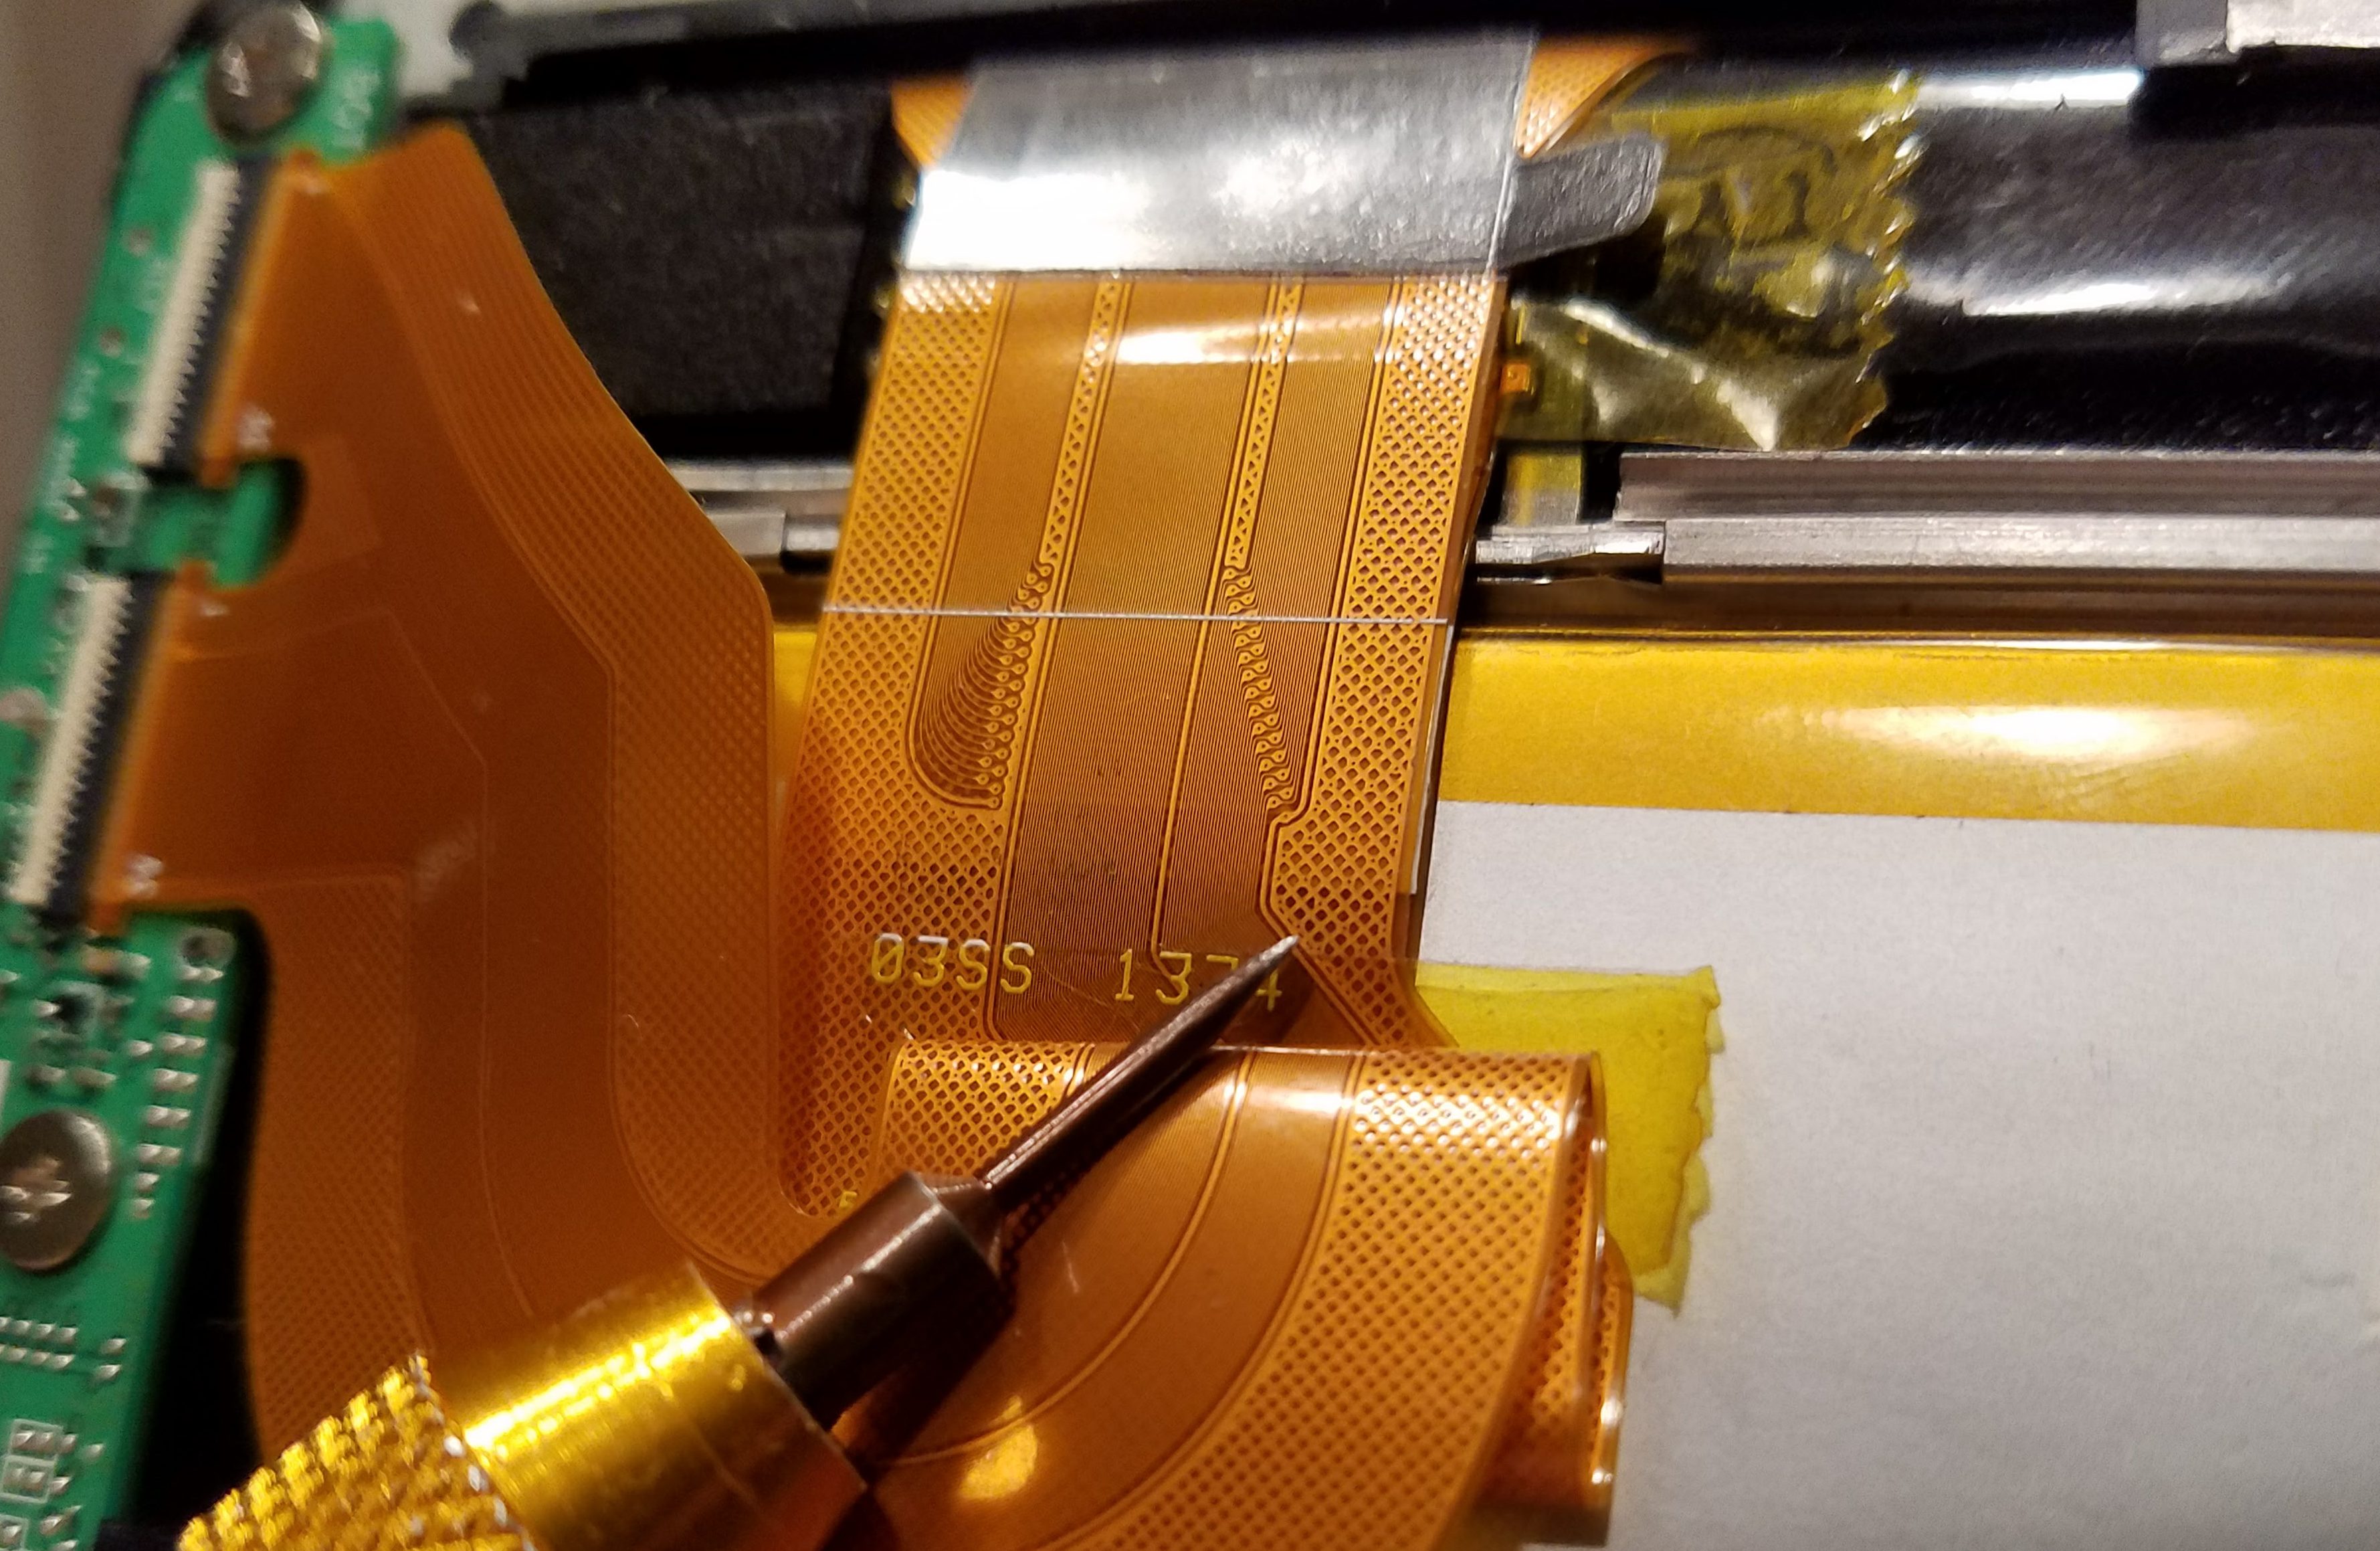
We look at the revision on the touchscreen cable
It turned out that the revision is Only white Label, there is very little information about this revision on the Internet, perhaps that's why I decided to write about my repair.
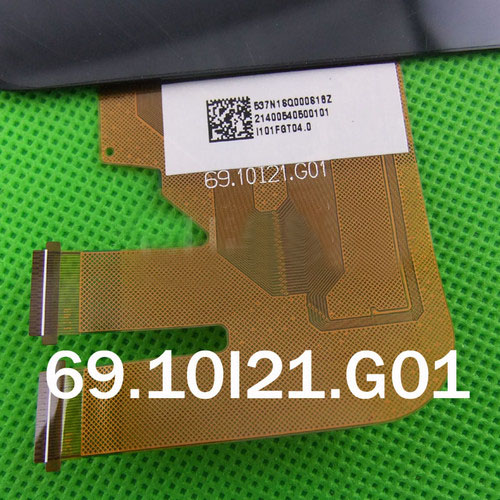
Examples of other revisions:
2) Ordering a touchscreen
Ideally, you need to order a touchscreen with the same revision as yours, but I didn't find that, so I ordered what it was.
I ordered it on the website> for 2145 rubles + 300 rubles. for delivery through the Russian Post in the first class.
I paid for the order with a bank card, after 6 days I received the parcel in the mail. The box was large and very light.
They sent me a touchscreen with revision G01.
When parsing, I thought several times that I shouldn't have started this venture, but there was no turning back.
I'll add the following on my own:
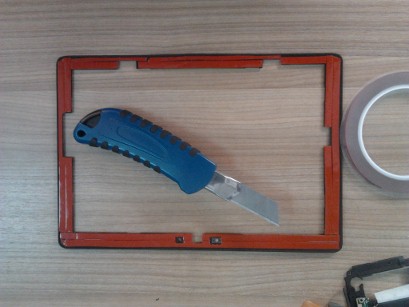
The touchscreen is glued with something like double-sided tape to a plastic frame, the display itself is glued in the same way, but to the touchscreen glass itself.
Before separating the display from the touchscreen, heat up the touchscreen (I used an industrial hair dryer, but you can also use a simple hairdryer, or heat it up in the sun, etc.). Begin to peel off the display gently, do not damage the display. Do not feel sorry for the touchscreen (it is already broken) and do not feel sorry for the sticky substance with which the elements are glued.
Next, you need to separate the plastic frame from the touch glass, also heat it up and do not feel sorry for the glass itself (as a result, almost everything broke for me), only the plastic frame is important here.
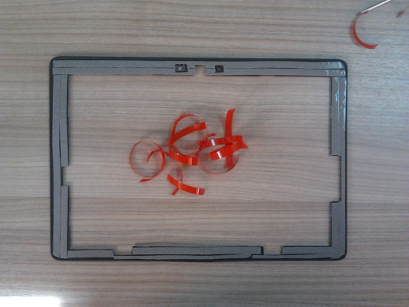
I removed all the adhesive from the plastic frame and display.
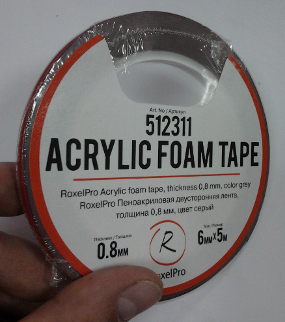
I bought double-sided tape "Foam-acrylic double-sided tape" 0.8 mm thick, 6 mm wide. (0.8 mm turned out to be thick, it is better to buy two times thinner than 0.4 mm)
| Video (click to play). |
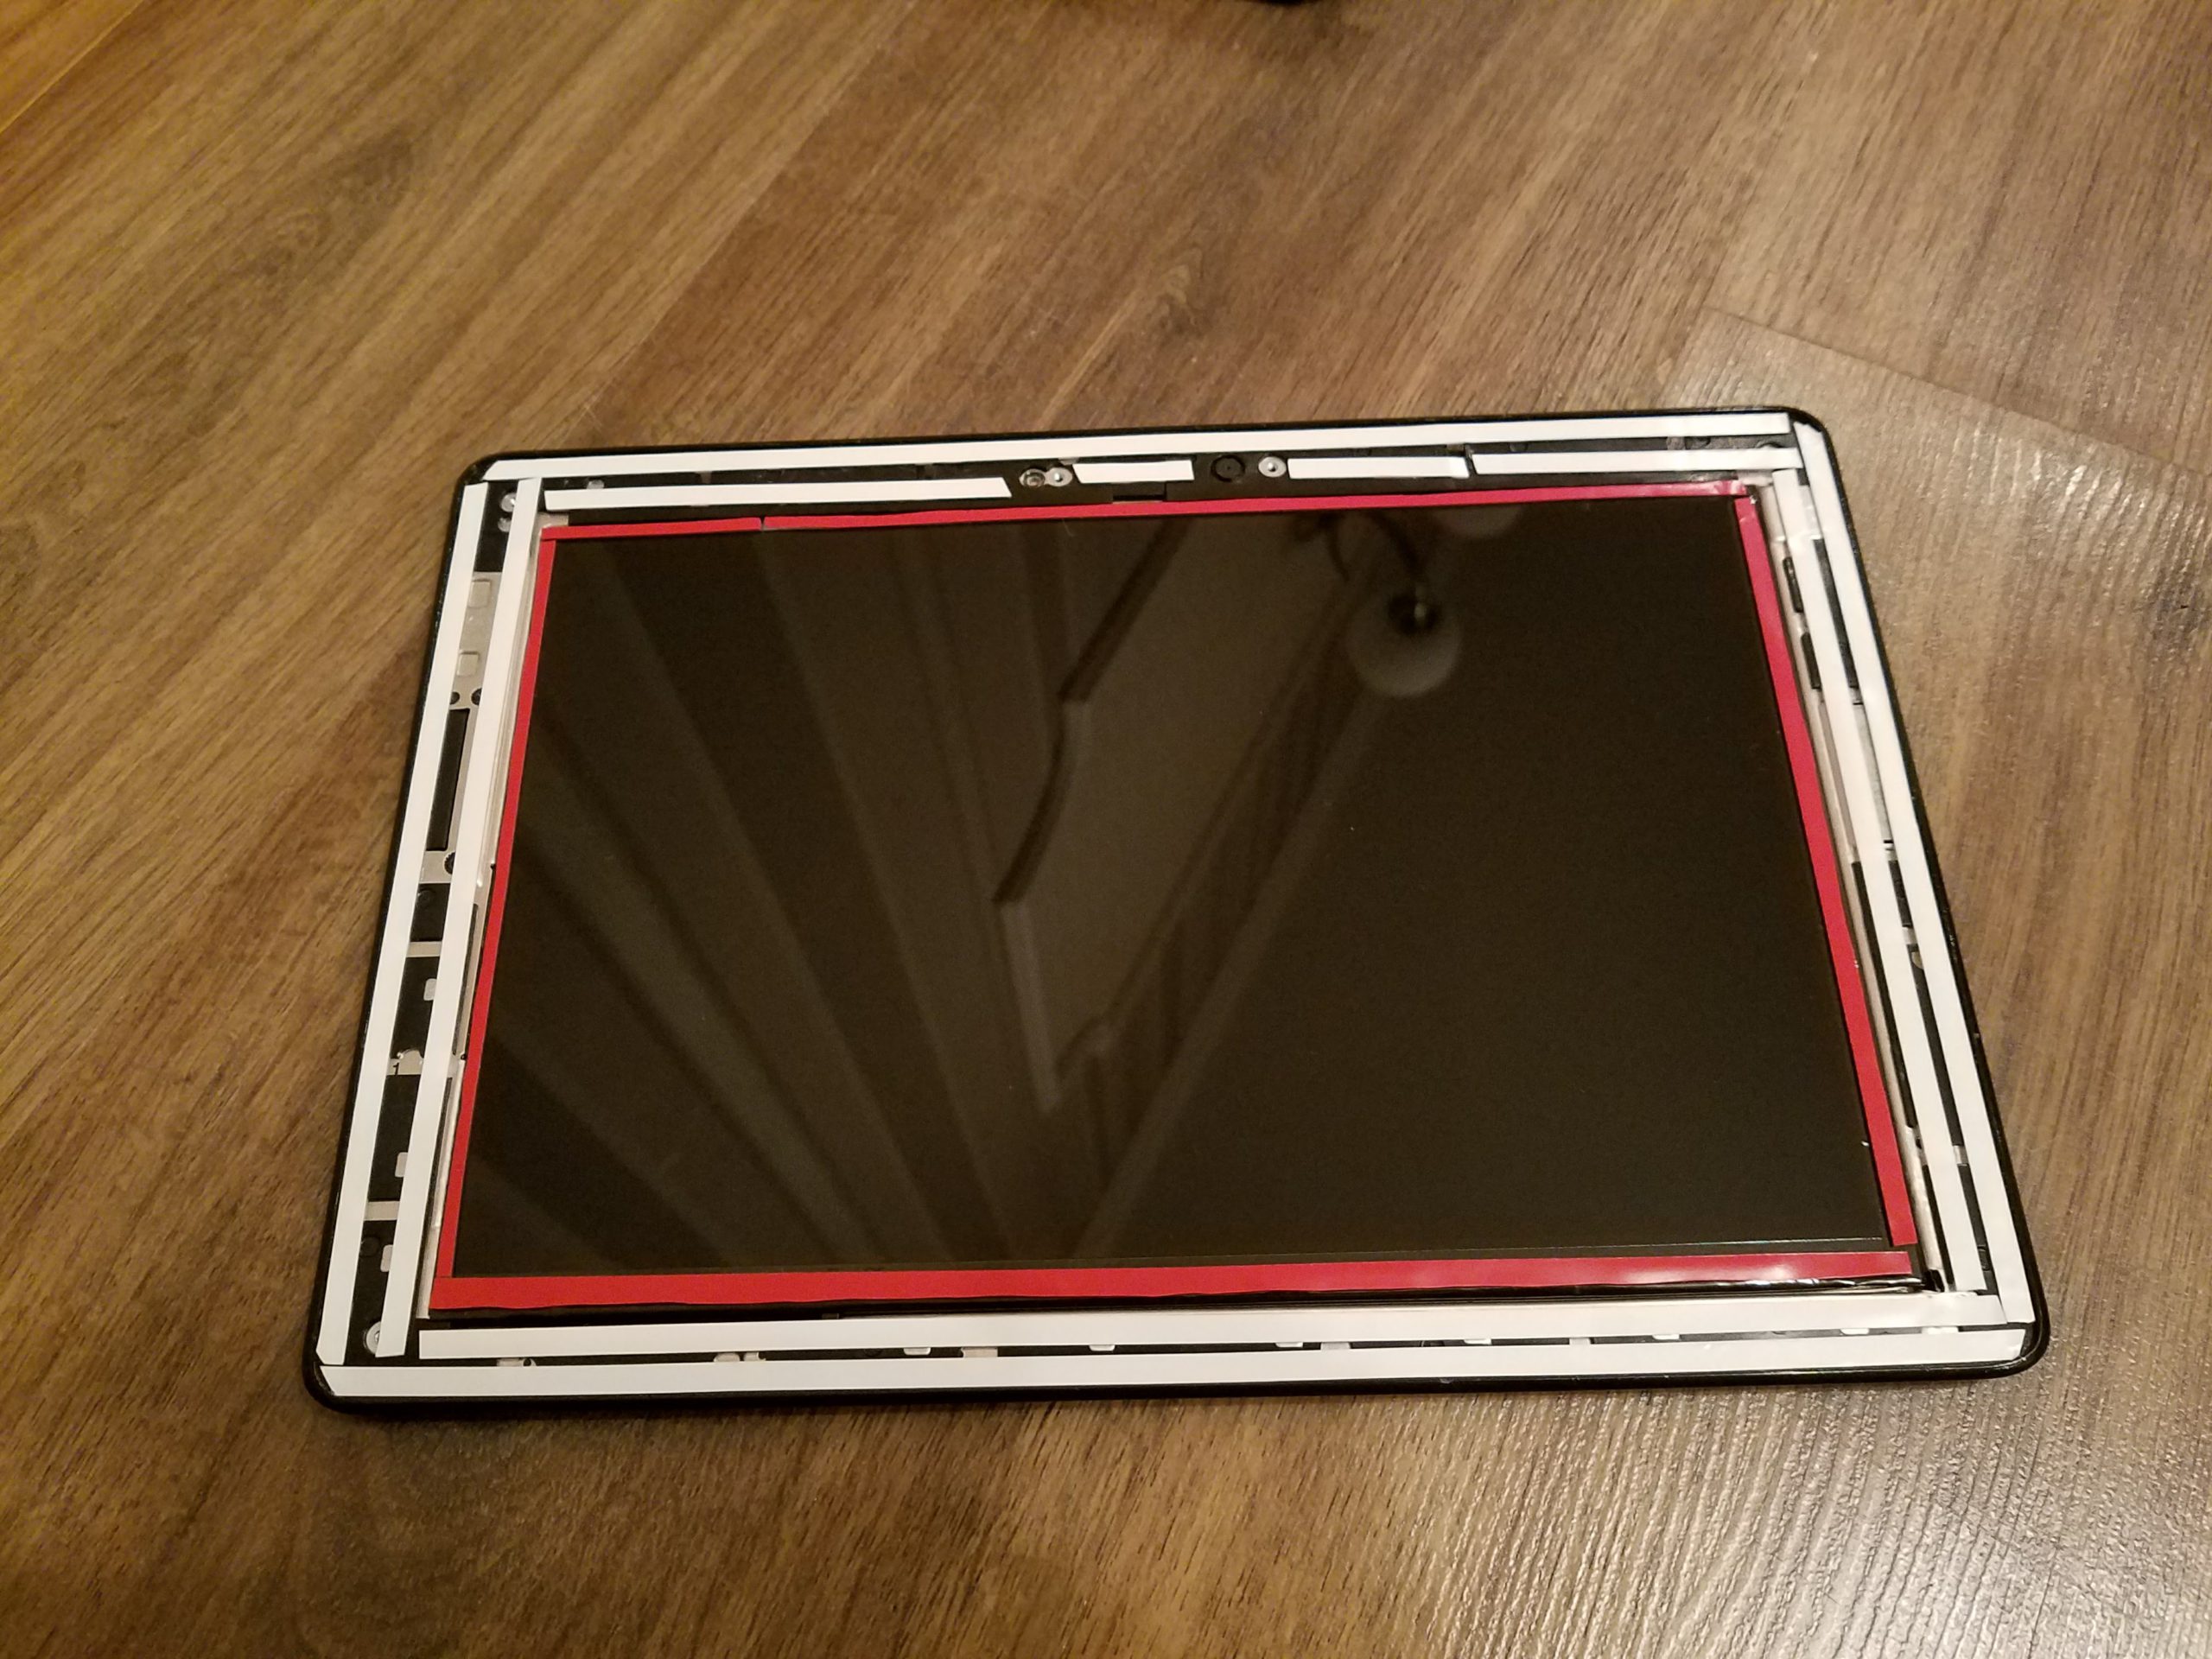
I put this tape on the frame
Removed the red film
And neatly glued the touch glass. Be careful not to stick upside down or stand sides.
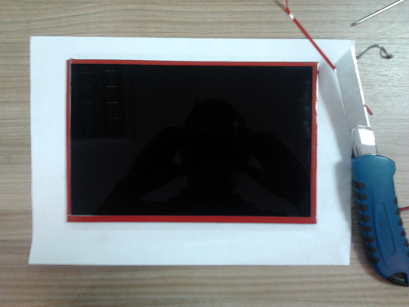
Pasted scotch tape on the display
I removed the red film and glued the display to the touch glass, also be careful not to confuse anything.
After that, you can assemble the tablet as shown in the video. I lost 1 bolt, but it seems not scary.
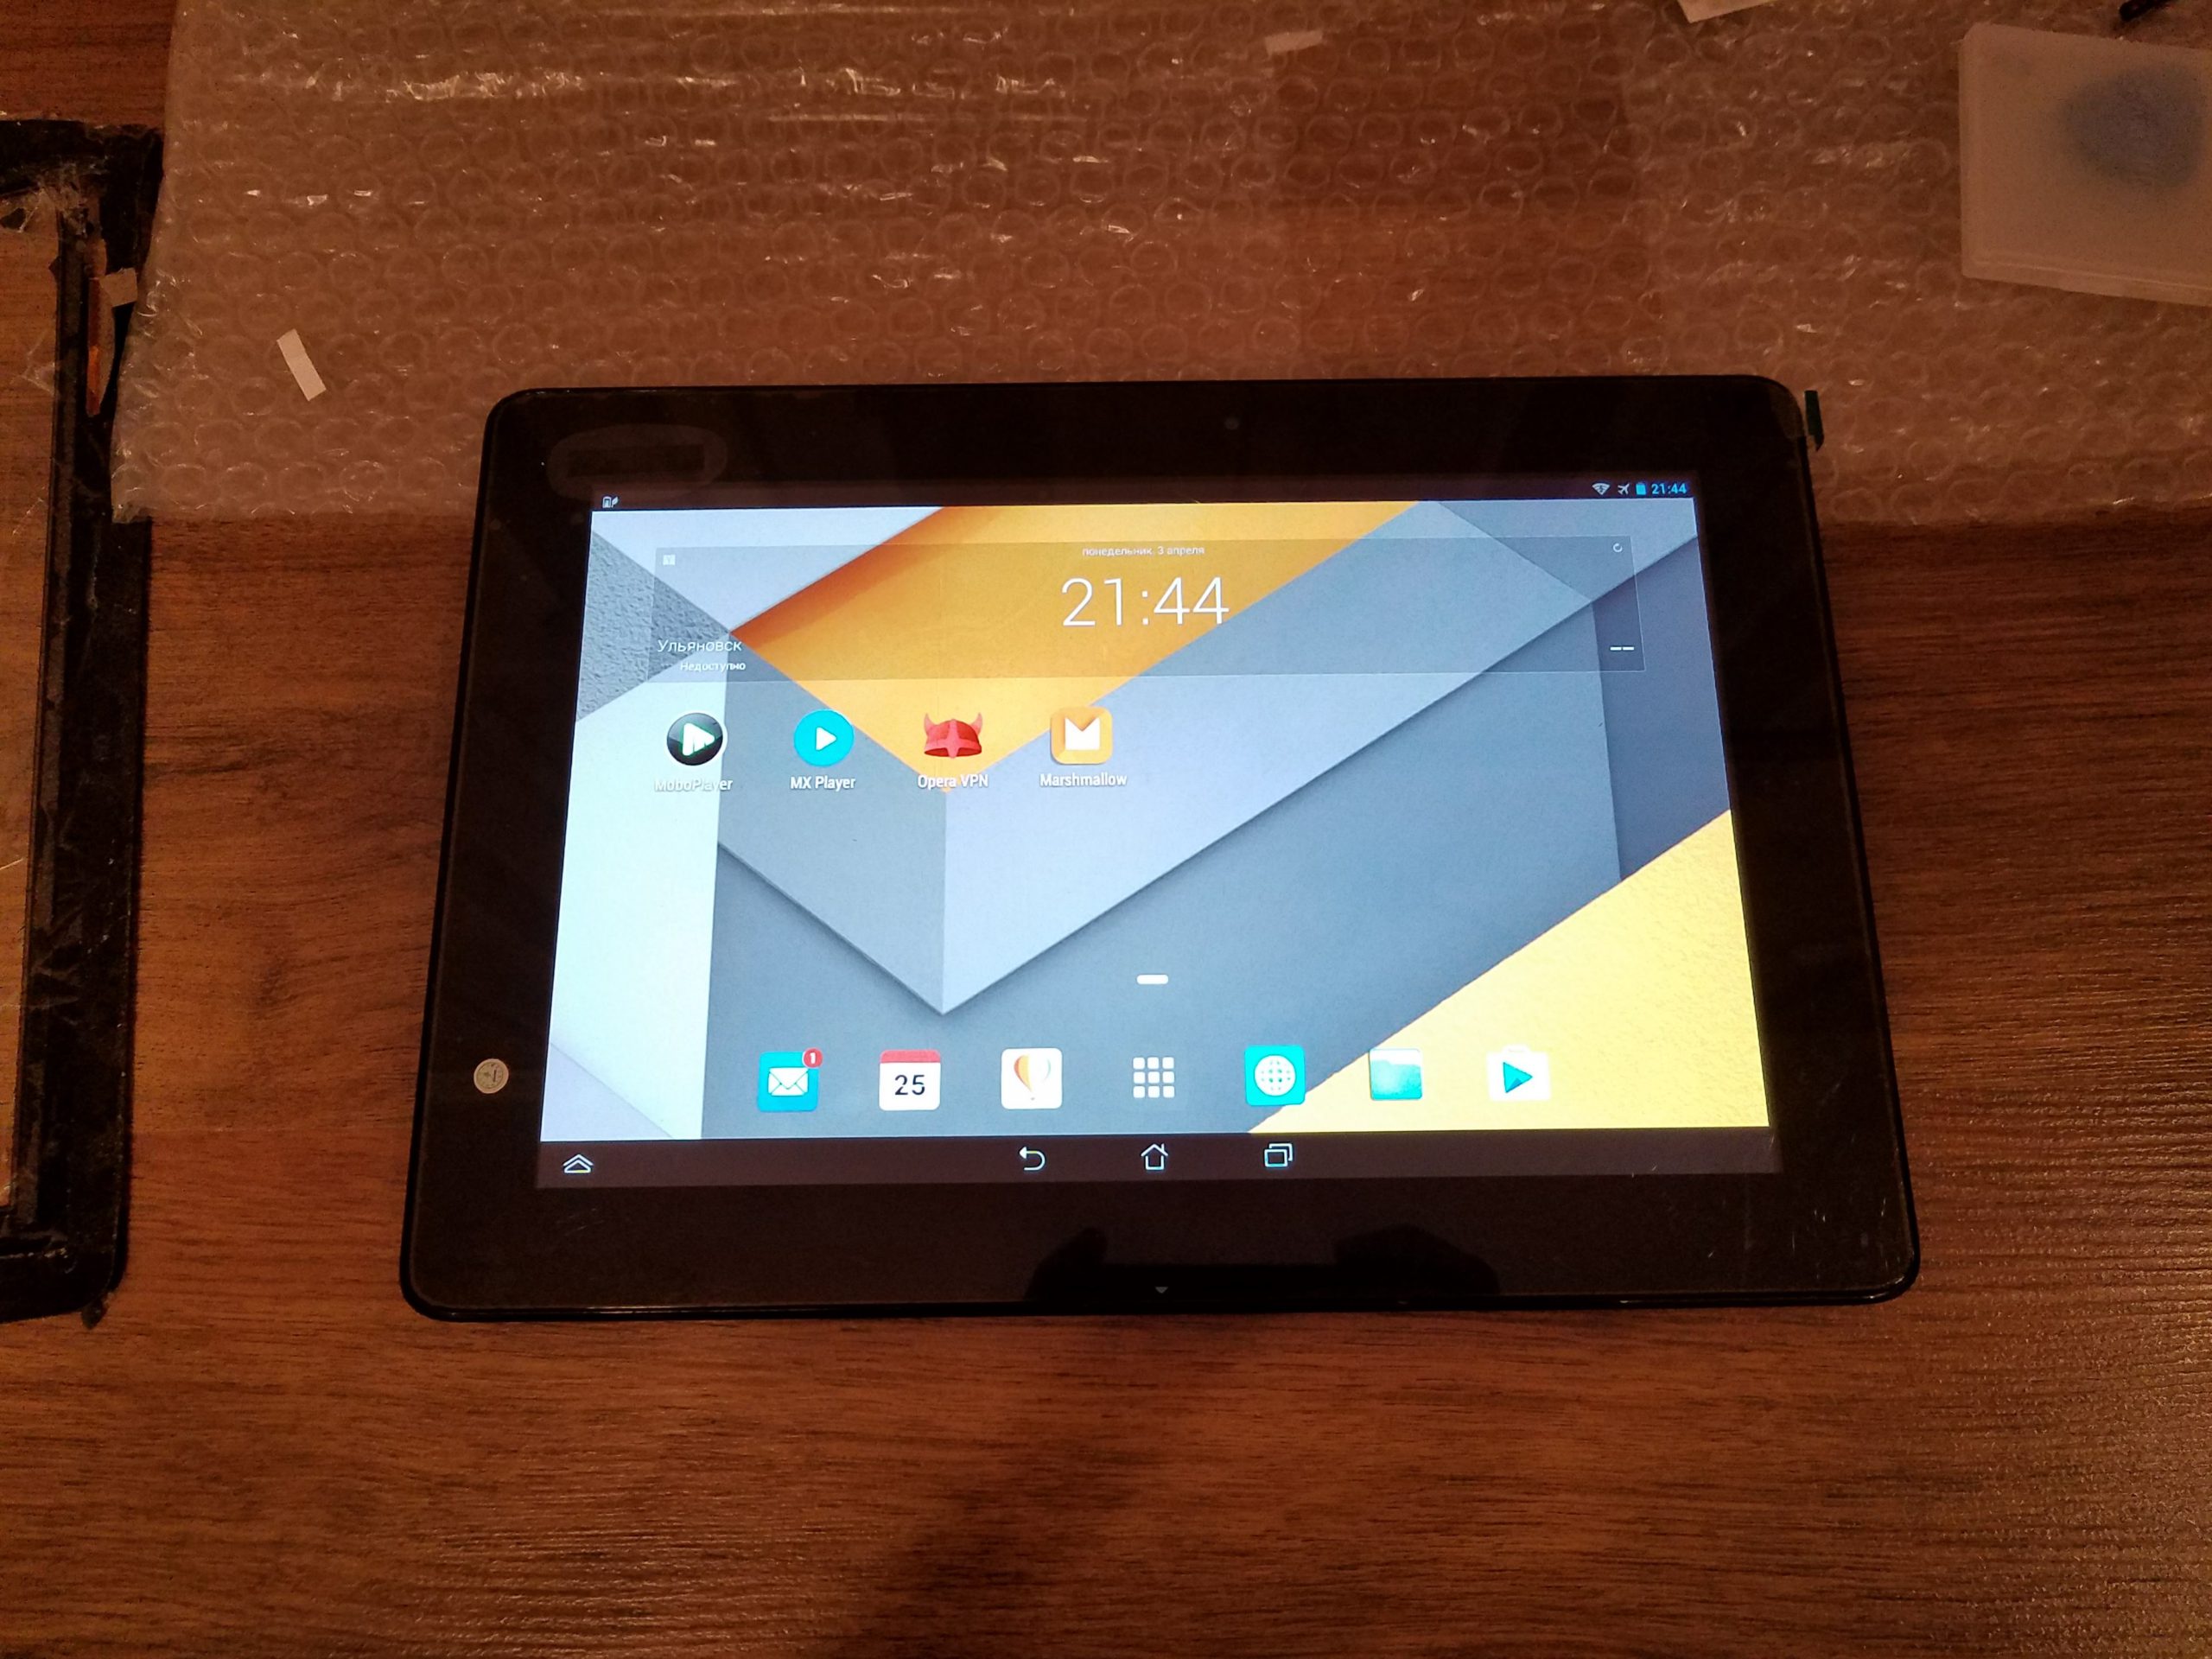
Turned on the tablet - the touchscreen does not work. Doesn't react at all.
The difference in revisions is to blame for this. If there was such a revision, then I think everything worked right away.
Let's start setting up the tablet.
I will warn you right away that my tablet was rooted before I broke the glass, so the setup went very easily and quickly.
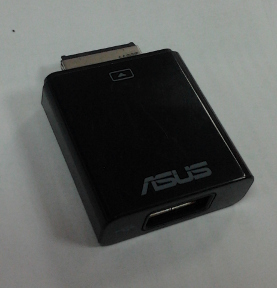
I also had a USB-OTG adapter, which also simplified the task (or use a docking station if you have one).
ASUS is one of the world's most popular manufacturers of computer equipment, including tablets.These tablets are beautiful, modern, powerful and functional. The cost of such tablets is quite high, so their breakage will necessarily entail repairs. If you do not violate the rules of operation, then ASUS tablets can please their owners for a long time, but, unfortunately, they also have their weak points. There is a specific list of the most common hardware failures and how to fix them. Now ASUS tablet repair is much easier.
One of the most common breakdowns is a broken screen. It is this model that receives such damage and becomes a "guest" in repair shops. This is not due to the fact that the model has weak glass, it even scratches with difficulty. You can be convinced of this if you try to cut the broken screen with a knife or knock on it without much effort. But inadvertently crushing glass is quite simple.
The ASUS TF300T tablet has the ability to replace a separate touch-screen (touch glass) and a display, which is also often broken. The whole difficulty of a separate replacement lies in the fact that the touch glass and the display are very difficult to separate from each other, they are firmly glued together. Changing the screen on a tablet is much more difficult than on a phone. You need to have not only patience and accuracy, but also experience, because any awkward movement can ruin everything, and repairs will become twice as expensive.
But this is not the most difficult thing. In this tablet model, you can find as many as three glass modifications and, despite their external similarity, you cannot replace them with each other. If you decide to order the touch screen yourself, then you first need to disassemble the tablet and see its part number. The most common touch glasses of two modifications: G01 and G03. Not only are they more common than the third - FPC-1, but they can also be interchangeable.
Touch screen modification FPC-1
It is extremely difficult to buy FPC-1 touch glass, and in order to replace it with another modification, you need to flash the digitizer, for which you will have to spend extra money and lose extra time.
Important! Tablet models with and without 3G may differ in digitizer boards, because the module for installing a SIM card is located inside it.
If you replaced the glass, but the sensor still does not work, then you will have to contact the repair shop, because you did something wrong. In this case, only a specialist can restore the functionality of the touch screen, because this requires a special tablet with a set of all the necessary programs.
A few tips for those who nevertheless decided to replace the touch screen on their own without contacting a service center, especially if it is cheap:
- There is no need to peel off the glass from the matrix in advance, because then you will have to spend much more time on replacement, because you will have to remove adhering dust and dirt.
- Before you start replacing, try on the glass for your tablet, because glass, unfortunately, can get defective or counterfeit.
Much less often, in a repair shop, you can find tablets with a broken matrix, but at the same time with a whole touch glass. The procedure for replacing the matrix is not much different from replacing the touch screen. We order the required matrix, carefully peel off the touch glass and glue it to the new matrix.
By the way, matrices are more expensive than a touch-screen, but they are not so unique, therefore it is much easier to find them, and sometimes you can pick up a matrix of another model and even a manufacturer. Difficulty is only in different mounts, so the "native" matrix is still preferable.
If the crack is not in the center, but along the edge of the screen, and the sensor is still working, then for some time the tablet may "suffer" without repair. But this is not at all for long, because the damaged glass is no longer as strong, any slight pressing force or small impact can increase the area of damage or spoil the display, while increasing the cost of repairs.
And it is dangerous to use a damaged screen - you can injure your hand with inconspicuous fragments or sharp edges.
You are in luck if you purchased an ASUS tablet with a docking station, it can help you a lot, even if the sensor of your tablet stops working at all. The touch panel of the docking station allows you to launch the necessary programs, work with documents and turn off the tablet.
Today you can find several models of ASUS tablets. But do not forget that with the external similarity and the same size of the touch screens, their screens are completely incompatible, so pay special attention to this when ordering.
Older ASUS models: TF101, TF201, TF300, TF700, Nexus 7 ″. New ASUS models: Padphone, MeMO Pad Smart ME301T, VivoTab Smart ME400C, Tablet 600, Tablet 810 11.6 ″, Fonepad ME371MG - 7 ″.
One of the most popular ASUS features is the easily removable docking station, with an extra battery and keyboard, which becomes the main problem with the ASUS Transformer. Continuously connecting and disconnecting the dock will cause the dock and charger connector to wear out prematurely. In addition, the branded USB cable may fray and deteriorate.
Another recommendation is not to lose the charger, because this cable has a USB interface, but it has an additional contact with a 15V power supply. This contact is available only in branded power supplies that are created specifically for these models. This is necessary for those who are accustomed to charging the tablet from a car cigarette lighter; when purchasing a non-proprietary charger, you will have to buy a car charger separately suitable for your tablet model.
The batteries of the first models of tablets released more than three years ago have quite naturally already developed their resource provided by the manufacturers. First of all, it concerns ASUS ТF101 tablets.
The cost of a battery for ASUS tablets is quite high and can reach $ 100, and it is better to install it in a service center, this will reduce to zero damage to both the battery and the tablet.
If you have ASUS ТF101, and you have a docking station included with it, then you have the opportunity to extend the life of your tablet by simply moving the battery out of it.
Important! Before ordering a battery, check the charge level in it, because it is not uncommon for the charger to be damaged, not the battery. And when ordering a battery, make sure it fits your tablet model.
There are two ways to get Root rights.
- You need to use a laptop or personal computer with OS Windows;
- MicroUSB cable;
- Download and install the driver;
- Tablet charge must be at least 50%;
- Turn on USB debugging;
- Download the archive with the motochopper.zip program, which is needed to obtain Root rights;
- Unzip the zip archive;
- Find the root.bat file and double-click the program through it;
- Press any key and wait for the download.
Getting Root rights in the first way
We need at least 25% charged ASUS Memo Pad HD 7 and the Framaroot rooting application, which must be downloaded and installed.
- We launch the program;
- Select SuperSu from the proposed list;
- We select the method of obtaining rights by clicking on any of the proposed characters (Frodo, Sam, Aragorn, Legolas, Gandalf).
Installation completed successfully
- It remains to wait for the notification of the successful obtaining of rights;
- Reboot the tablet;
- After downloading, we find the SuperSu application in the menu, if it is there, then your enterprise was completed successfully.
The operating system is updated over the air - we connect to the Internet in any way, go to the tablet settings - About the device - System update.
We press the button "Check now". If there are updates, we agree with their installation and just wait until the tablet computer downloads everything it needs and does not update. After successfully completing the process, it will reboot itself. If there are no updates, he will notify you about it.
Today, the tablet is being repaired again. But this time from Asus.
I decided to write about the repair of this particular model due to the presence of a large number of nuances that a master may encounter.
With a gorgeous FHD display, a very powerful processor, 32GB internal storage and a cellular module in its arsenal, the me302kl quickly became a very popular model, despite the rather high cost at the start of sales.
With all the above advantages, the tablet has a very fragile protective glass, which is also a touchscreen with a very thin grid of contacts, which in case of damage to the glass, in almost 100% of cases means the failure of this very touchscreen.
It would seem, buy a touchscreen and change it, but it was not there. More recently, when trying to find a spare part, we would have encountered several problems:
- An inhumane price tag of 4500-6000 rubles, only for the touchscreen, and this is from the Chinese.
- The presence of different revisions of the touchscreen, which are incompatible with each other, or partially compatible, but require subsequent calibration.
- Design features. The touchscreen, not only is glued to the body with very strong tape, it is also glued with a strip of the same tape to the matrix along its perimeter. Because of this, when disassembling the tablet, it is very easy to damage the matrix, replacing which will make repairs impractical.
That is why, in small towns, such tablets often wandered from master to master, until they found their refuge on the shelf of some workshop, where a desperate client sold them for spare parts. I was lucky to buy one of these tablets too. And I, too, postponed it until better times, because every time I took it off the shelf with the intention of fixing it, I remembered how much trouble I would have with it, after which I returned the sufferer back to the shelf.
Of these problems, only the price has lost its relevance at the moment.
But enthusiasm and curiosity, once again defeated fears and laziness, and we start!
Let's start by overcoming the first problem - we need the right part. We'll have to figure out the description of the touchscreen options and their compatibility with each other.
Me302kl uses revision touch screen 5425n, which is very difficult to find not only in Russia, but also in China.
But you can pick up analogues, the most optimal of which, 5280n from the TF301 model, which has exactly the same cable and fits without any modifications. But in this case, you need to be careful, since under the guise of this revision, Chinese sellers like to sell cheaper 69.10I21.G01 / G03, which will not suit us, since it has a different loop geometry.
Another option that I just have is 5235n, the only difference from the original, in a longer and curved train. With a certain skill, this train can be easily folded in the desired way.
And finally, the fourth, cheapest option - 69.10I27.T01which can be used too (I don't recommend it because of the complexity). A feature of this revision is the need to install a modified firmware, without which the touchscreen will work in a mirror image (clicks will be inverted).
Why Asus spawned such a zoo of spare parts for related models, I can only guess. Perhaps the reason is the presence of a large number of different factories where orders for production were placed, perhaps something else. The fact is that it exists and we will have to take it into account.
For this procedure, we need tape, a set of separators, a spatula with a thin, flat end, and an irreplaceable hair dryer. The spatula can be replaced with a thin clerical knife, just be careful not to cut the die.
We start by gluing the broken glass outside with ordinary tape so that when removed, glass crumbs do not fly in different directions. Then we remove the back cover, wielding a connector at the junction with the frame, after pulling out the tray for the SIM card.
After that, carefully warm up the edge from which we will begin to remove the glass.
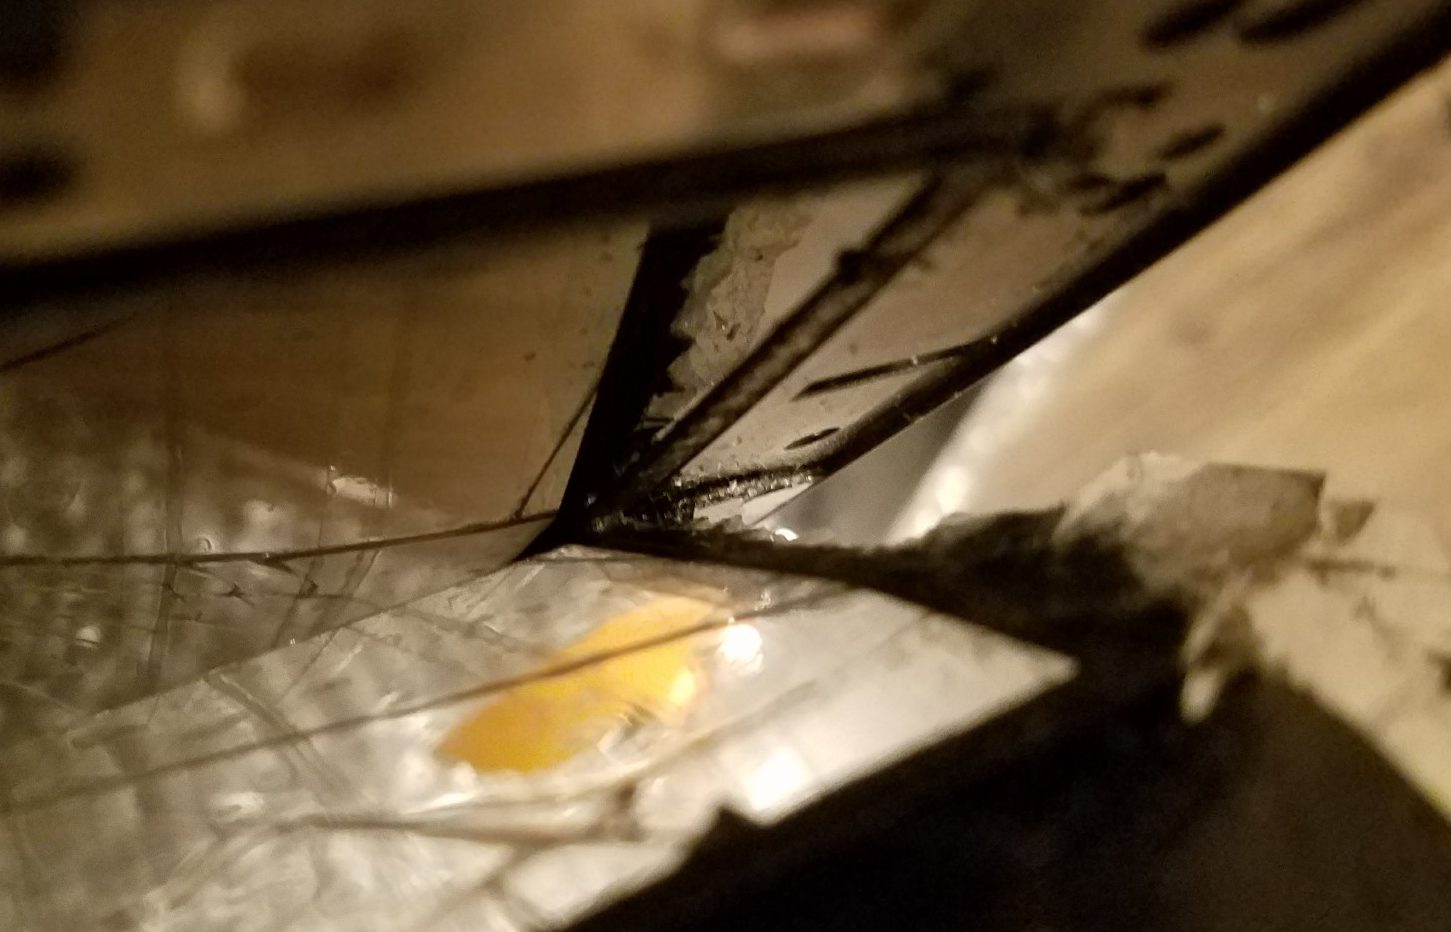
Then, we pry the glass from the heated side, and slowly we begin to separate it from the frame. Be careful, glass is very fragile and will crack and crumble. Do not be alarmed, cracks will be reflected on the matrix, and it will seem that the display is also burst. And one more thing - do not insert the connector too deep, and do not bend too much at once, so as not to damage the matrix.The design feature is that the touchscreen is glued not only to the frame of the case, but also additionally glued with an inner strip of tape around the perimeter of the matrix, which is why you should not bend the touchscreen too much - you risk breaking the screen.
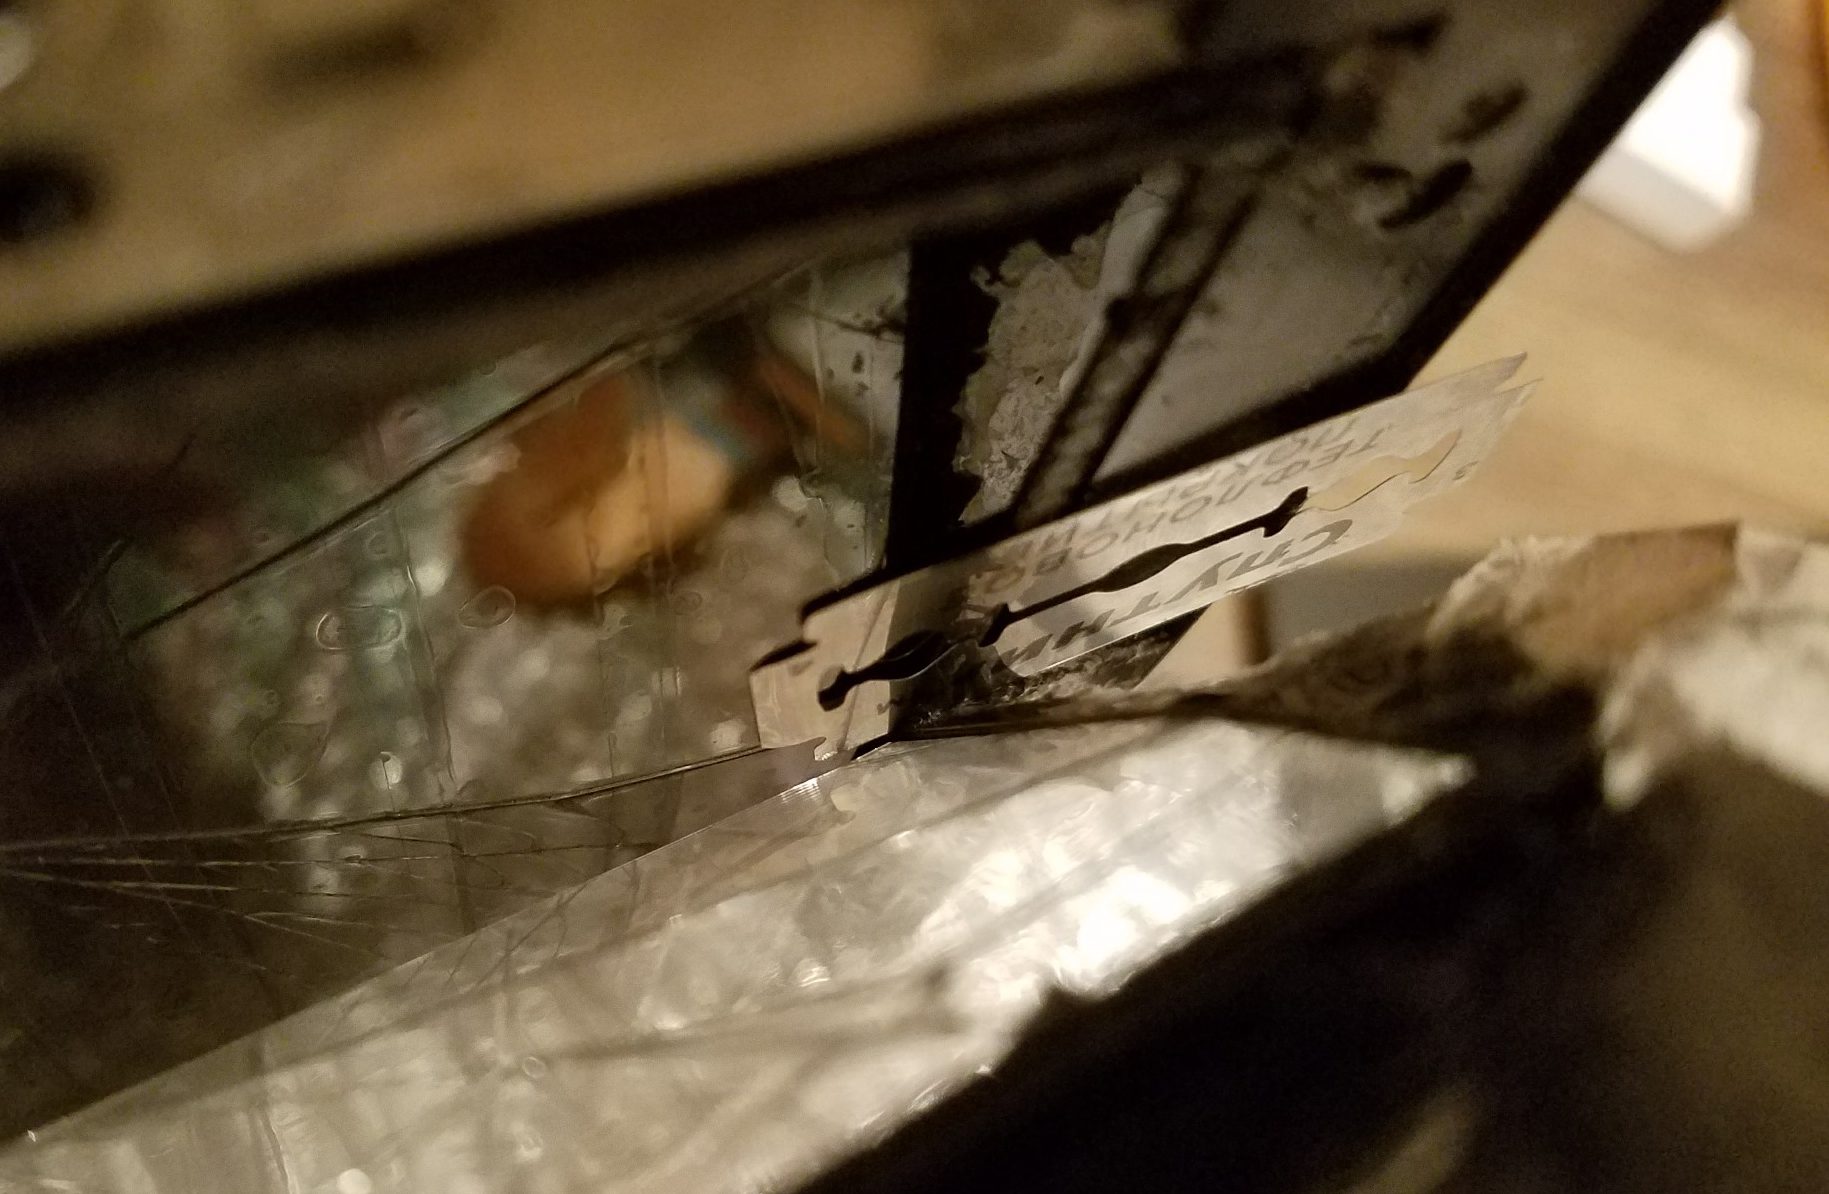
And then, the most tedious process - we warm it up, peel it off, warm it up again and peel it off. Once again, pay attention to the internal gluing of the touchscreen with a matrix. I recommend peeling it off or cutting it with a blade, after peeling off the glass from the frame around the perimeter.
To do this, we again heat the gluing place and slowly disconnect it. Centimeter by centimeter.
I repeat once again - take your time.
The separation process is finally over!
We turn on the tablet and check whether it makes sense to move on.
We connect the touchscreen "on snot" and check. Hooray, everything works! Moving on.
After that, our task is to clean the frame from the remaining adhesive tape. It is convenient to do this by peeling off a piece of scotch tape from the broken touchscreen, and, as if blotting it, to clean the frame.
In the same way, the perimeter of the matrix can be cleaned of scotch residues. To do this, slowly remove the remnants of the tape, and then, blotting, we go around the perimeter with old tape, cleaning the edges from the remnants of glue.
We should get it like this:
Now, our task is to prepare a tablet for installing a new touchscreen.
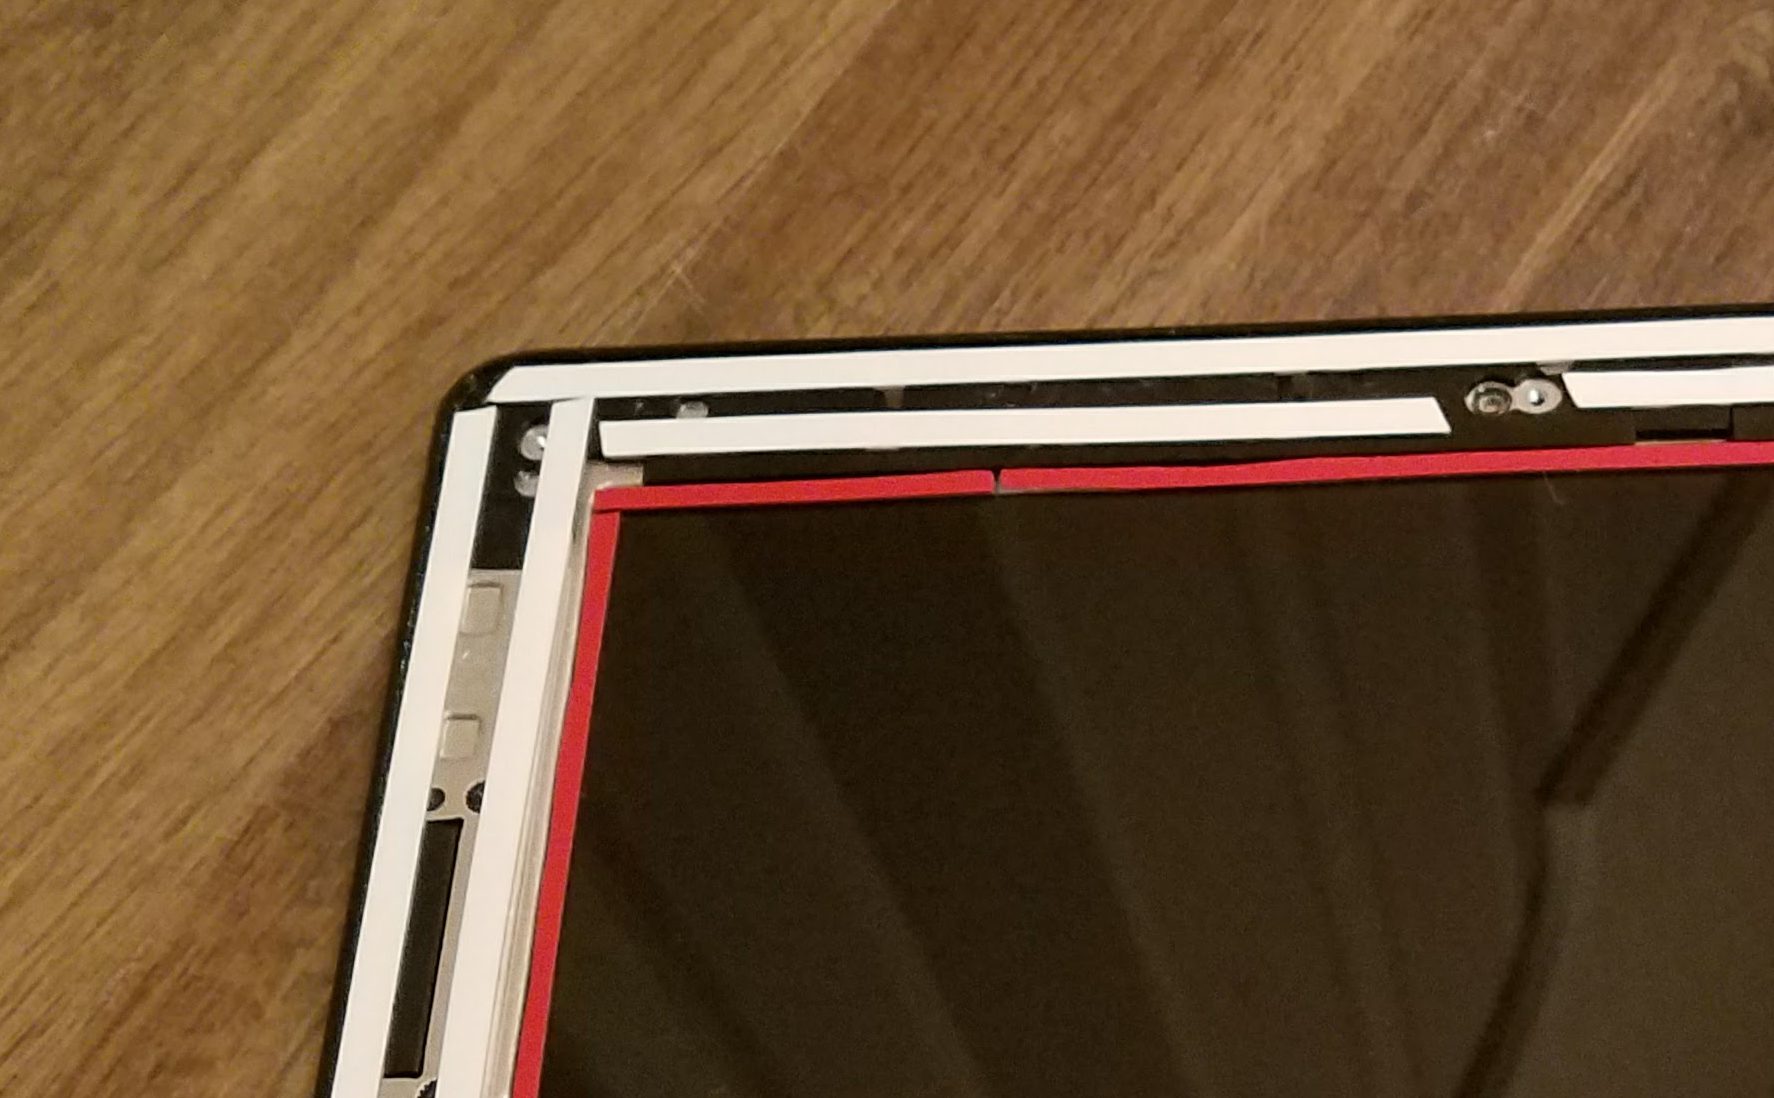
To do this, we use foam tape 0.3 or 0.5 mm thick, of a convenient width for you. We glue the frame around the perimeter.
After that, our task is to glue the edges of the matrix around the perimeter in order to exclude its contact with the touch skin.
For this, I recommend using black foam tape 0.3mm thick and 3mm wide.
Gently glue around the perimeter, making sure that the edge of the tape does not go beyond the edges of the black film, which is pasted over the ends of the matrix.
After everything is ready, you need to clean the surface of the matrix from fingerprints and dust, if any. For this, we will need all the same remnants of the old scotch tape. We roll it into a convenient lump and ..., yes, we blot the display with it. This method eliminates the appearance of streaks, and perfectly removes dust and grease from the matrix surface without damaging it.
After we have prepared the matrix and the touchscreen, remove the protective tape of the tape, then, by tilting the touchscreen over the display, remove the inner transport film from it, without touching the display and making sure that no dust gets inside, glue the touchscreen onto the frame.
In my case, the touchscreen of a compatible revision has a different loop geometry. Our task is to bend it in the right way so that the connectors of the ribbon line up with the connectors on the board.
We bend it so that no sharp bends appear (do not iron the folds). Also, I strongly recommend isolating the contact points of the plume layers, for example, with a Kapton tape, to exclude interference and phantom clicks, which the tablets of this Asus line were so famous for.
After the loop is prepared and connected, the final touch remains - close the lid and check the result of our work.
During the replacement process, the display was not covered with anything. Just before gluing, blew off the dust and removed the debris that had flown. If your place is dusty, then it makes sense to buy a special film and cover the display with it until the moment of gluing.
Repairing this tablet model is not easy for several reasons. This is the complexity of the design with several layers of adhesive tape, and rare parts, and leapfrog with versions of touchscreens. However, in my case, the repair was justified both from the point of view of gaining invaluable experience and from an economic point of view.
At one time, on specialized forums, and just on ad sites, you could meet many people who wanted to sell such a tablet with a broken touchscreen. Considering its characteristics and capabilities, such a purchase "for the future" was justified, since now the cost of spare parts has dropped significantly (my touchscreen was bought for 1950 rubles), and the tablet has not lost its relevance.As a result, given that I got the tablet for a ridiculous 500 rubles (for parts), the total cost for me is 2500 rubles plus time and effort for repairs. Not bad. Literally for a song, I became the owner of a nimble tablet with a good battery and an excellent FHD screen.
Whether the game is worth the candle is up to you. For me, this tablet has taken its place on the bedside table, and pleases with the opportunity to comfortably read a mobile-review before going to bed, play something and watch a video.

