In detail: DIY repair of a bathroom in Khrushchev from a real master for the site my.housecope.com.
The most expensive room in terms of the cost of materials is the bathroom. And the renovation in my apartment actually began with him.
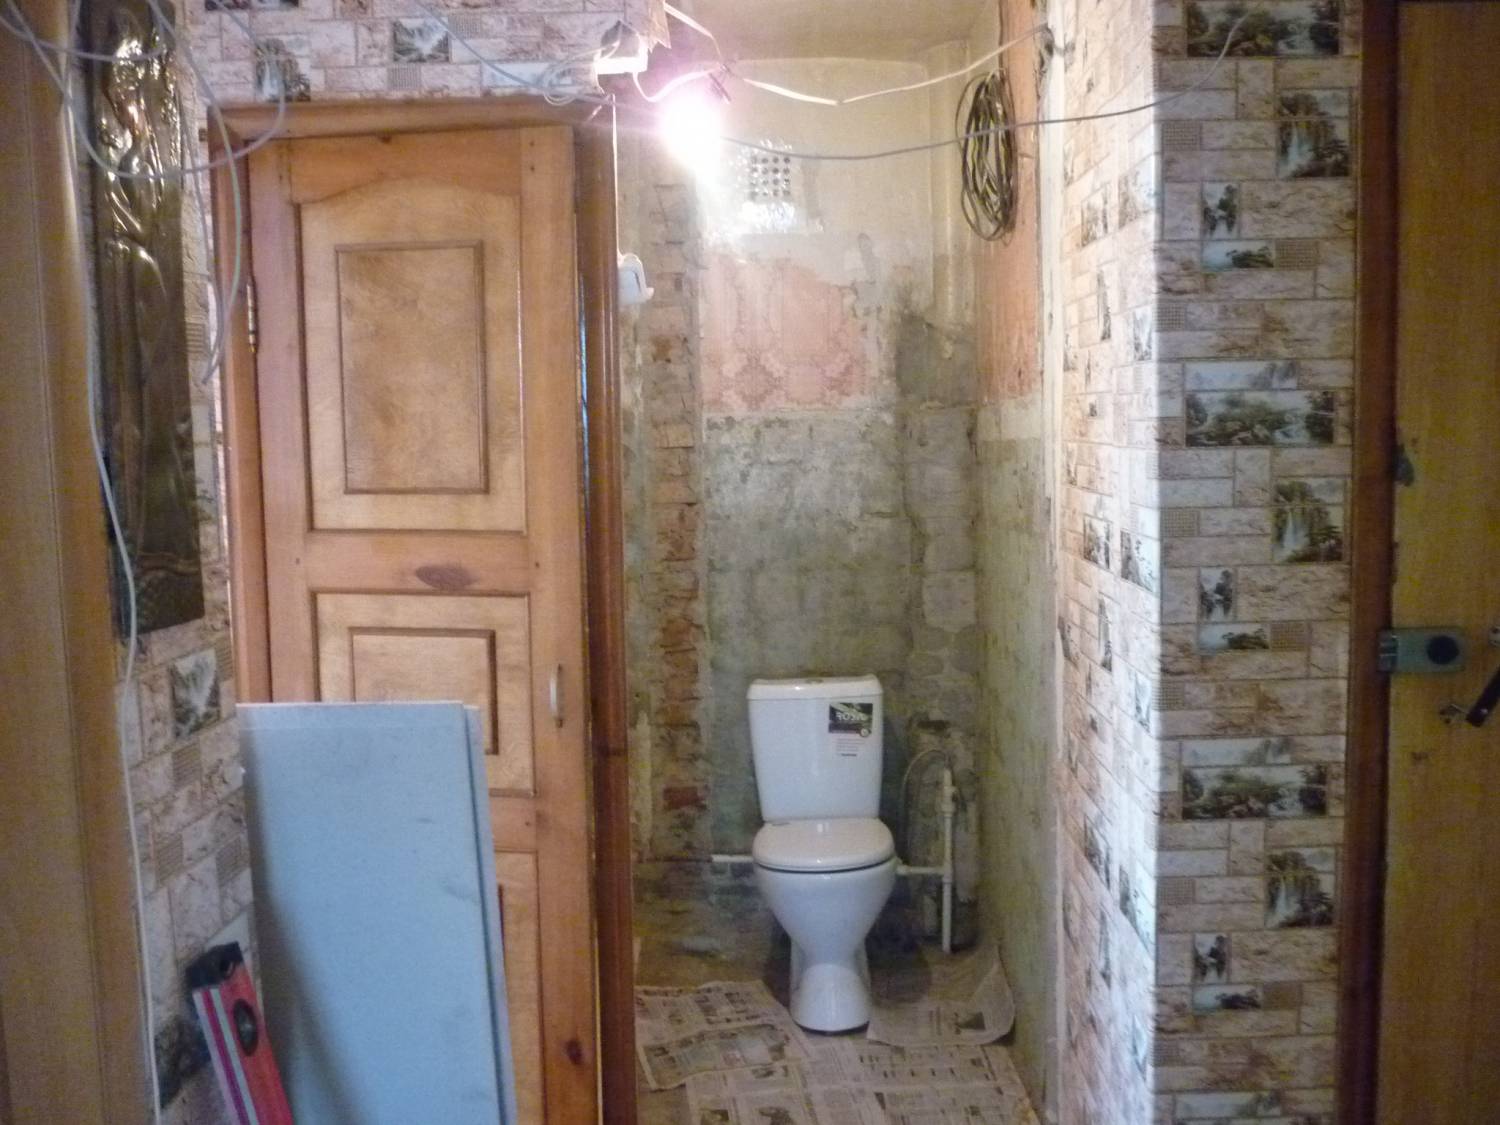
To begin with, it was necessary to understand the scale of the tragedy. A separate bathroom is a concrete box of a sanitary cabin (which is not a load-bearing element) in which everything has remained untouched for 44 years.
The first thing that was done was to remove the old sink and remove the tiles.
The partition between the toilet and the bathroom was crooked and frankly crumbled in places, for safety and in order to assess whether it was needed, part of it had to be dismantled.
The partition began to actively stagger, and therefore it was decided to dismantle it.
The space immediately seems larger, there is clearly nothing to do with such a small toilet, and the decision was finally made to make a combined bathroom.
During the work, there are mistakes, and I have no exception. Now, first of all, I would first draw a new conclusion from the old riser and then dismantle the pipes that are embedded in the wall. And that's why:
A concrete box was holding an old heated towel rail, and without having time to dismantle the wall, a leak formed in the old seam of steel pipes. We temporarily managed to solve the problem by making a funnel from a plastic bottle. I had to urgently weld in a new branch and put the valve on which was not there, for this I had to turn off the water in the evening, until about 22.00, but the emergency situation still, the neighbors understood.
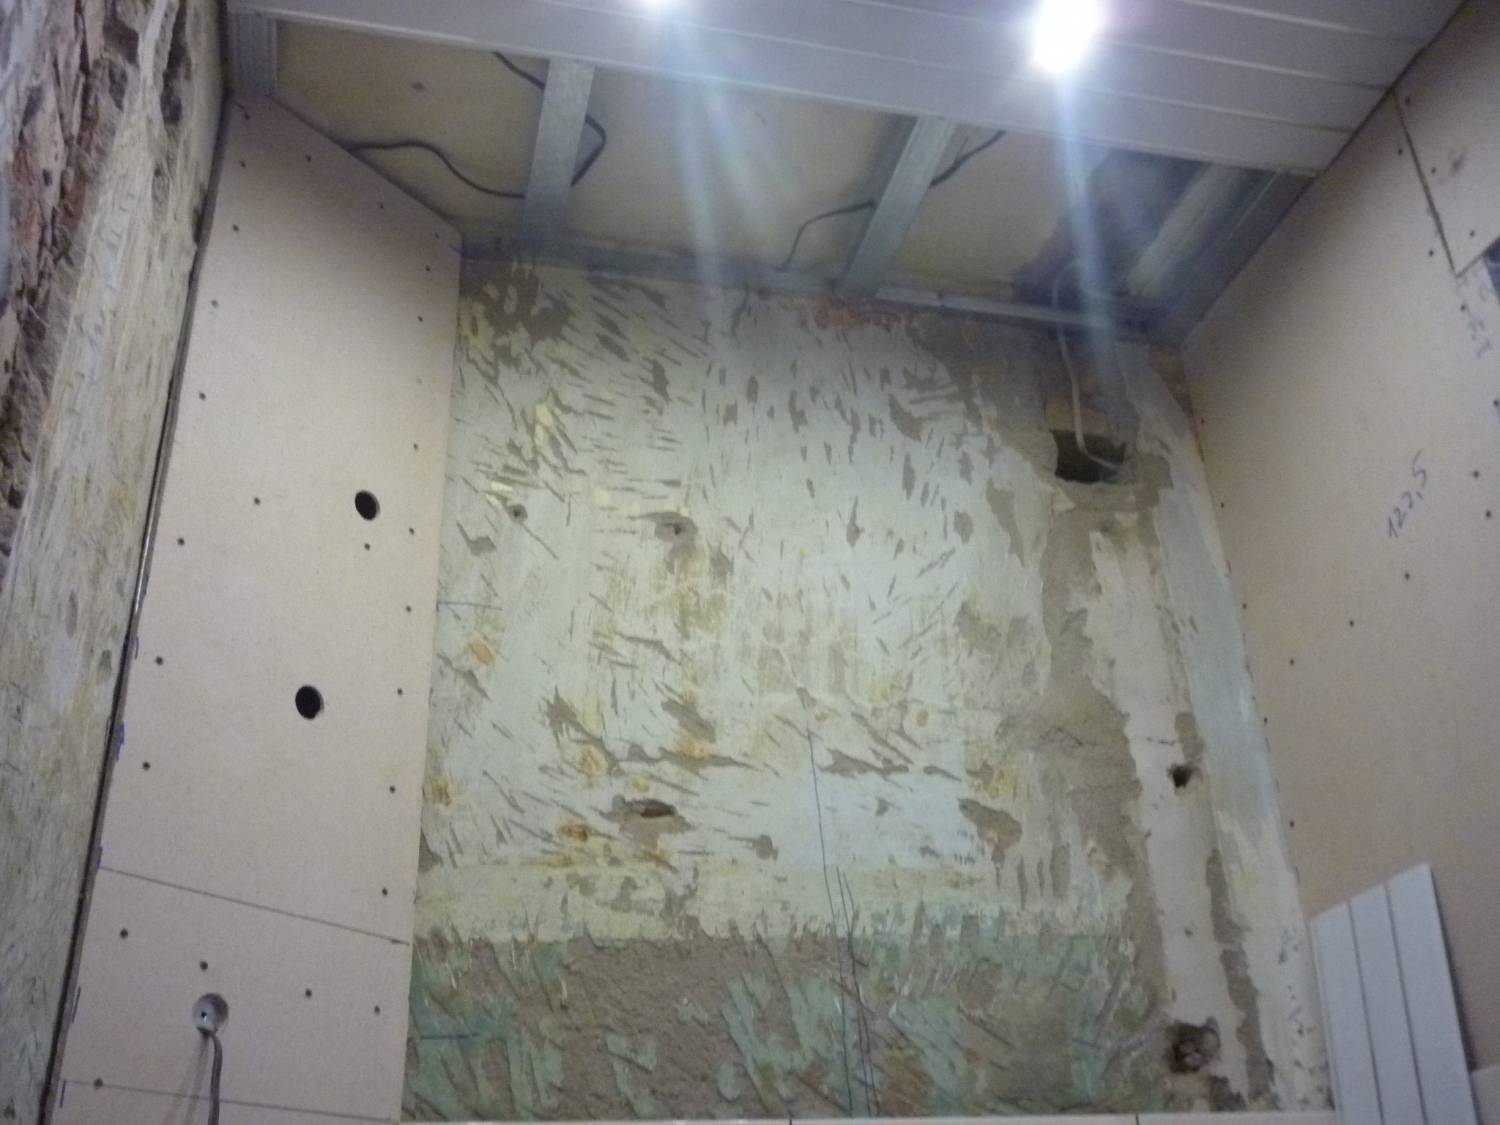
The wall with the doors had to be made new, the plumbing was flimsy, and after removing the door frames, the upper crossbar began to wobble.
The new partition is made of gypsum fiber sheet.
| Video (click to play). |
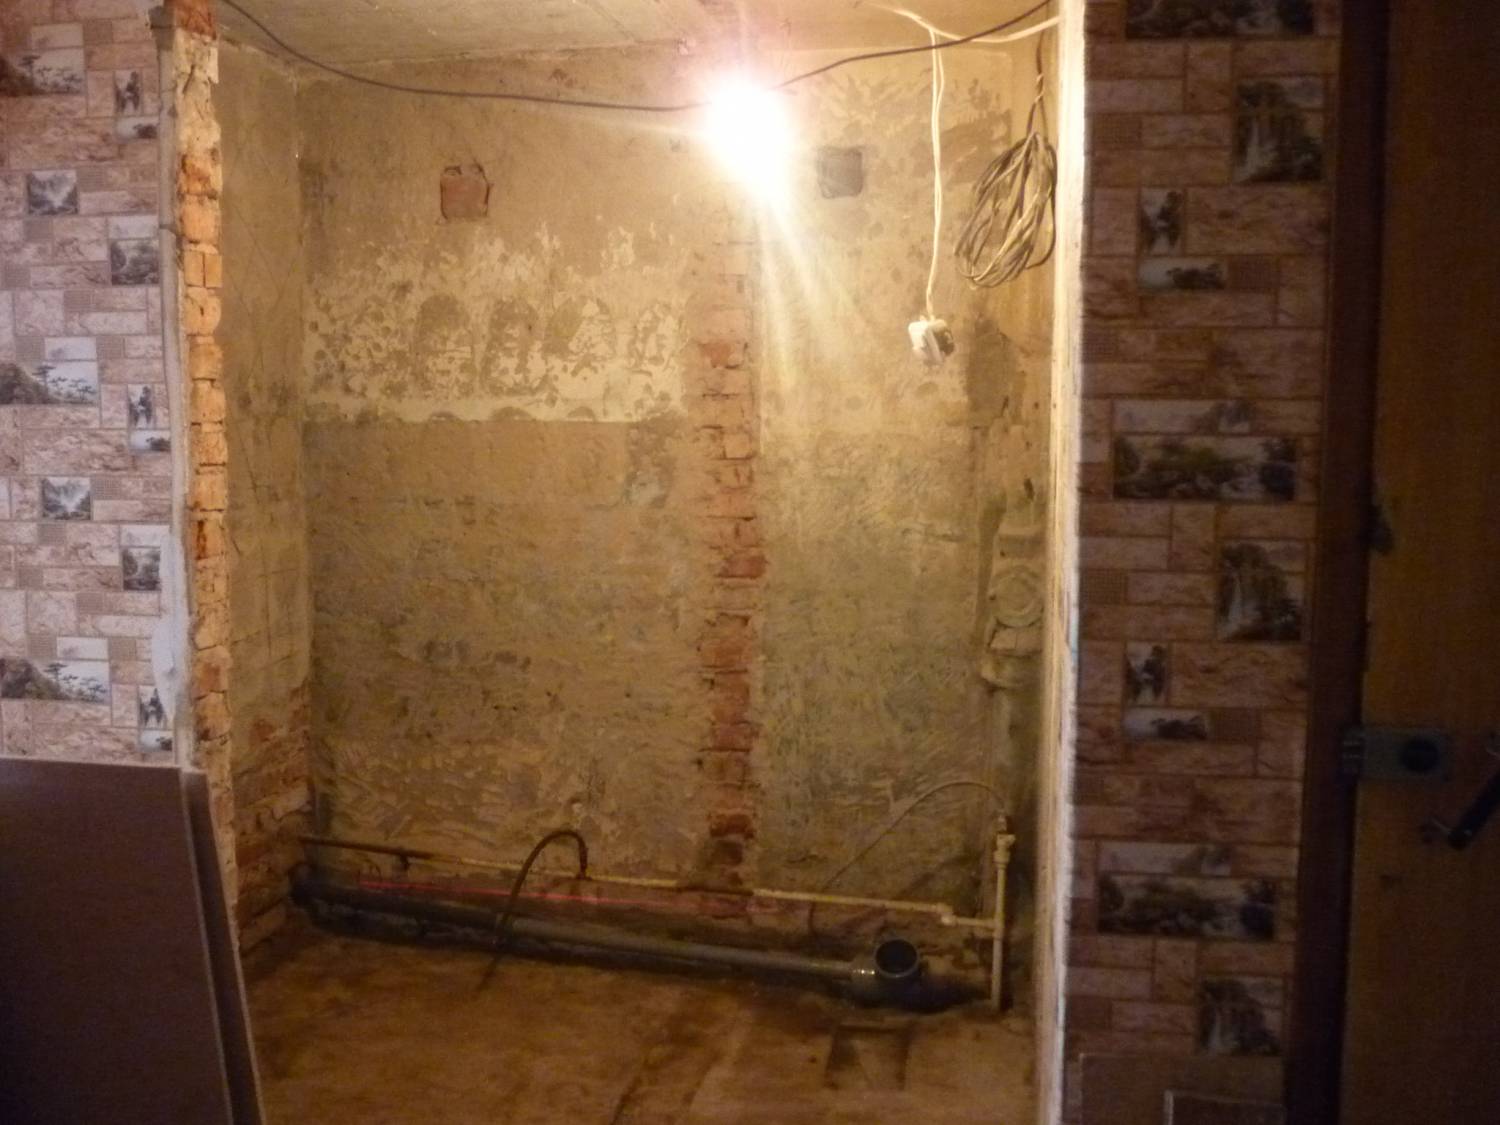
New pipes are hidden in a niche behind the plumbing.
The box is sewn up with plasterboard. A regular cast-iron bathtub of 150 cm is installed.
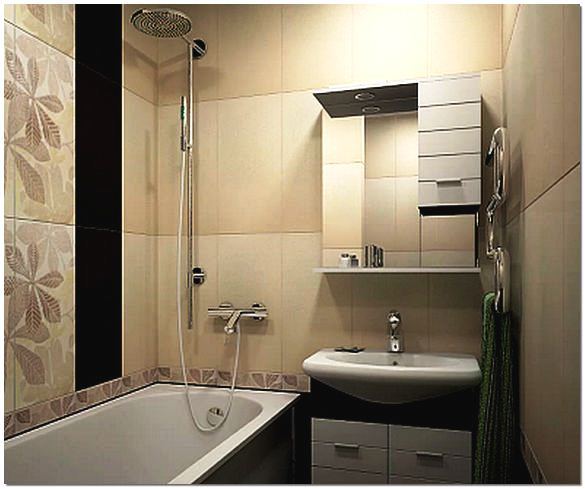
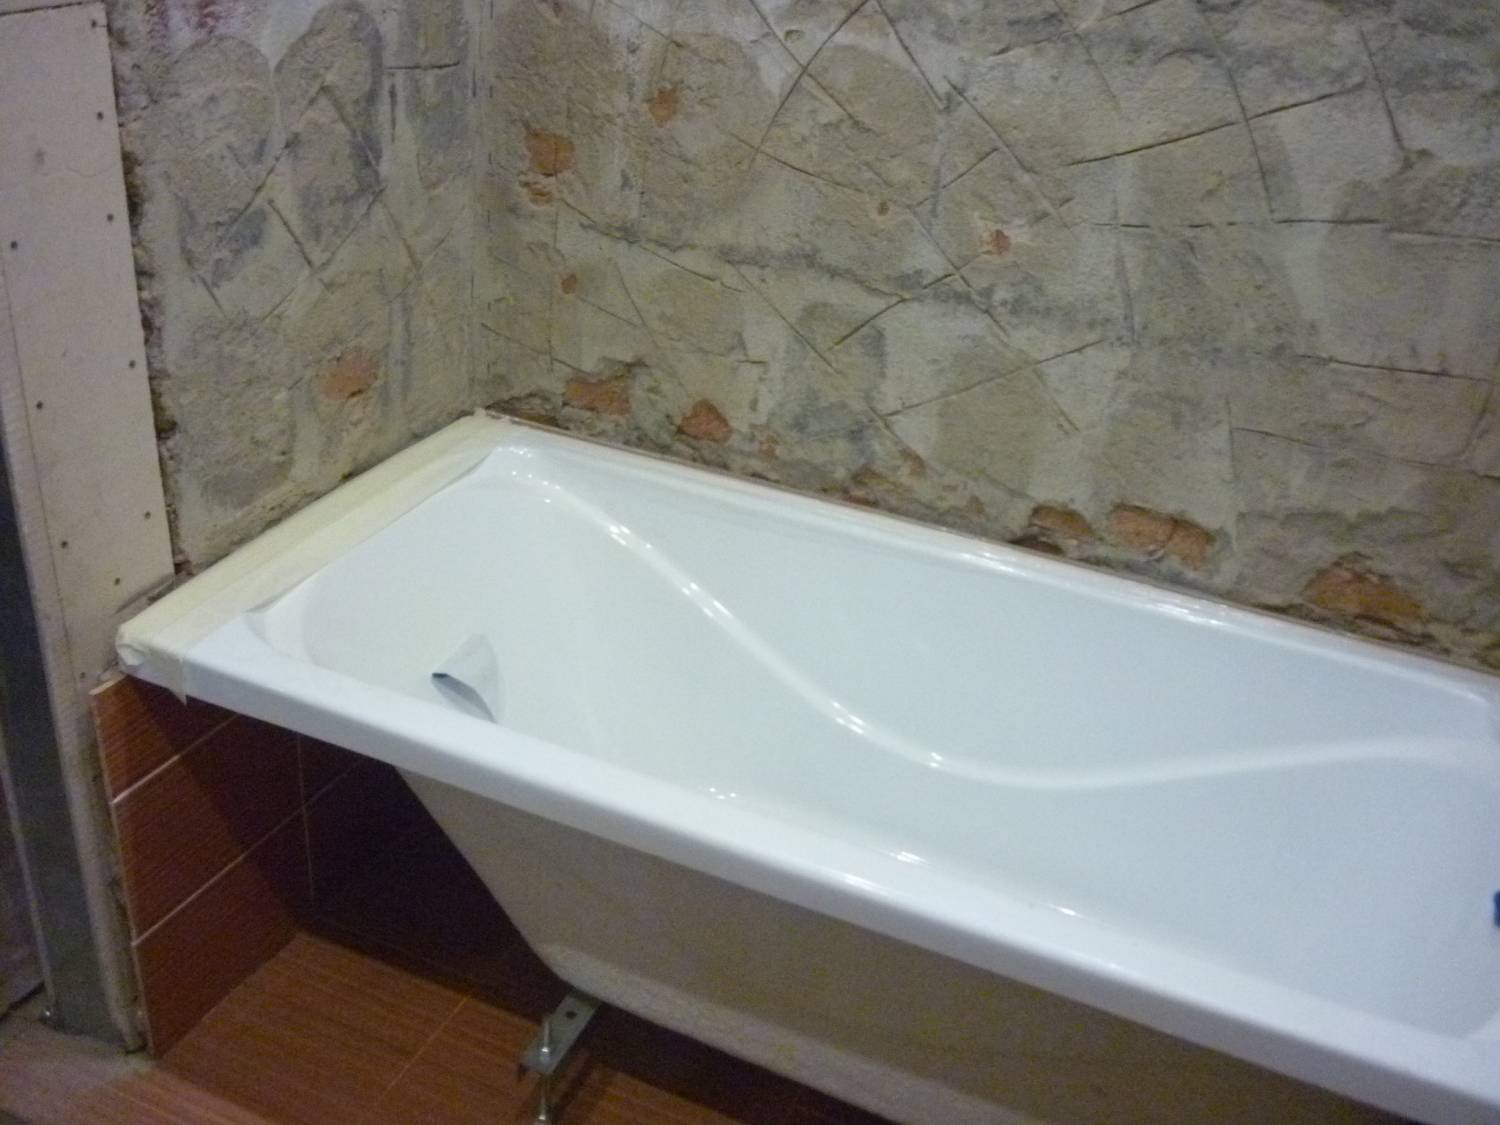
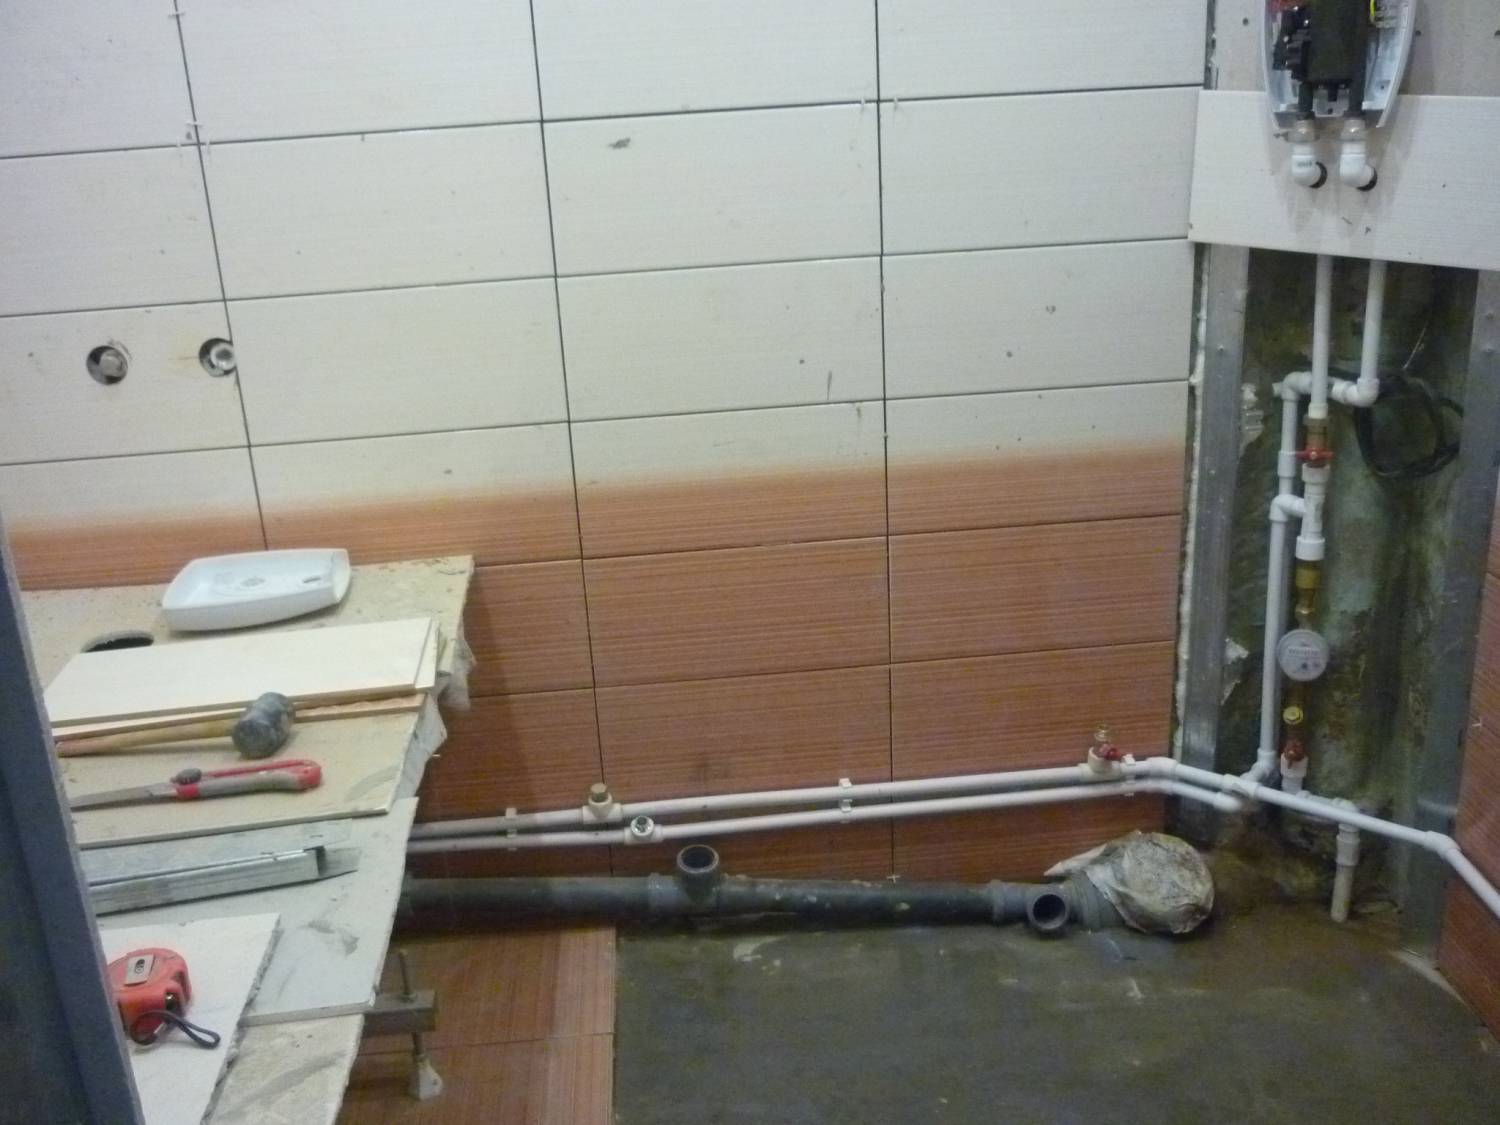
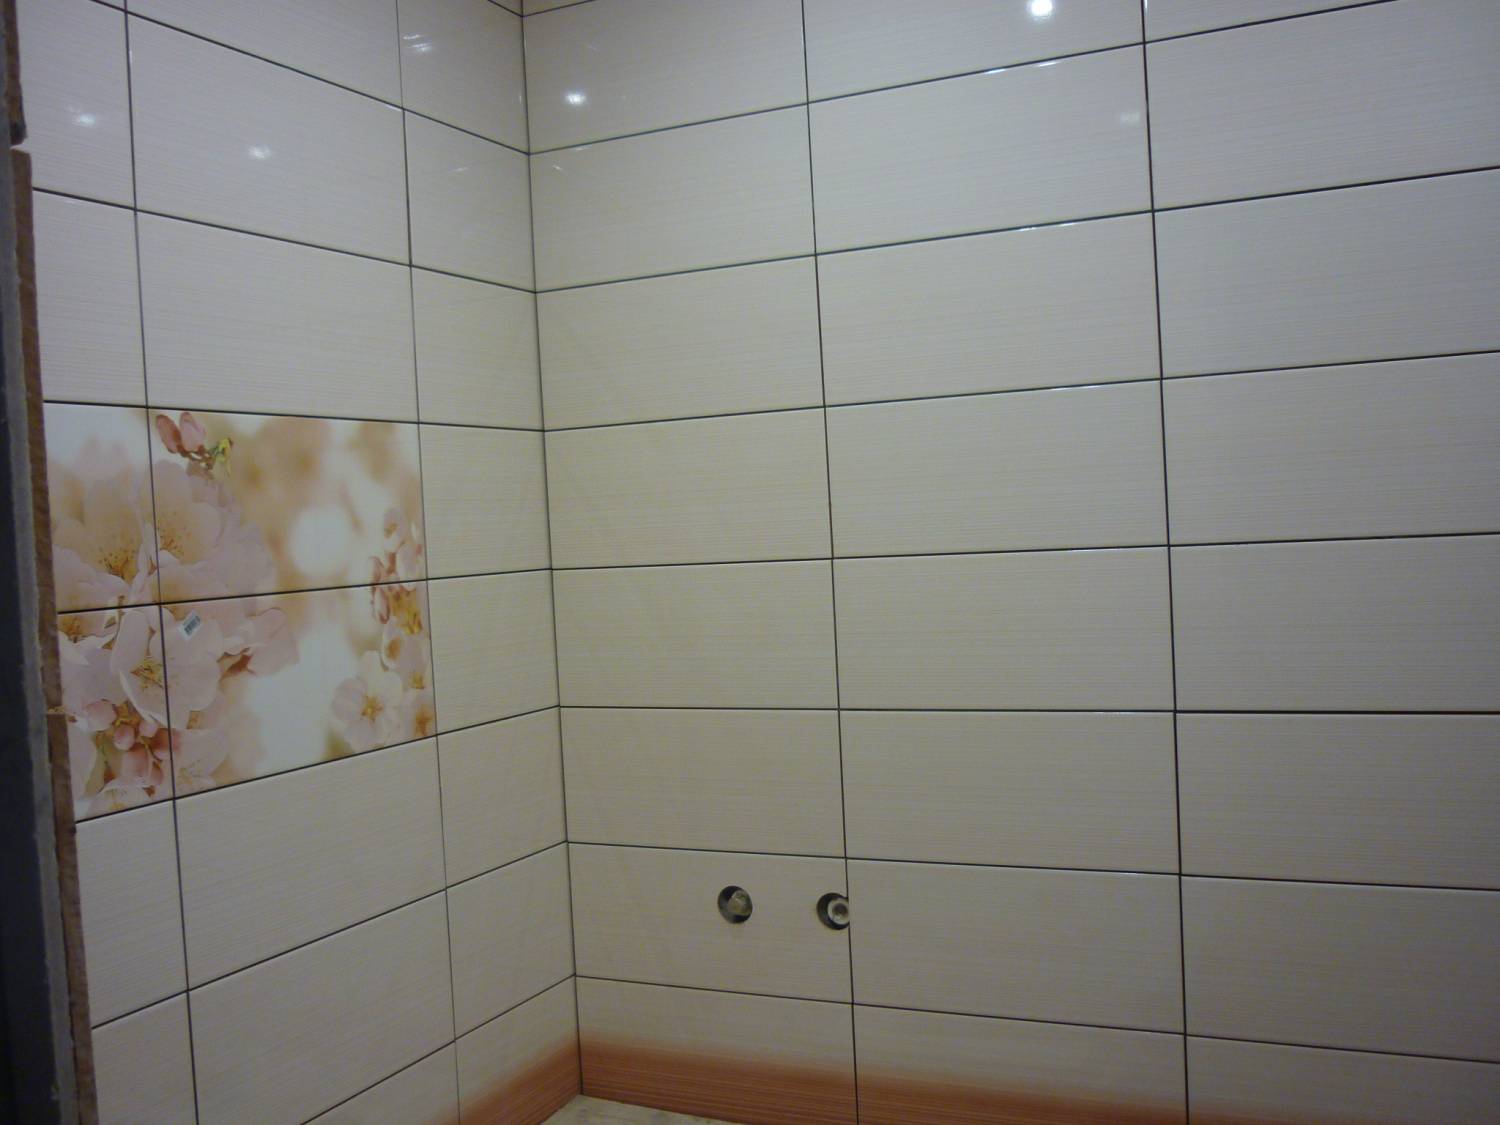
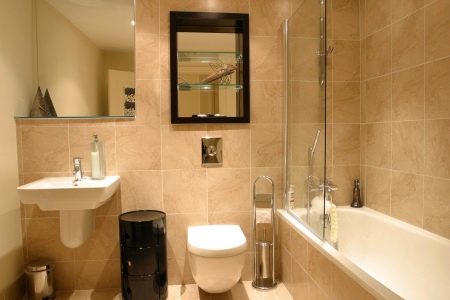
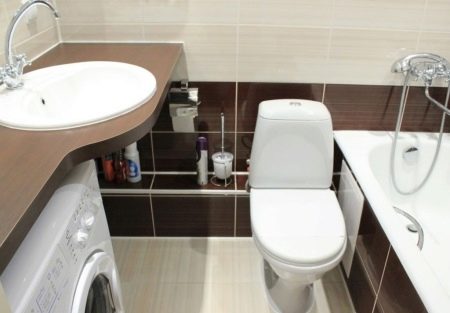
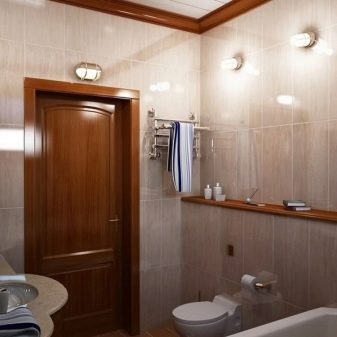
I chose tiles and porcelain stoneware for a long time. As a result, I took tiles from the Newport Kerama Maratsi collection. Brown porcelain stoneware, then two rows of dark brown tiles, two rows of light brown tiles, then beige tiles to the ceiling. I chose an elongated rectangular tile, since, it seems to me, such a tile visually expands a small room. Four dark tiles down to the level of the bathtub. I don’t like the borders and decorations on the tiles, so we will do without them.
On the far wall there will be a switch for ventilation and a socket.
I would like to share information about the repair of the bathroom and toilet rooms, in a small apartment - "Khrushchev". In our country, apartments of this size still make up a decent share. Therefore, I hope that the repair option made by me will seem interesting to someone.
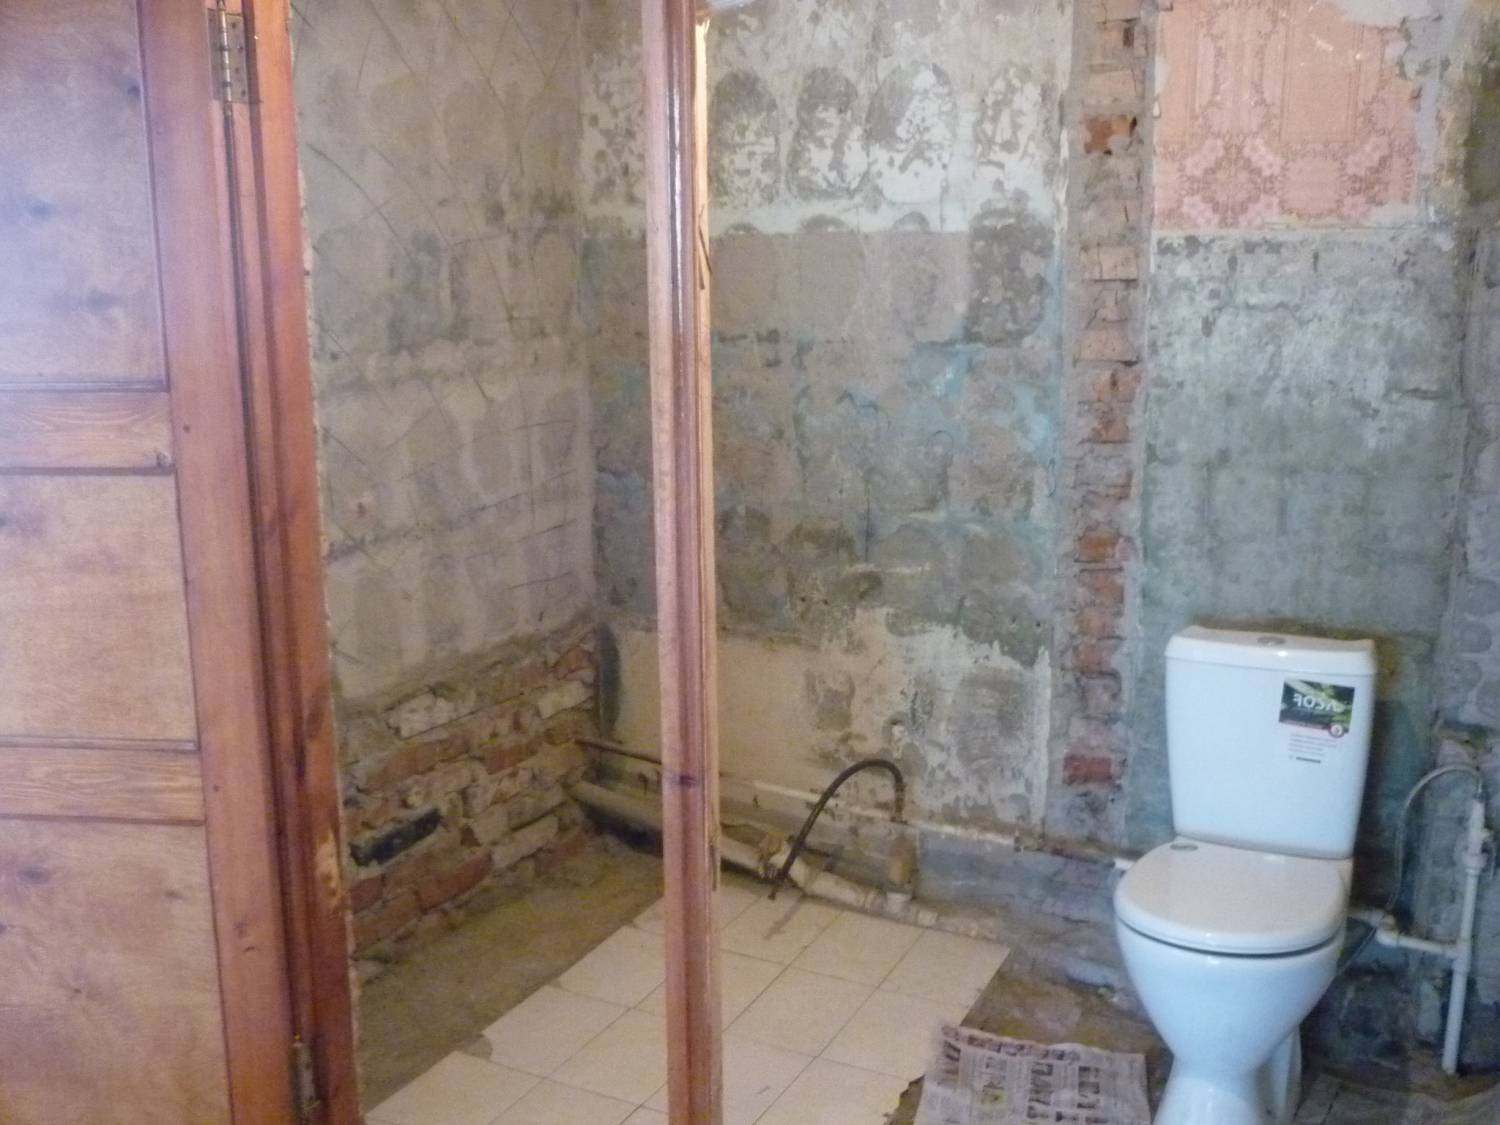
From the very beginning, we decided to combine the bathroom and toilet, breaking down the existing brick partition between them. Thickness - half a brick. This is how much the combined bathroom has increased. Those who know the size of such premises in "Khrushchevs" will understand the significance of even such a meager increase in area. A blank wall appeared at the site of the doorway to the former toilet, which also played a role in its enlargement. There was one door leading to the combined bathroom. We decided to keep the one that led to the bathroom.
There was a heated towel rail along the demolished partition, which needed to be moved to another location. These were the tasks before the start of the renovation.
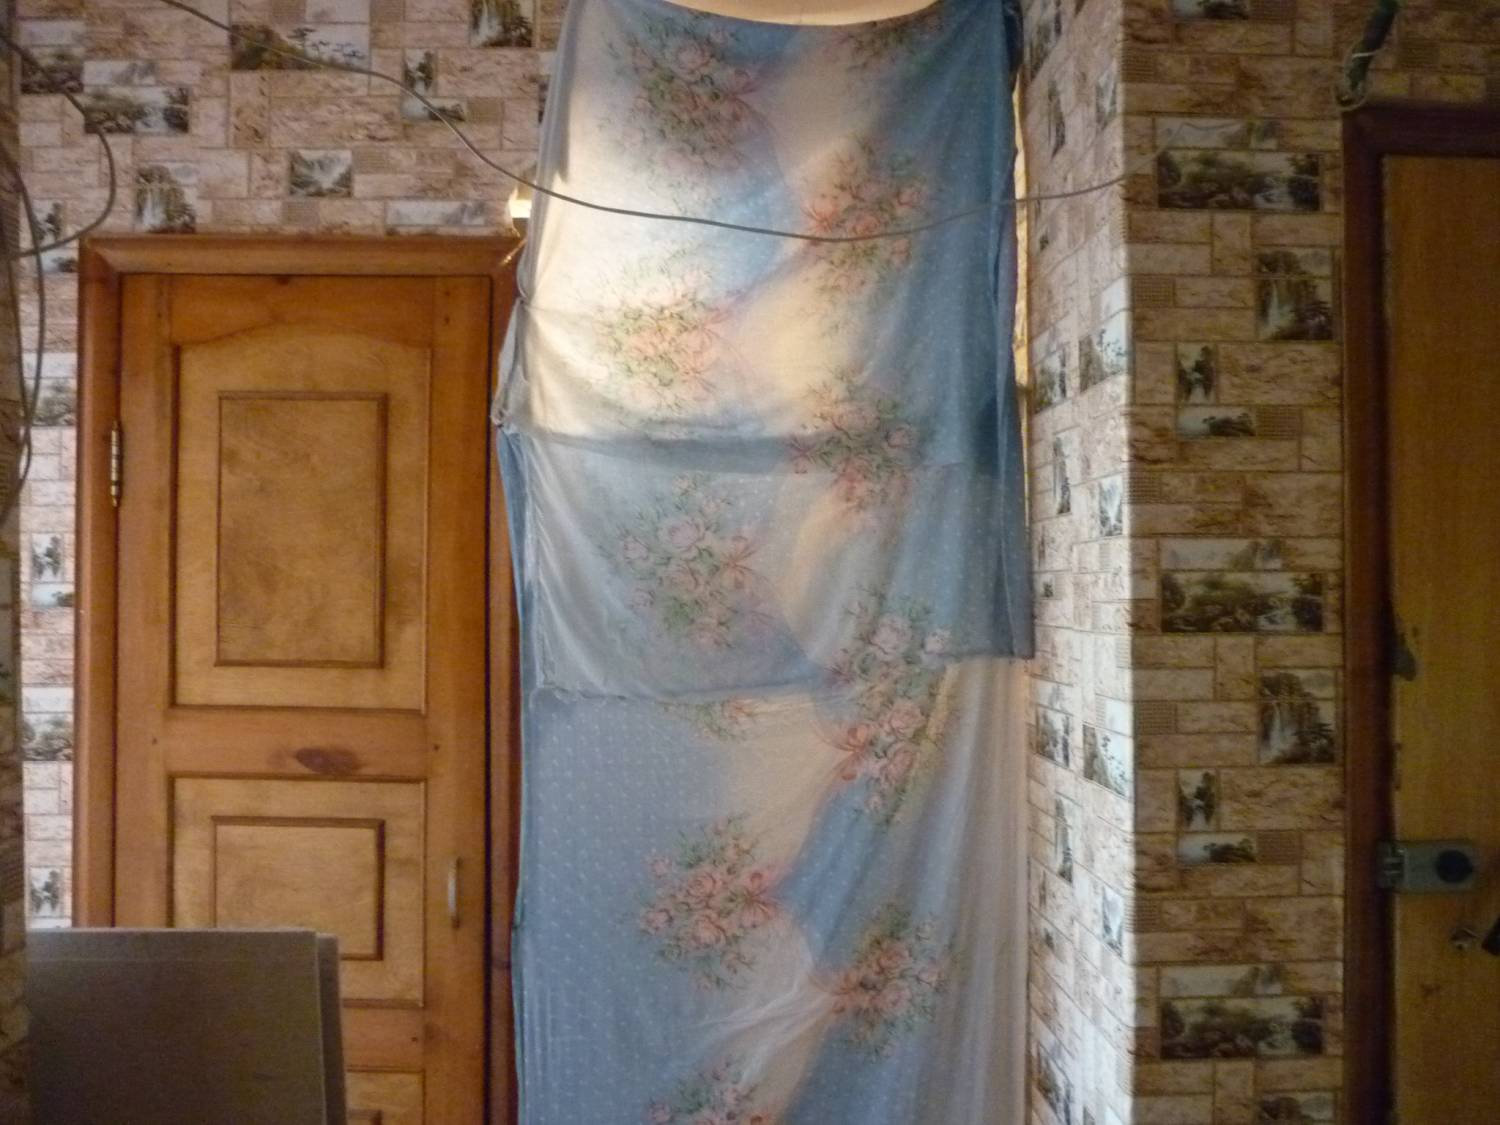
Top photo: toilet and bathroom. You can also see here where the partition passed between them. It has now been removed.
Here you can clearly see that this is one room. One can only guess about the partition, since traces from it are visible in the middle of the floor and the wall. This room is ready for renovation. Everything that is not needed has already been dismantled and taken out.
By the way, so that when the partition is broken, the tiles are chipped off (it was on the walls and on the floor), dust does not go into the apartment, you had to close the doors tightly, drape them with damp rags, and work in gas masks ourselves. It helped that the ventilation worked well. Garbage was taken out into the street in polypropylene bags. The doors were carefully removed after finishing all the dirty work. Of course, we did not cover the rest of the apartment 100%, but nevertheless, the precautions taken in this regard helped.
Well, everything old is broken and cleaned up, how the combined bathroom will look like, what and where it will be located in is determined. Materials for repairs and equipment for the room have been purchased.
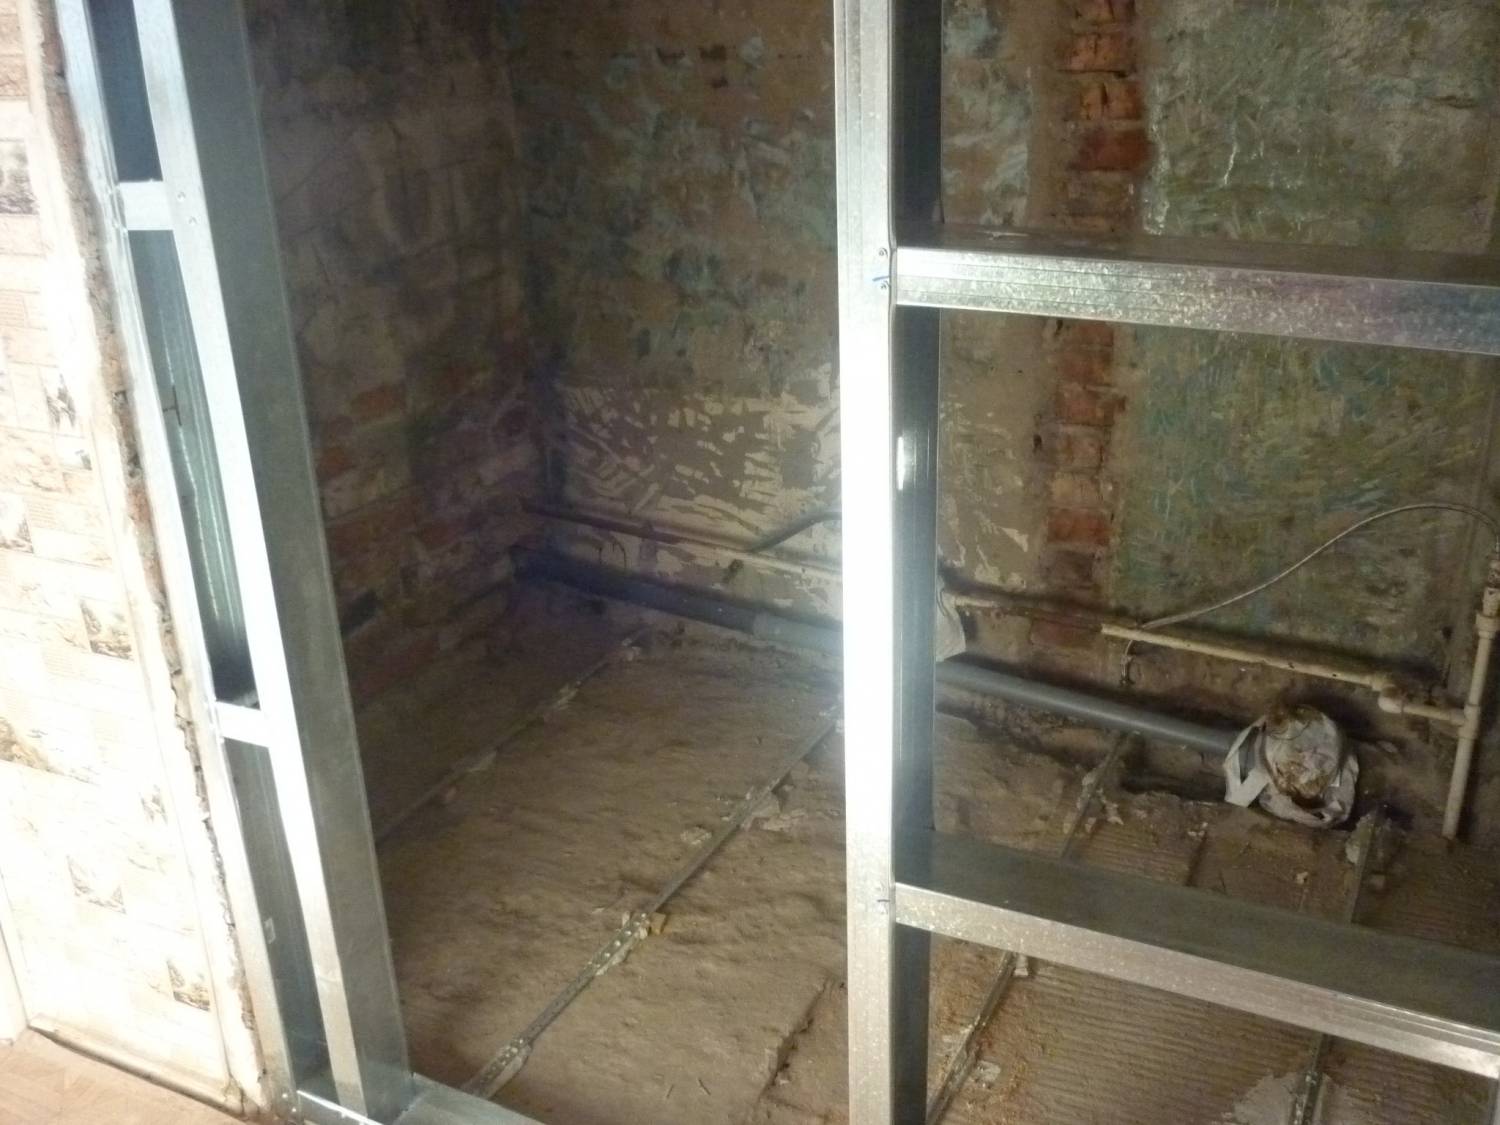
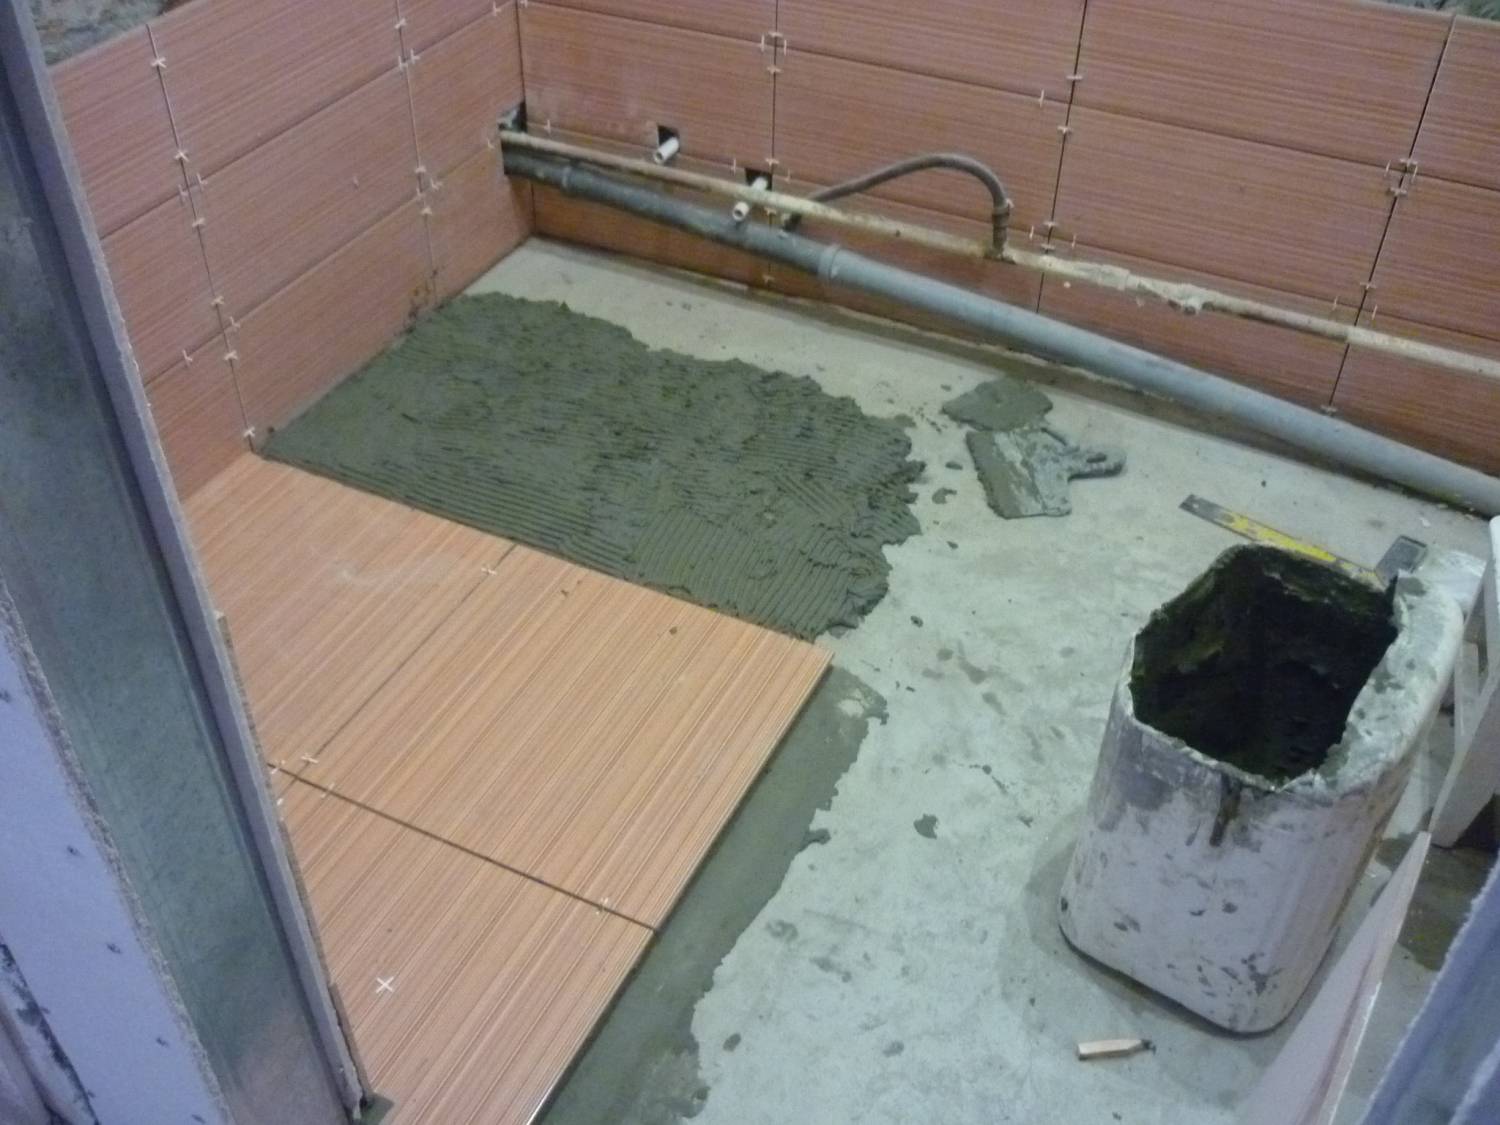
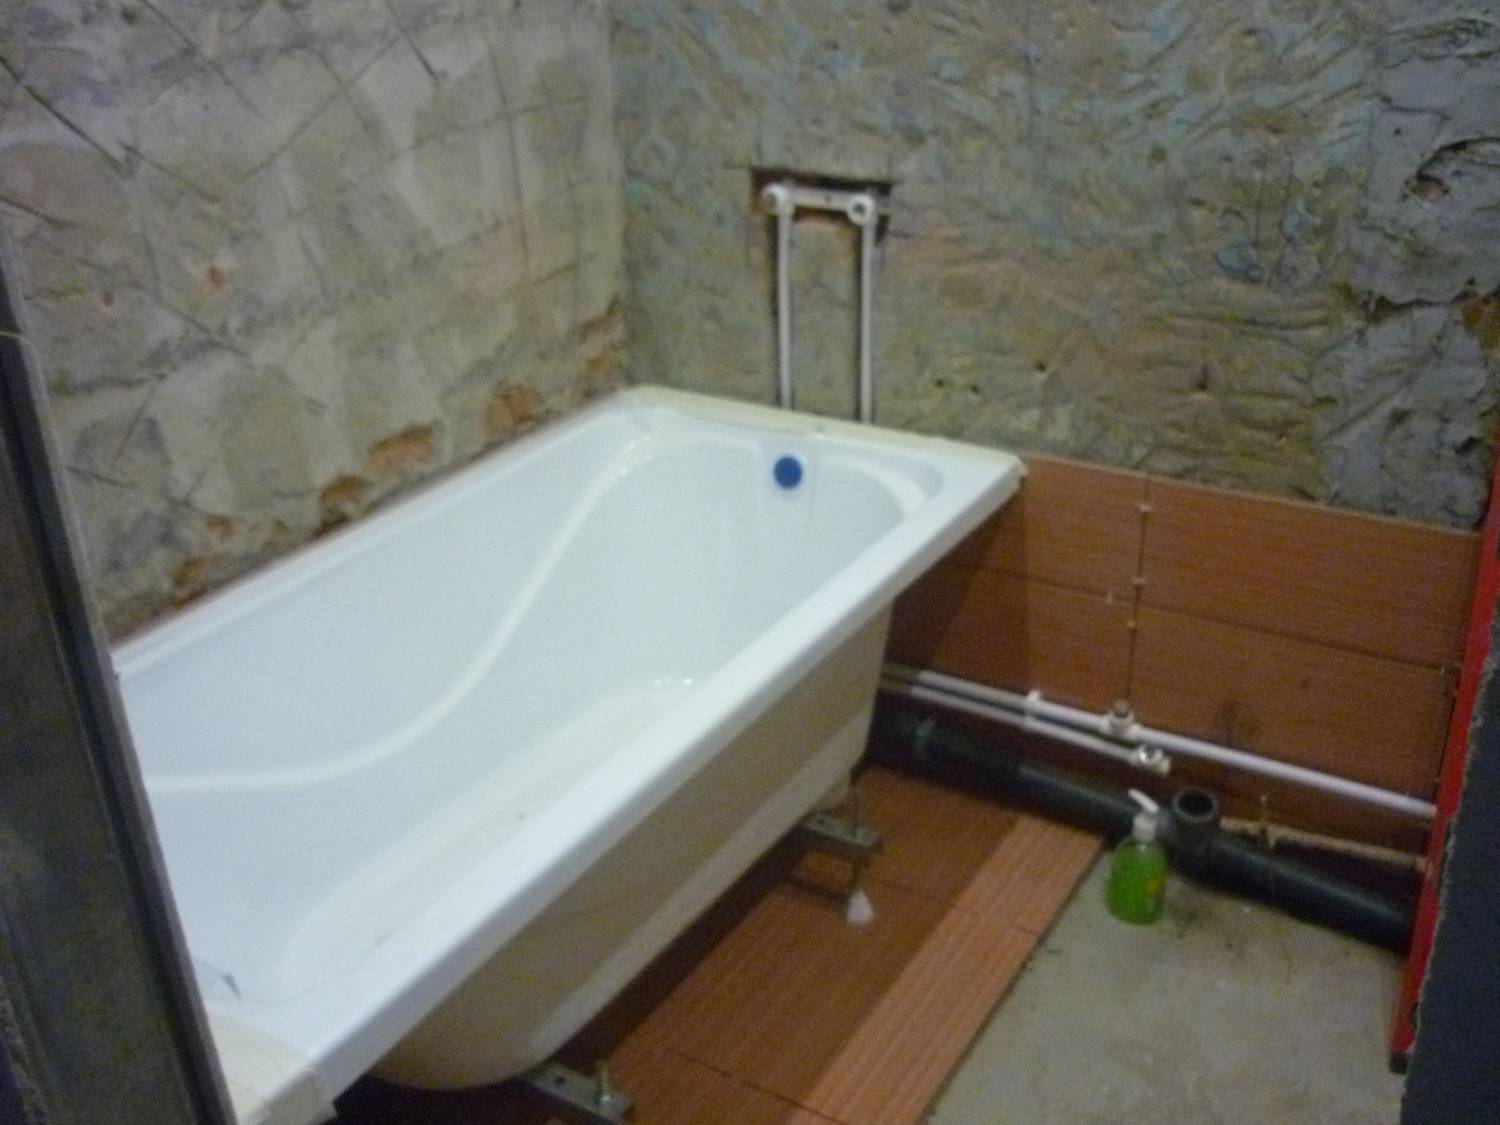
The work began with the installation of sewerage and water supply systems. The pipes could be hidden in the floor or in the wall, but then they changed their minds. It turned out that they were almost completely hidden by the bathroom itself and the bedside table under the sink. Therefore, it was necessary to hide them on purpose only in the wiring place, where the main riser passes. The corner was closed using GVL sheets. Knauf. The old sewer pipe was also replaced with a plastic one. You can safely close it. They will stand for 100 years. The corner was closed. The routing and fastening of the pipes is finished.
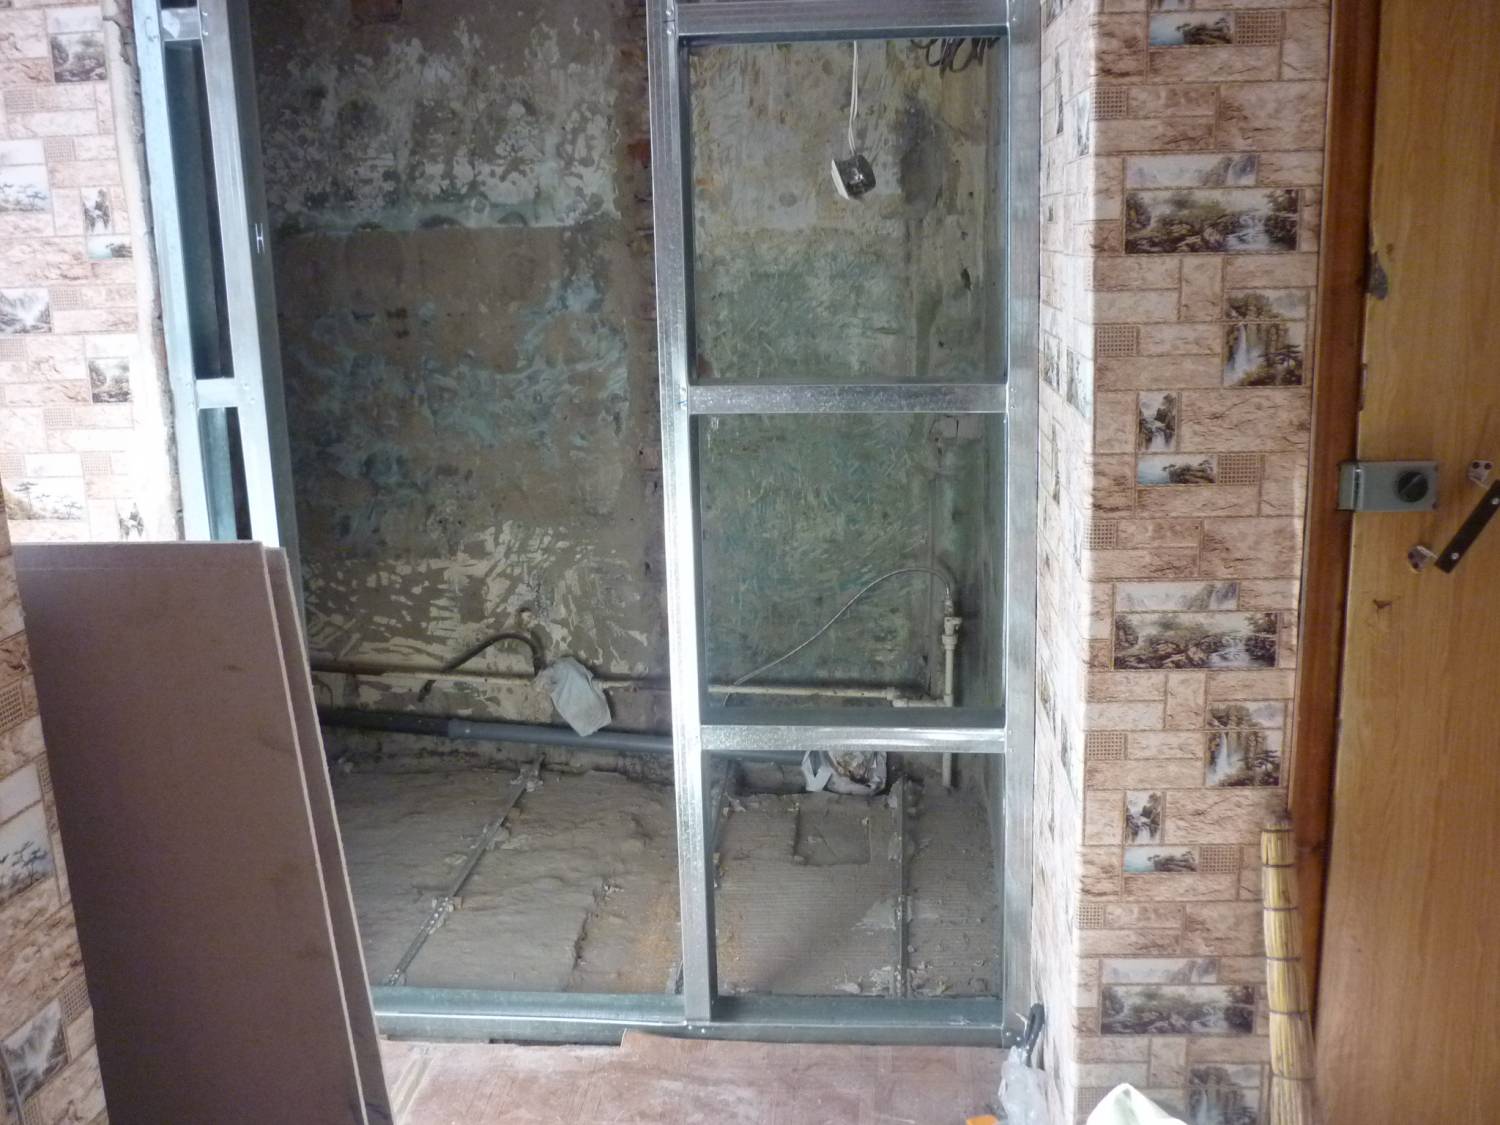
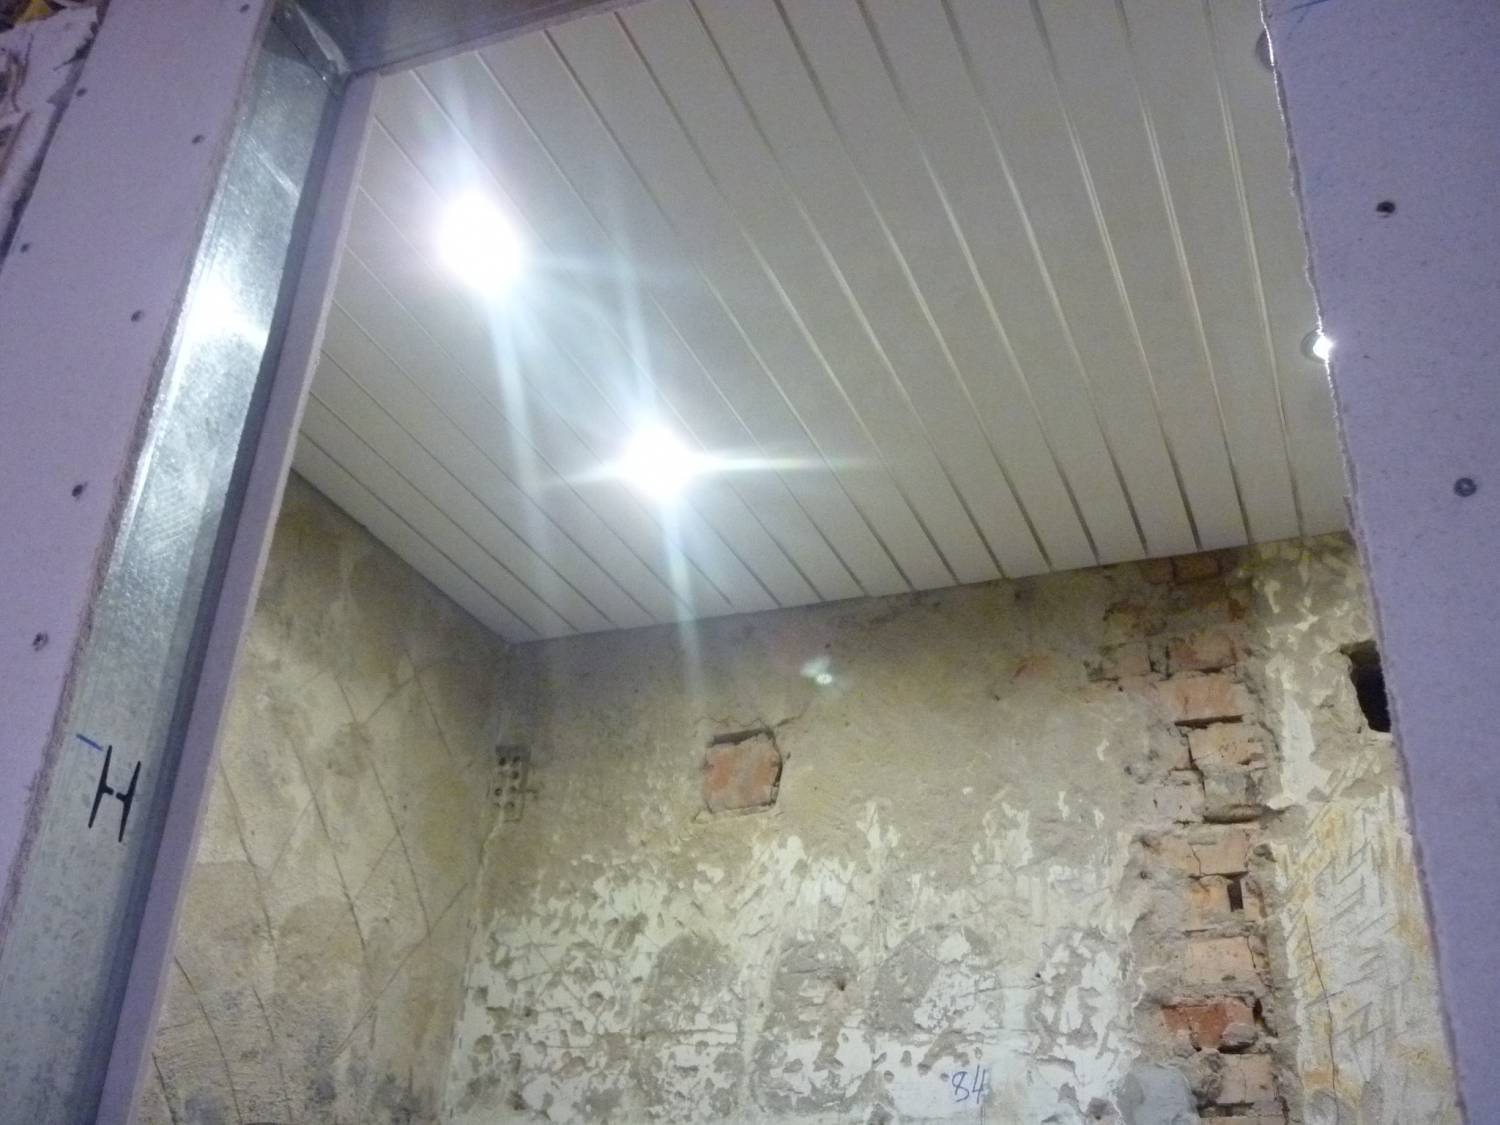
Next, we make a frame for the wall and doorway. I have already said that instead of the door that used to lead to the toilet, there will be a blank wall. Here is the frame for it and we are assembling. Metal. Together with a doorway that will allow you to enter a single bathroom. This is how it looks in the photo. It remains to sheathe the frame and attach the doors. But this is later.
The next stage of work is to check with a level (we use both laser and conventional) the surface of the floor and walls. Set up beacons, focusing on which, fill the floor. Rather, first, if necessary, align the walls, and then move on to the floor. By the way, the preparation of the solution and the work associated with it, makes us take additional measures to prevent the spread of dust around the apartment.
So, the wiring is done, the walls, the floor are leveled and ready for tiling.
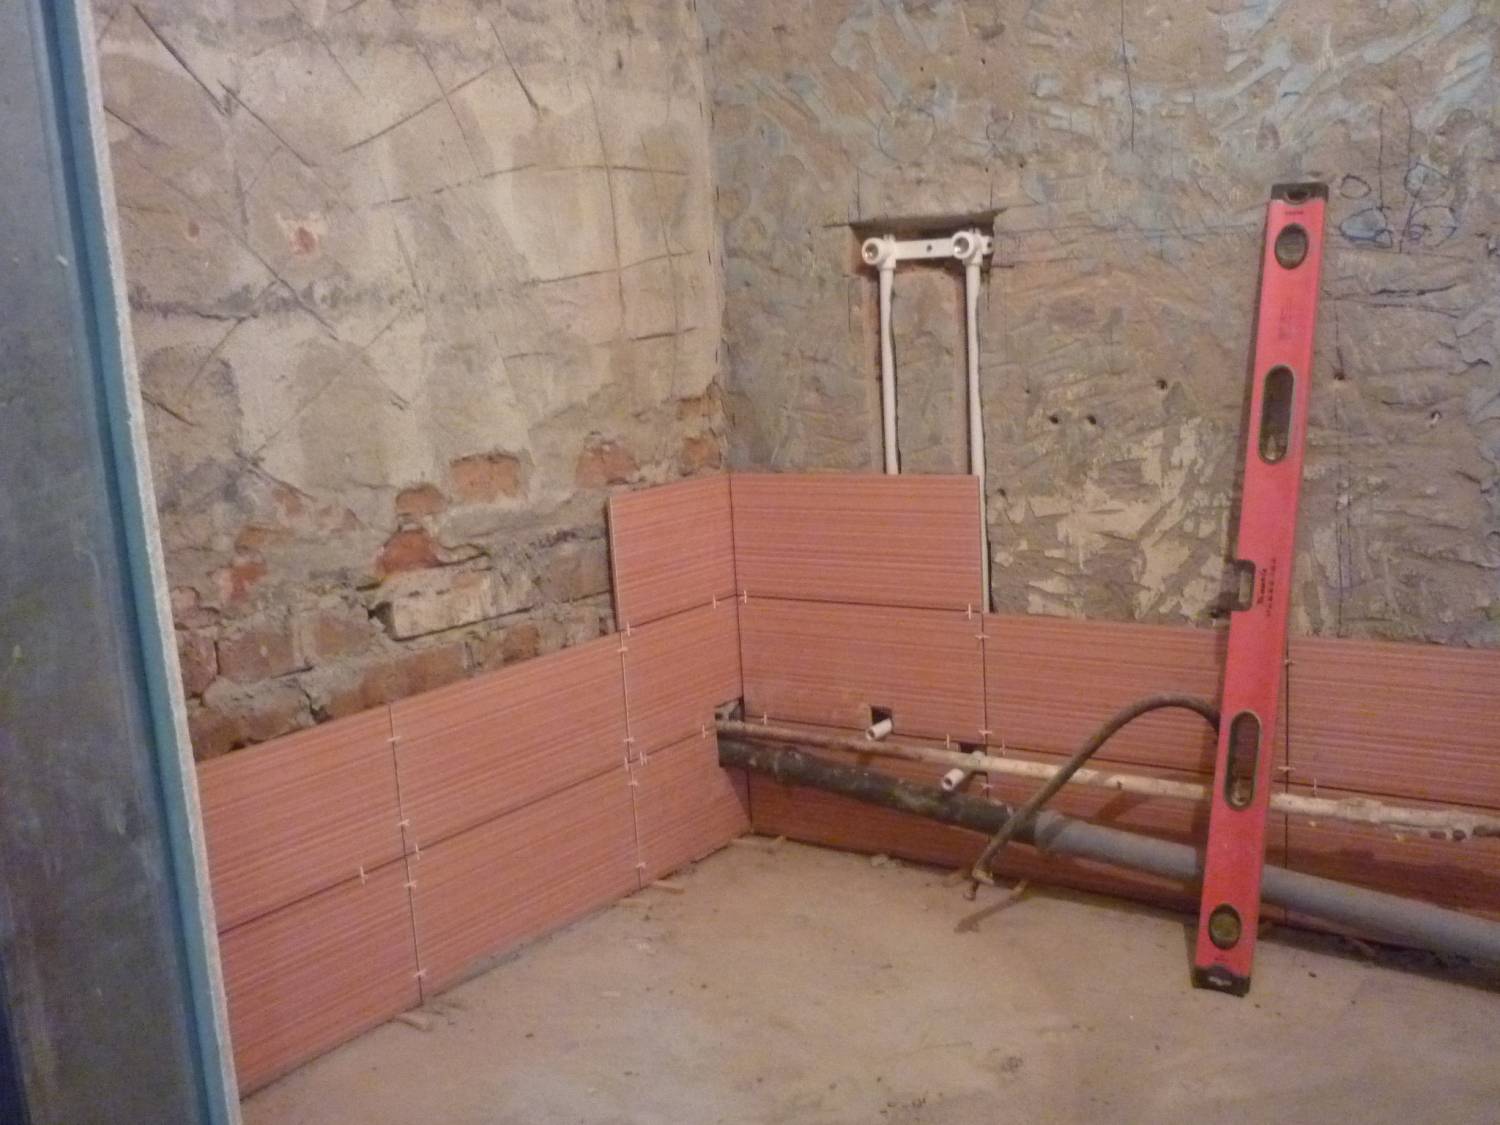
Be especially careful when installing the lower rows of tiles, otherwise a small flaw, unevenness at the beginning - will lead to distortions at the end. The tiles are laid using special tile glue. Before that, the walls and floor were coated with a primer. We bought a primer ready-to-use, but the glue had to be diluted. Although now they are on sale and ready to work.
The photo shows that the bathroom bowl is located almost end-to-end against the wall. Therefore, this edge of the bathtub was simply missed, there was no way to install the tiles. In our case, it goes to the bath, as far as possible, and then continued to lay it immediately from the side up. Looking ahead, I will note: when all the work was completed, this is not visible.
We had a suspended ceiling before. This time, they just changed the frame: from wooden to metal, fortunately there were remnants after the installation of the wall and the doorway. Of course, they made new electrical wiring. Attached new plastic panels. The number of lamps was left the same - four.
Having completed all these works, we continued the further laying of the tiles. Already up to the ceiling. With grouting. The grout was chosen a little lighter than the tile. In my opinion, it looks beautiful.
In principle, this is where all the repair work is completed. We closed the bathroom bowl with a sliding partition, since they are now sold for any size and taste. Some people still make a blank brick wall. I think this is extremely impractical: if necessary, you will have to disassemble it all in order to get under the bath. Why create problems for yourself. The sliding partition allows you to use the space under the bathroom. This is also important considering the size of our apartment.
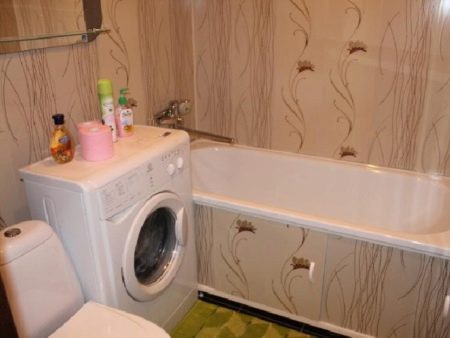
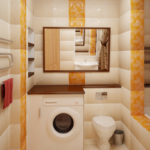
This is what a combined bathroom looks like. Please note the following. There used to be a door opposite the toilet. When we combined the toilet and bathroom, we made a blank wall here.This allowed the washing machine to be put in place by removing it from the kitchen.
Massive construction of compact but uncomfortable housing began in the late 50s and continued until the 70s of the last century. This made it possible for many families to get apartments, but today they need renovation and redevelopment, taking into account modern construction and technical capabilities.
"Khrushchevs" were built from reinforced concrete slabs or bricks. The peculiarities of such buildings can be considered tiny rooms and almost Spartan conditions in the use of toilets and bathrooms. Rectangular bowls were about 150x180 cm in size, square - 170x170 cm. Often there were irregular bathrooms with a total area of 3-4 square meters. meters. The ceilings did not exceed 2.5 m in height.
Ventilation in the bathrooms goes to the centralized air duct. The thermal insulation of the load-bearing walls is insufficient, and if the toilet or bathroom has an external wall, it is cold to be in them during the winter.
One-room apartments had a shared bathroom. In three-room rooms, a light wall separated the bathroom from the toilet. The bathroom was so narrow that it only held a toilet. The bathtub, sink and narrow passage were typical examples of the bathroom interior. A place for a washing machine was not planned. Nowadays, many residents voluntarily combine both territories and receive precious meters for modern plumbing.
Combined bathrooms in "Khrushchevs" did not always have a square or rectangular shape, there were peculiar configurations. The deformation of the room took place in favor of storage rooms or narrow corridors, in order to increase them to the level of furniture carry-over.
Designers for many years of work with such premises have developed certain rules for creating stylish interiors in them.
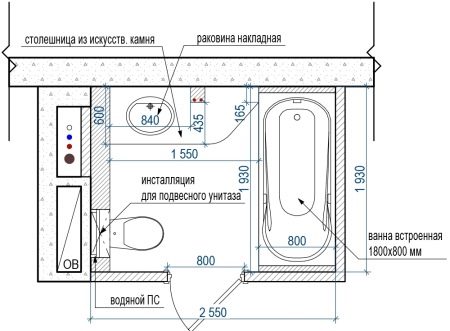
Initially, drawings are made and the dimensions of the available area are applied, a list of building materials is formed with an indication of prices. After drawing up the project, repairs are carried out. A sketch is made again with the designation of plumbing and furniture. Sometimes, in order to place a bathtub, you have to go deeper into the wall, change the location of the drain, arrange light partitions or move the front door. All changes are made to the project.
In a room with a square layout, the bathtub can be placed anywhere. In rectangular rooms, it is better to select one of the short walls for it, and put the rest of the plumbing under the long one. Sometimes they make a built-in bath or decorate it with tiles, it merges with the finish and does not seem oversized. For some interiors, a corner or drop-shaped bath is used. This solution helps to free up an extra corner. Complete with such a bathroom, a corner toilet and a sink look beautiful and peculiar.
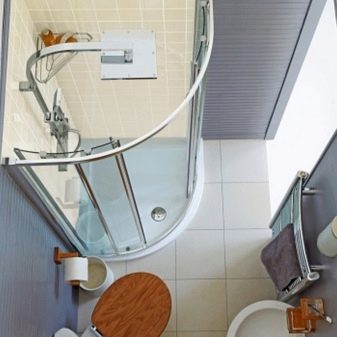
For those who are accustomed to taking a shower on the go, the bathroom can be dispensed with. There are many sleek shapes of shower stalls with space-saving door opening methods. Those who like to shower in comfort should opt for boxing. Such plumbing includes the functions of a sauna, tropical rain, hydromassage, Turkish bath and more. To please all family members, choose a bathtub combined with a shower.
In confined spaces, you can purchase a small but deep washbasin or choose a narrow shape depending on the layout of the surrounding space. If there is very little space, the sink is partially pushed over the bath. In some cases, it is placed directly above the drop tub on the narrow side. The flat washbasins can be combined with a vanity unit or with a washing machine. In very cramped conditions, the bath takes over the role of the sink.
This is a metal structure that is mounted into a wall or a partition is made with its help. All communication pipes are hidden in such a module, a toilet, bidet, and sink are attached to it. The lattice is hidden behind a glass wall or masked with a finishing material.The plumbing on the installation comes straight out of the wall and looks like floating in the air, and it is easy to clean underneath.
The best option for small rooms would be the installation toilet. The absence of a tank and a drain pipe frees up space. Sometimes the toilet becomes angular, this allows you not to rest against the walls and rationally take the corner. In some layouts, it is installed right next to the door (under the same wall with it), which significantly saves space. The bidet is placed next to the toilet. If necessary, in such a duet, a large wall is chosen for them.
If it was not possible to install the washing machine under the sink, it is better to place it next to it. So it will be possible to use the surface of the machine instead of a curbstone, laying out cosmetics or shaving accessories on it.
Hanging furniture is chosen for small rooms. It takes its place above the bathtub, sink or washing machine. Often they mount shelves, whatnots above the toilet.
The listed plumbing can only be equipped in shared rooms. Divided rooms are too small to accommodate everything you need.
The choice of materials for wall cladding in small bathrooms is limited. The most commonly used tiles, PVC wall panels, waterproof latex-based acrylic paint.
Tile belongs to natural materials and is more expensive than synthetic ones. Its durability, wear resistance significantly exceeds the similar qualities of plastic panels. Sometimes, in order to reduce the cost of the project, they resort to combining - the tiles are used around the bathtub and sink, the rest of the walls are painted with water-repellent paint or decorated with decorative plaster. In small rooms with high humidity, evaporation from hot water collected in the bathtub settles literally everywhere: on walls, furniture, mirrors. The tiles are easy to wipe, their appearance will not change. Plaster can behave quite differently from daily condensation. If the renovation is done for many years, it is better to use tiles in small rooms.
Reflective surfaces are known to expand space. To create a similar effect, glossy tiles are laid on the walls. Rough structures will fit on the floor, they slow down sliding. The ceiling can also be tiled, but other materials are usually selected for it.
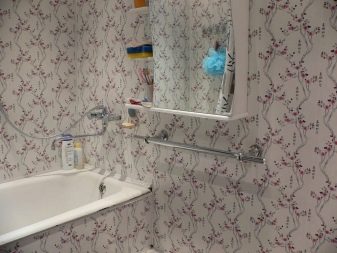
The panels completely imitate tiles, and sometimes brick and wood. They are not as durable as ceramics, but they look good in small spaces. To finish the combined bathroom, the walls are carefully leveled, glue is applied to the surface and pasted over with wall panels.
To decorate the ceiling, a metal profile is used, on which the plates are mounted. They are lightweight, breathable and retain condensation.
Polyvinyl chloride can be called a universal remedy; it is suitable not only for wall and ceiling cladding. Plates from it cover the space under the bathroom, lay out niches, mask pipes, air ducts. PVC panels are an economical and practical option for rooms with high humidity.
The design of a small combined bathroom should work for the amount of space. There are various techniques to accomplish this task. The room should be decorated with reflective surfaces: mirrors, shiny tiles, stretch ceiling with a glossy surface. In small rooms, you need to use a small ornament, mosaic. To expand the space, horizontal lines are used in wall decoration. To "raise" the ceiling, a vertical pattern is used. Miniature rooms cannot be loaded with small things, they destroy space. For such bathrooms, style directions with clear lines and minimal decor are recommended, which can provide simplicity and spaciousness to the room.
The style of the room is chosen before the renovation is made. Expensive and pretentious styles such as baroque and rococo are not suitable for small bathrooms. Simple budget options are acceptable.They can be extravagant, bright, or delicate, but they are quite capable of doing without gilding and natural stone.
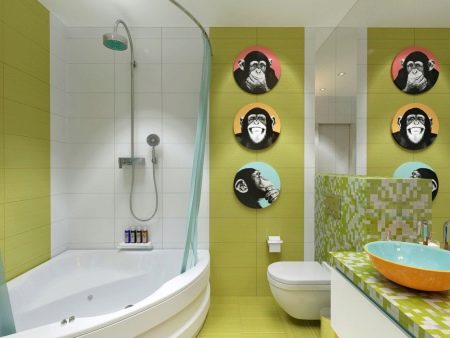
Style-provocateur with a claim to sensation, elevating consumer goods to the rank of art. A discreet finish is selected, against which bright images of unexpected scenes seem defiant. Such interiors are decorated with posters, paintings or panels. In this case, portraits of monkeys and a shell are the accents that form the theme of pop art.
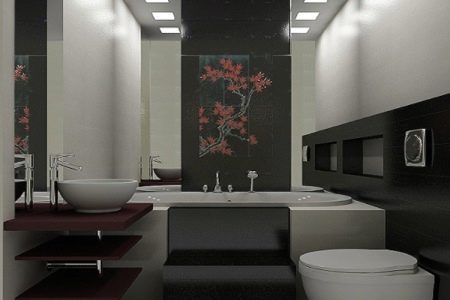
This style organizes a small space rationally. Laconic, serene, with clear geometric proportions. Natural materials are used in the decoration of the bathroom. The interior is simple, functional, graphic and orderly, which corresponds to the Japanese worldview.
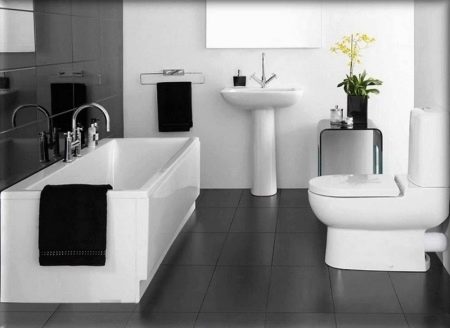
The direction is ideal for small combined bathrooms. Several discreet colors are used, a minimum amount of decor. Practicality, simplicity and lack of trifles make the room functional and pleasant to look at.
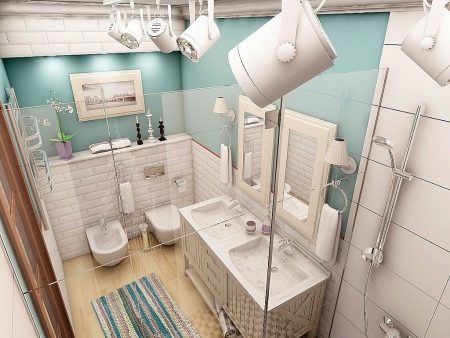
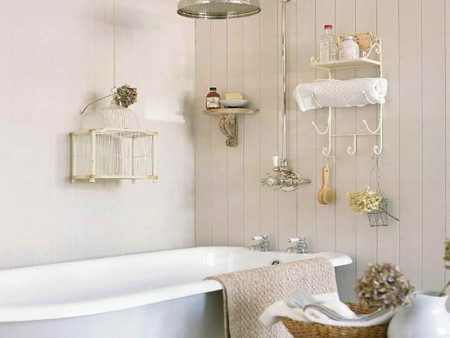
This style is for those who cannot perceive the cold minimalist direction and are trying to bring comfort even to a small bathroom. Tenderness with elements of the past is characteristic of shabby chic. This style uses only natural materials, aged furniture and cozy little things in creating the interior, which are not recommended for tiny rooms, but they create an atmosphere of comfort.
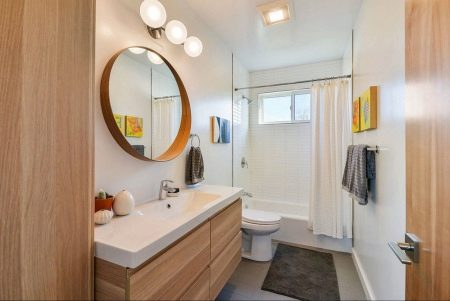
Scandinavian style works well for small bathrooms and toilets. It is simple and easy to perform, no frills, but pleasant and peaceful. A reverent attitude towards the marine theme has formed preferences in the choice of light blue, pale green colors along with an abundance of white. Natural materials are used in the interior, the presence of wood is obligatory. Things are stored on shelves in boxes, baskets, cans.
Hello dear readers! Continuing the theme of repair, I will tell you how to start repairing the bathroom and toilet with your own hands. Surely many repairing these premises are faced with such a question.
If you are the owner of an apartment in which the bathroom is located separately from the toilet, I advise you to start repairs with your own hands at home by working out the same color scheme and style. Even if the rooms are divided, it is one whole. The design is chosen the same or similar in the type of finishing materials used and color.
Toilet and bathroom are kind of twins. I advise you to cover the premises with tiles of the same type, but of a different shade. If you use the same finishing technique, you will end up with dissimilar rooms that will create a different mood. If the walls and floor are made in the same color, but with different finishing materials, discomfort will appear due to the contrast between the rooms.
I think now you understand why it is better to use the same tiles and decor for finishing the bath and toilet. This approach will help you save money. After finishing, there will be scraps, which are most likely to find a place in the second room.
A bathroom is a room in which a person is left alone with thoughts and emotions. Here he takes a shower, relaxes, rests after a hard day, gets rid of irritation and fatigue, gets a boost of energy.
The described effect will only bring a comfortable and comfortable bathroom.
- Measure the room ... Take a piece of paper, pencil, tape measure and measure the length and height of the walls, the area of the room. Based on the numbers obtained, calculate the amount of materials that will be required to renovate the bathroom.
- Imagine a new bathroom ... Decide on the color and type of finishing materials, the location of the bath, furniture and accessories.
- Prepare the room ... Remove old finishes from the walls and ceiling of the bathroom. The work is dusty and dirty, so wear a respirator. You will need a hammer drill, spatula, metal brush and other tools.
- Primer the walls ... Route electrical wiring and level the ceiling with putty. At this stage, mark the vertical and horizontal lines using a level or plumb line.
- Replacing the water supply ... A responsible step, I do not advise saving on money. We are talking about replacing the plumbing, risers and sewers in the bathroom.
- Floor waterproofing ... By making a cement screed, water will not seep to neighbors. Treat the joints between the walls and the floor, the entire area of the bathroom with a special waterproofing solution.
- For wall and floor decoration ... Try to lay the tiles in the bathroom yourself. If you don't have the skills, ask a tiler for help. Some, for the sake of economy, do not revet the space behind and under the bathroom. Better to cover the planes, and put the bath on the tiles. The screen will help to hide the side and communications.
- Door installation ... If you are going to replace your bathroom door, do so before installing the tiles.
- Skirting and ceiling ... At the end, along the perimeter of the ceiling, install a decorative plinth, and paint the ceiling with water-based paint. If this option for finishing the ceiling in the bathroom is not suitable, pay attention to stretch ceilings or structures made of plastic panels. It remains to close the seams.
Following the instructions, you will reach the final stage. At the end, install the sink, hang the mirror and lamp, install the furniture. The end result is a beautiful room.
People find it difficult to renovate a washroom. The toilet is an important part of the home, which I advise you to repair thoroughly and correctly, taking into account all the little things. How to start the painstaking process, I will tell you below.
Having gone the hard way, in the end you will get a result that will delight you with freshness and originality. But the thought that the author of the masterpiece is you yourself will bring more pleasure.
The combined bathroom has advantages and disadvantages. The main disadvantage is that the room is available only to one household. Plus - the ability to expand the area of the bathroom. It is easy to put a washing machine or a wardrobe in the combined bathroom.
In modern apartments, the toilet is separate from the bathroom. At the same time, the premises are characterized by a small area and there are often cases when a few centimeters are not enough to install furniture or other object. To fully consider the issue, consider how to combine a bathroom and toilet. back to content ↑
This kind of repair, in addition to construction work, provides for "paperwork". According to the rules, redevelopment in the apartment is coordinated with the relevant authorities. In this case, changes are made to the housing plan.
When making a preliminary plan, mark the relocation of plumbing, changes to electrical wiring, and changes to the plumbing system. This is an incomplete list of factors that should not be ignored. The work on combining a bathroom is a small technical part of a huge work.
Once you have approved the plan, switch to repairs. It is better if the household members go on a summer vacation for a while. As a result, they will protect themselves from discomfort, and no one will bother you.
- Remove the partition between the bathroom and toilet, line up the walls, which are usually extremely crooked.
- Redo the pipes. If necessary, change their location so that they do not interfere. The same goes for the heated towel rail.
- The next step is to install electrical wiring. Route cables, locate switches and outlets, and install.
- Primer the walls and level the floor with a concrete screed. Before laying the floor covering, be it tiles or other finishing material, fill the floor with bitumen. This will reduce the likelihood of neighbors flooding in the event of a leak.
- Stretch ceilings are a good option for a combined unit. Only entrust their installation to professionals, since the arrangement of the ceiling involves the use of special equipment and skills.
- Decorate the walls and lay the flooring. To visually expand the space of the room, embed a large mirror in each wall.The combined bathroom will turn out beautiful and original.
- The final stage of the repair includes the installation of plumbing, furniture placement, connection of household appliances, installation of bath accessories - hanging soap dishes, hooks.
If you want to achieve results, listen to the recommendations. They will help you complete the repairs quickly and successfully. When the family returns home, the beauty of the combined bathroom will surprise.
I devote the final part of the article to the layout of the bathroom and the subtleties of choosing furniture. If you have finances, organize a separate bathroom in the house, especially if the family is large. As a result, several people will be able to cope with needs at the same time. If you like a combined bathroom, make sure that it has a sliding partition. Use it to divide the room into zones.
The size of the room. To make the toilet convenient and comfortable, allocate a few square meters for the arrangement. No extra space required. Design the bathroom, guided by tastes and preferences, but you should not overdo it with space - 6-10 squares are enough.
Furniture . Before buying furniture, decide what you want to see in the room. Usually this is a set of a sink, a mirror, a pencil case and a floor stand. Sometimes a hanging cabinet is provided. Before buying a bath headset, make sure of the quality. On the surface of the furniture, paint should lie in an even layer.
Fittings. From accessories, choose models equipped with chrome-plated legs, handles and metal hinges. Fittings are also made of plastic, coated with a layer of chrome. Such furniture is not worth buying, since chrome-plated or gilded plastic handles will quickly lose their original appearance.
Sink . Be sure to inspect the sink for chips and damage. Check the integrity of the product by tapping it lightly. Buy a sink that emits a pleasant ringing boldly. A dull sound is a sign of defects.
Bedside tables and wardrobes. When choosing bedside tables and cabinets, be guided by the size of the room, the number of residents and tastes. If there is more than enough space, buy a large set that can fit a hairdryer, curling iron, shampoos and other things. If there are problems with the area, pay attention to a set of pedestals and several hanging boxes.
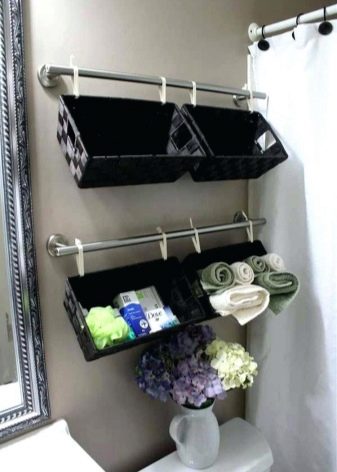
Shelves and niches. It is not superfluous to equip the bathroom with open or closed niches and shelves. They will help with the storage of bath utensils. Be sure to provide space for clothes and bath towels. A hanger or a set of hooks will help to solve the issue.
I hope your day of knowledge was not in vain and you learned a lot of useful information.
Such a feature as the presence of a combined bathroom in an apartment is familiar to almost every inhabitant of the post-Soviet space. As a rule, such rooms were equipped with the aim of saving space in the apartments of the Khrushchev period. Repair of a combined bathroom in Khrushchev - we'll talk about this.
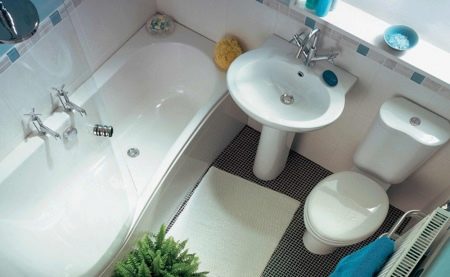
And if you inherited or acquired an apartment with a combined bathroom on the secondary housing market, you should not be so upset. Even a small combined bathroom can be decorated beautifully and conveniently. Photos of the combined bathrooms of 5 square meters are presented below.
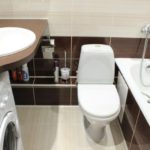
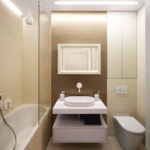
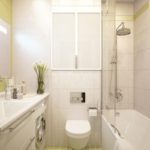
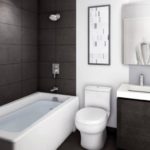
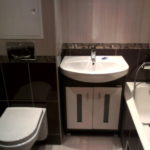
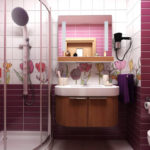

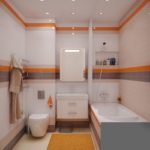
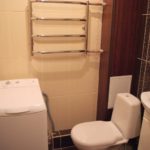
The design of a small combined bathroom suggests different solutions. Some, in pursuit of square centimeters, remove the partition on their own, combining the toilet and the bathroom. Of course, the presence of a separate toilet room increases the level of comfort in the home, however, a combined bathroom can be attractively decorated in a single style.
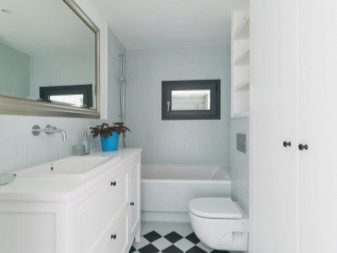
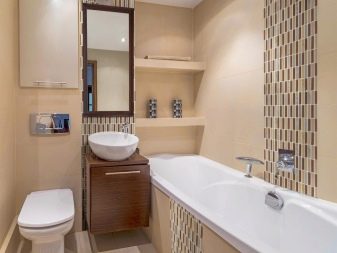
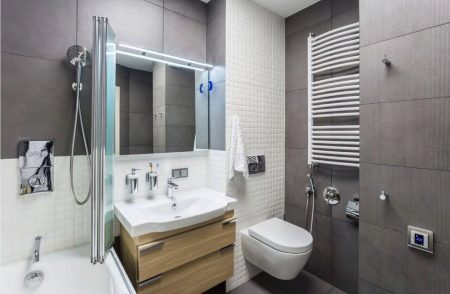
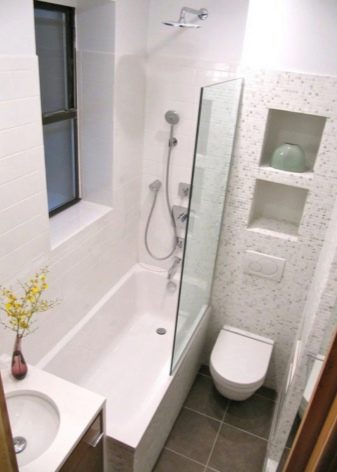
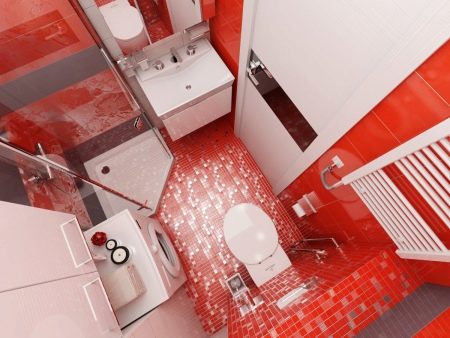
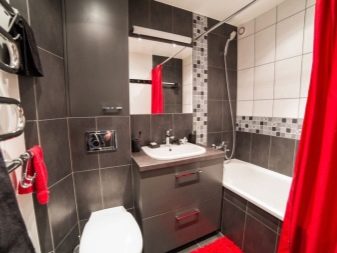
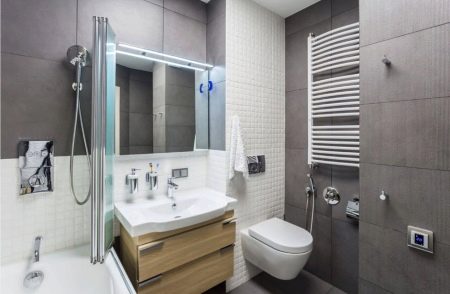
In order to "accommodate the incompatible" on several modest squares, not only dismantling works, but also other tricks are used. For example, you can replace the standard bathroom with a corner version. Or completely abandon this plumbing detail in favor of a shower stall. Combined bathroom in Khrushchev design photo examples:
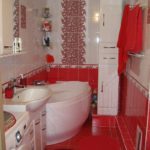
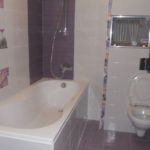
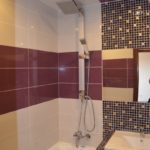
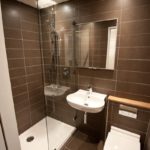
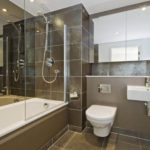
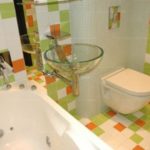
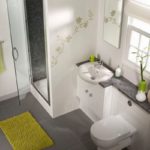
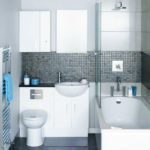
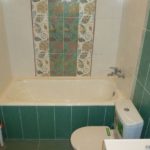
The latest technological developments are also available, such as a multi-functional toilet or a shower door with a drop-down bathtub. However, these achievements of scientific and technological progress are not affordable for everyone.
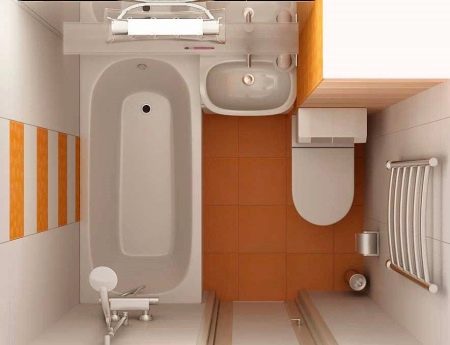
In view of the already more than modest territory, in the combined bathroom each thing occupies a clearly defined place for it and space is not allocated to unnecessary objects here. Design of a combined bathroom 5 sq m photo:
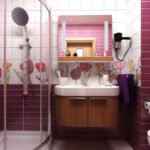


Repair of a combined bathroom in Khrushchev involves the purchase of plumbing fixtures for the bathroom, the required minimum is approximately as follows:
- bath or shower;
- toilet;
- sink;
- mirror;
- a shelf for the necessary cosmetics and household chemicals;
- holders for towels, hangers for linen and clothes, rugs;
- a washing machine, as an option and if there is free space;
The design of a small combined bathroom assumes that the plumbing, ideally, should be from the same manufacturer and be purchased as a set. As a last resort, choose the most similar bath, toilet and sink, at least with the same mixers.
Shelves and a mirror are usually mounted on the wall, while clothes hangers are mounted on the door. Built-in furniture helps a lot. Photos of combined bathrooms 5 sq.


It is best to use tile as a facing material. It is resistant to moisture, does not require special maintenance and has an attractive appearance. Stretch ceilings or from type-setting plastic are suitable. The main condition is that the material should not be afraid of water and soap splashes. Design of a combined bathroom 5 sq m photo:


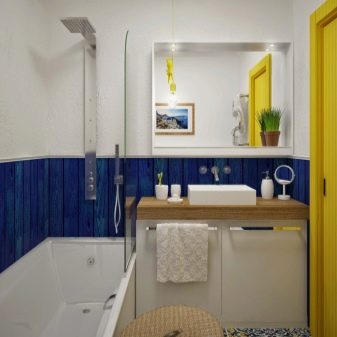
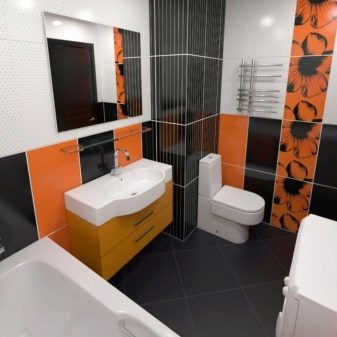
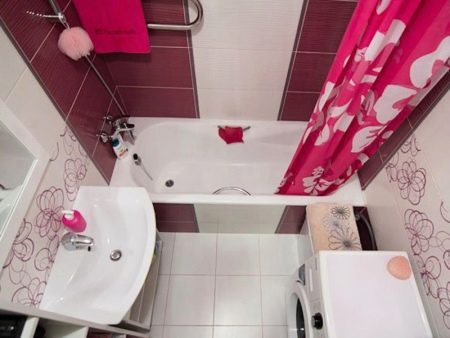
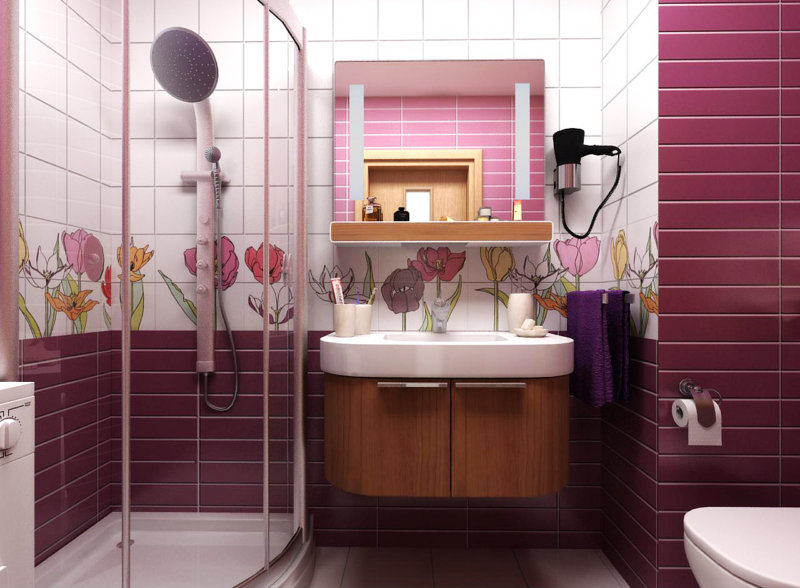
The color scheme remains entirely on the conscience of your taste preferences. You can only note for yourself that light shades visually enlarge the room, bluish ones create a feeling of freshness and cleanliness, delicate variations of orange and yellow add warmth and light, and the design with a predominance of pink will set you up for a romantic mood. Combined bathroom in Khrushchev design photo:


Required finishing characteristics:
- moisture resistance,
- strength,
- durability,
- resistance to the appearance of fungus and mold.

These qualities are possessed by the modern material "aquapanel", which is used as a base for facing a room or partition. Aquapanel is a finishing material in the form of a drywall sheet on a cement basis.
This sheet is reinforced with fiberglass on both sides. Construction experts especially recommend this material for rooms with high humidity and oppose it to drywall in several ways:

1) flexibility - moisture-resistant drywall does not bend, and the aquapanel is flexible enough to be efficiently and effectively used in places traditionally difficult to finish;
2) strength - the aquapanel is stronger than drywall, so it will last longer;
3) environmental friendliness - drywall can be made of low-quality materials, in which case, its environmental friendliness is in question.


Aquapanel is safe for the environment and residents of the house, as it does not contain asbestos and organic matter.
Moreover, thanks to the glass mesh reinforcement, the edges of the aquapanel are not destroyed. The material is resistant to the appearance of fungi and mold due to the lack of organic matter in its composition.

At the same time, one of the significant disadvantages of water panels is their high cost. However, having considered the undeniable advantages and taking into account the durability of this material, we can conclude that these costs will eventually pay off.
Therefore, when redeveloping a combined bathroom, it is recommended to use the most modern and efficient materials for the partition between the toilet and the bathroom, which will ensure high moisture resistance and environmental friendliness of the room.
Such material is aquapanel, recognized by experts in the construction industry as one of the best materials for decoration.
| Video (click to play). |

