In detail: do-it-yourself repair of a classic vaz 2106 starter from a real master for the site my.housecope.com.
The VAZ 2106 starter is an electric motor with four poles, which is responsible for starting the engine in a car. The principle of operation of the mechanism is based on the transfer of the initial stroke to the engine crankshaft. 4 brushes of the device allow to increase the torque power. Naturally, if the starter fails, the motor will not be able to start.
The gears that left the conveyor after the 80s were equipped with starters with an end manifold 35.3708. Older models were equipped with the ST-221 model. The design features of these devices practically do not differ, therefore, when replacing, you can install any one. The difference is that more modern starters have one shunt coil and three series ones, while older models have two coils of both types.
We give the diagram "Gear starter for VAZ 2106":
How to understand that the starter needs to be repaired or changed? This may be indicated by the following signals:
- The starter relay on the VAZ 2106 works properly, but the armature does not work or rotates very slowly. This may be due to a burned out collector. It is also worth checking the integrity of the winding, whether the relay fasteners are loose, whether there is a short circuit in the collector, whether the brushes are worn out or stuck. Also, the problem may arise due to a discharged battery.
- The starter turns on, but the relay and armature are not working. Most likely this indicates a seized anchor. You also need to check whether the lugs are tightened well, whether there is a short to ground and how intact the wires are.
- The armature rotates, but the crankshaft does not rotate. This may indicate that the buffer spring has failed. You also need to check the integrity of all elements of the coupling.
- Loud noises are heard. This usually indicates defective bushings and gears.
- When starting the engine, the starter continues to work. This is the result of a failure of the return spring, a skewed device, or a jammed relay and actuator handle.
| Video (click to play). |
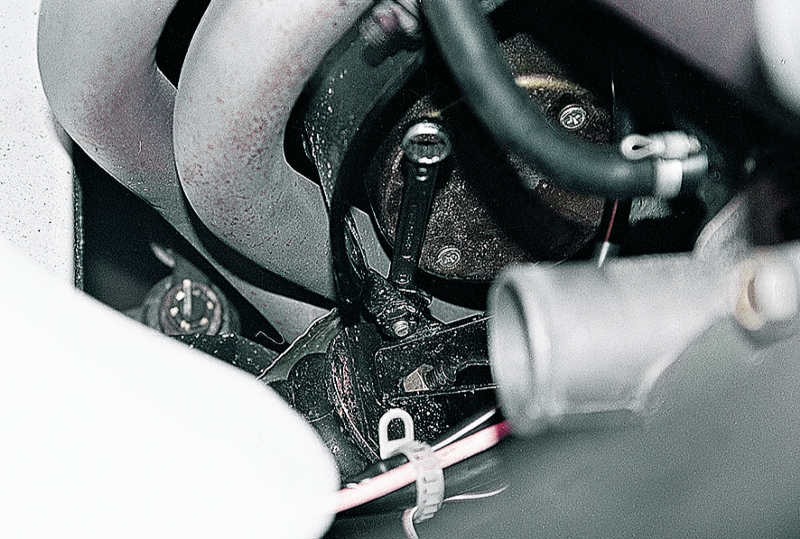
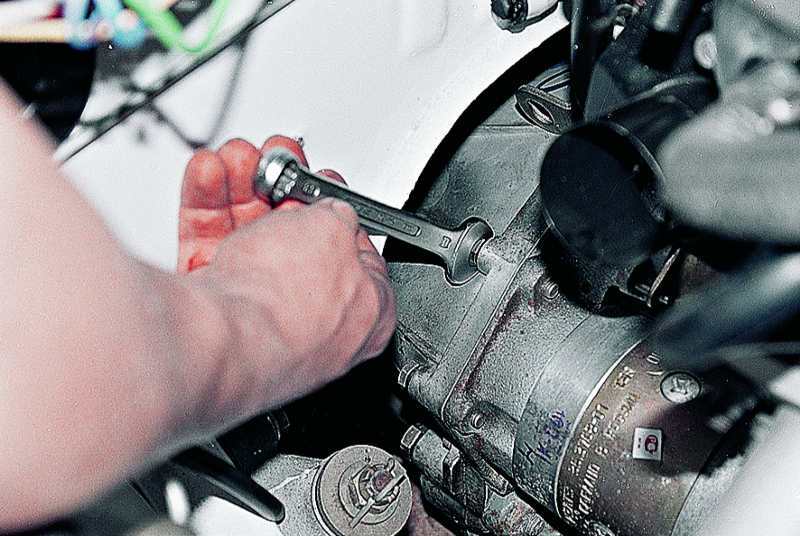
- Loosen the bottom mounting bolt and take it out.
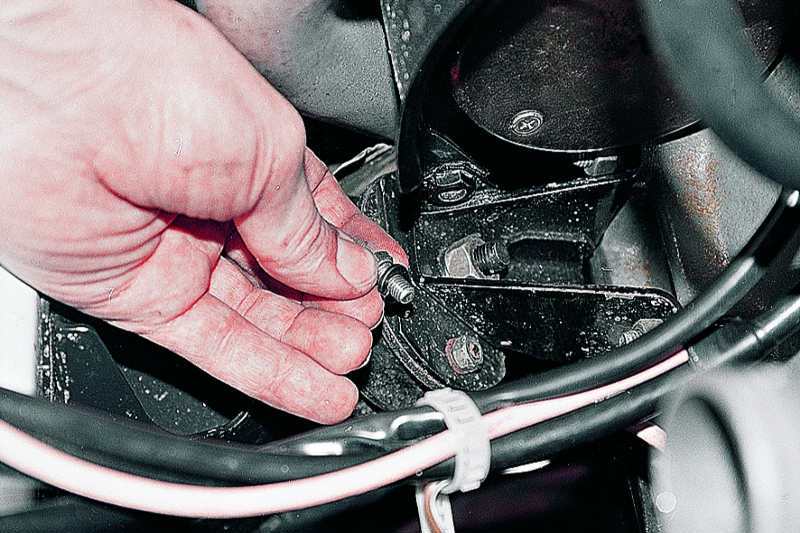
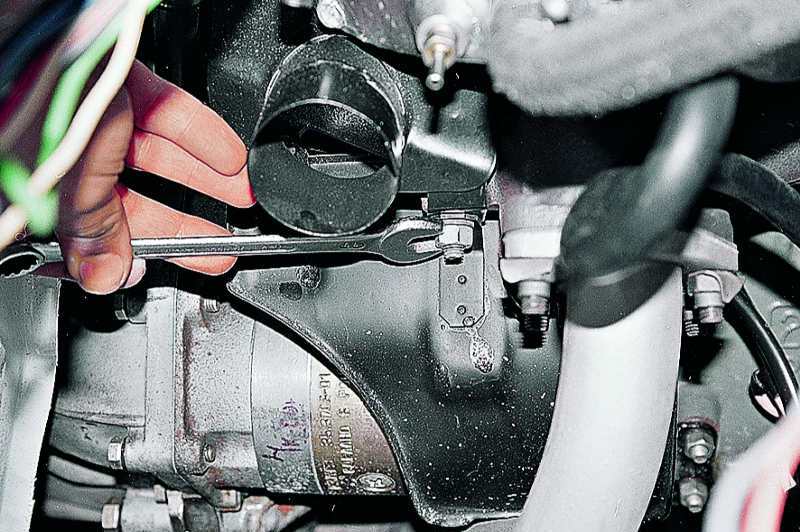
- We unscrew the hose from the air intake, unscrew the nut with which the shield is attached from above and the nut that is located under the air intake.
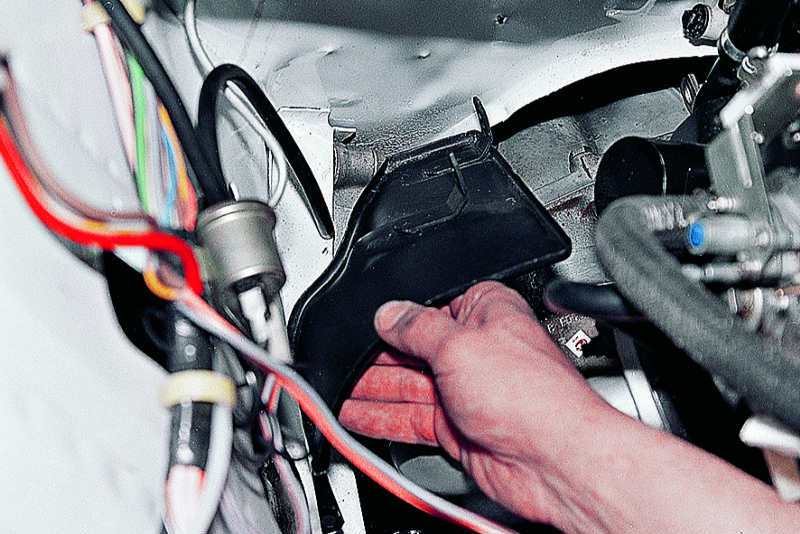
- We remove the shield.
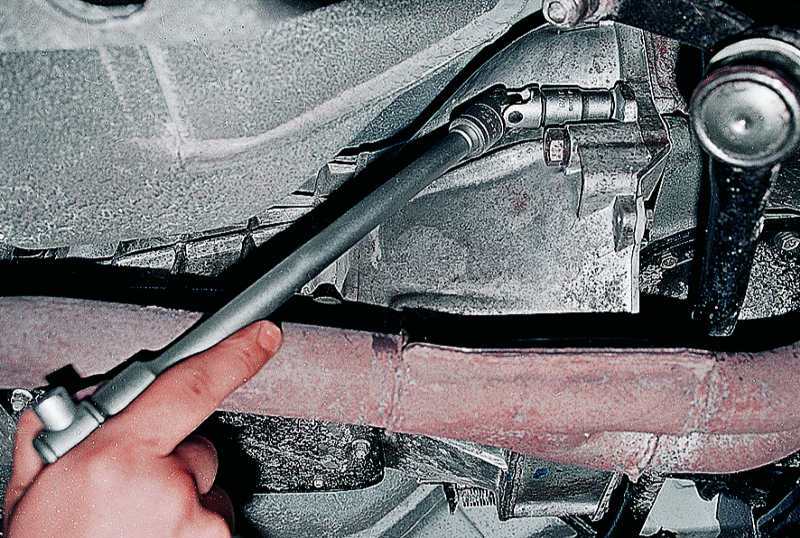
- We unscrew the two upper mounting bolts with which the starter is connected to the crankcase.
- We also unscrew the lower mounting bolt.
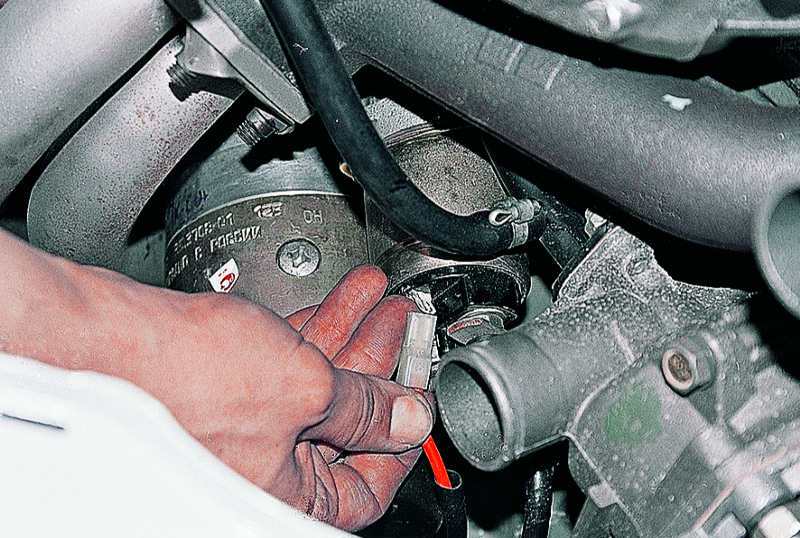
- We move the device forward and disconnect the relay output from the block.
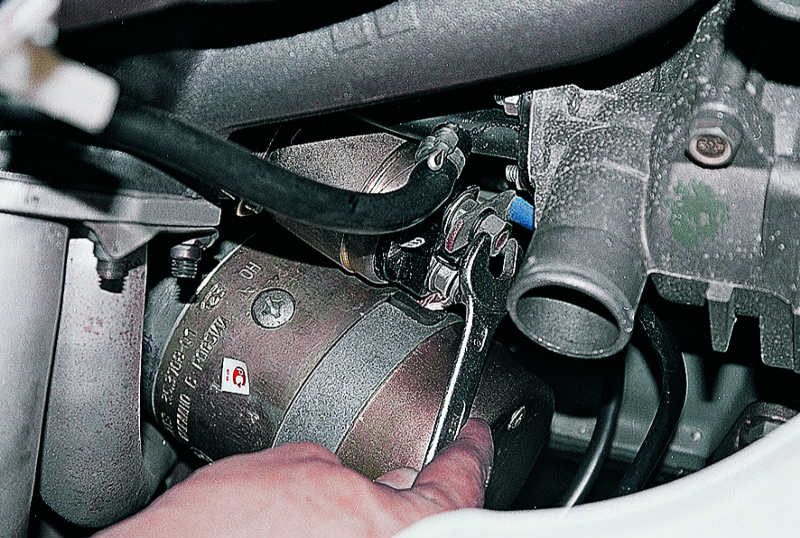
- We turn off the nut that secures the wire between the battery and the relay.
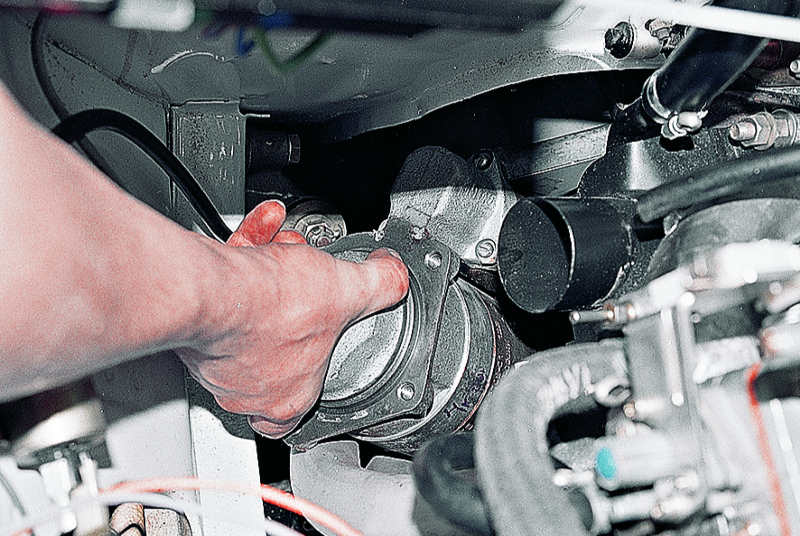
- The starter motor is removed with an upward movement.
Installing a new device is carried out upside-down.
Repairing a VAZ 2106 starter is a long and thankless task. Moreover, in the store you can buy a brand new device for a small fee. Therefore, we advise you not to waste your precious time and, in the event of a breakdown, simply install a new one. But if you still want to tinker, we suggest watching the video tutorial.
Repair of a VAZ 2106 starter is a rather painstaking process that requires the endurance of a person and his straight hands. It is quite possible to carry out repairs yourself if you follow all the points of the manual correctly. Today we are publishing an article about self-repair of a starter on a VAZ 2106 car.
DIY starter repair
1. The first step is to remove the starter from the engine.
2. Using the "13" wrench, weaken the tightening of the nut securing the wire to the traction relay.
3. Then disconnect the wire end.
4. We supply voltage 12V to the relay output.
5. We put "minus" - on the body, and the ohmmeter is connected to the contact bolts.In this case, for a working relay, the armature should push the overrunning clutch into the front cover window, and the contact bolts should close. We replace the faulty traction relay with a new one.
6. Use a Phillips screwdriver to unscrew the three screws.
8. We take out the rod with the spring from the relay case.
9. Install the new traction relay in the reverse order.
10. For further disassembly of the starter, use a Phillips screwdriver to unscrew the two screws.
12. To check the condition of the brushes, use a slotted screwdriver to unscrew the screw securing the contact wire.
13. Pressing the spring with a screwdriver, remove the brush. In the same way, we remove the three remaining brushes. The brushes worn out to a height of 12 mm or less are replaced.
14. Connecting the ohmmeter in turn to the terminals of the stator windings, we check them for a short circuit to the case and an interturn short circuit. At the same time, we make sure that the free winding leads are isolated from the case.
15. Prying off with a screwdriver, remove the retaining ring.
17. Using the "10" wrench, unscrew the two tie bolts.
19. Disconnect the starter housing and remove the tie bolt insulating tubes from it.
20. By external inspection we check the condition of the collector and windings. Charring of the windings is not allowed. If the collector is slightly burned, we clean its plates with a fine abrasive cloth. In case of severe burning and wear, it is better to replace the anchor. Seizure and enveloping of bronze from bearings on the journals of the armature shaft are eliminated with the finest sandpaper, followed by polishing.
21. With an ohmmeter, we check the armature winding for a short circuit. We replace the defective anchor.
22. Remove the rubber seal from the drive cover.
23. Remove the adjusting washer from the armature axis. When reassembling, it must be reinstalled.
24. Unpin the axle of the lever.
26. We take out the anchor with the drive.
27. Prying with a screwdriver, remove the overrunning clutch drive lever.
28. The gear should easily rotate in one direction and not rotate in the other, not have chips and nicks on the lead-in part of the teeth. If the gear is worn or the coupling is faulty, we change the assembly.
29. Leaning the axis of the anchor on a wooden block, through the key "13" knock down the stopper from the retaining ring.
30. Prying with a screwdriver, remove the retaining ring.
31. Remove the limiter and freewheel assembly with the drive gear from the axle.
32. Having changed the clutch assembly, put the retaining ring in place and put on the stopper with a tapered groove to the armature winding.
33. The limiter is pressed onto the retaining ring with hammer blows through the key "13".
34. With compressed air we remove coal dust from the body and the brush holder. Lubricate the drive ring and the plastic surfaces in contact with it with Litol-24 or grease No. 158. Support bearings - rotor bushings, helical splines of the armature shaft and overrunning clutch hub are lubricated with engine oil.
35. Further assembly is carried out in the reverse order of disassembly.
36. Before assembling the starter, insert the housing pinch bolts into the appropriate holes.
Attention! If only one bolt was insulated, when assembling the starter, we put an insulating tube on the one that can touch the copper bus connecting the stator windings of the starter.
37. To latch the retaining ring, squeeze the starter armature through the cover bushing on the drive side.
The repair of the VAZ 2106 starter has been successfully completed. Thank you for your attention!
It is known that a car cannot drive without a starter. It seems to be a simple electric motor, but without it, nowhere. It is possible to start a piston unit with a failed "starting" unit only from a pusher, but perhaps only for a trip to a car service specialist.
The reasons for the breakdown of such a critical mechanism are quite obvious. Most diseases can be treated if you repair the starter yourself. We list further the main sources of malfunctions:
- natural wear and tear of the elements of the electric motor;
- water ingress during washing the engine of the car;
- improper operation of the unit, for example, prolonged periods of operation of the electric motor after starting the motor;
- short circuits.

