What to do if the cartridge is dry? Our recovery method will be useful to all owners of inkjet printers without exception.
But first, let's find out how to understand that the cartridge is dry and not over?
You can try one of the following techniques or a combination of them in any combination and sequence.
This is a simple standard procedure (and the only one authorized by the manufacturer). Launched from the menu “Control Panel” → “Devices and Printers” → “Printer Properties” → “Maintenance” tab. And there you have to choose a cleaning option.
Keep in mind that this kind of cleaning of the cartridge leads to an increased consumption of ink, since they are powerful suction through the nozzles using a pump.
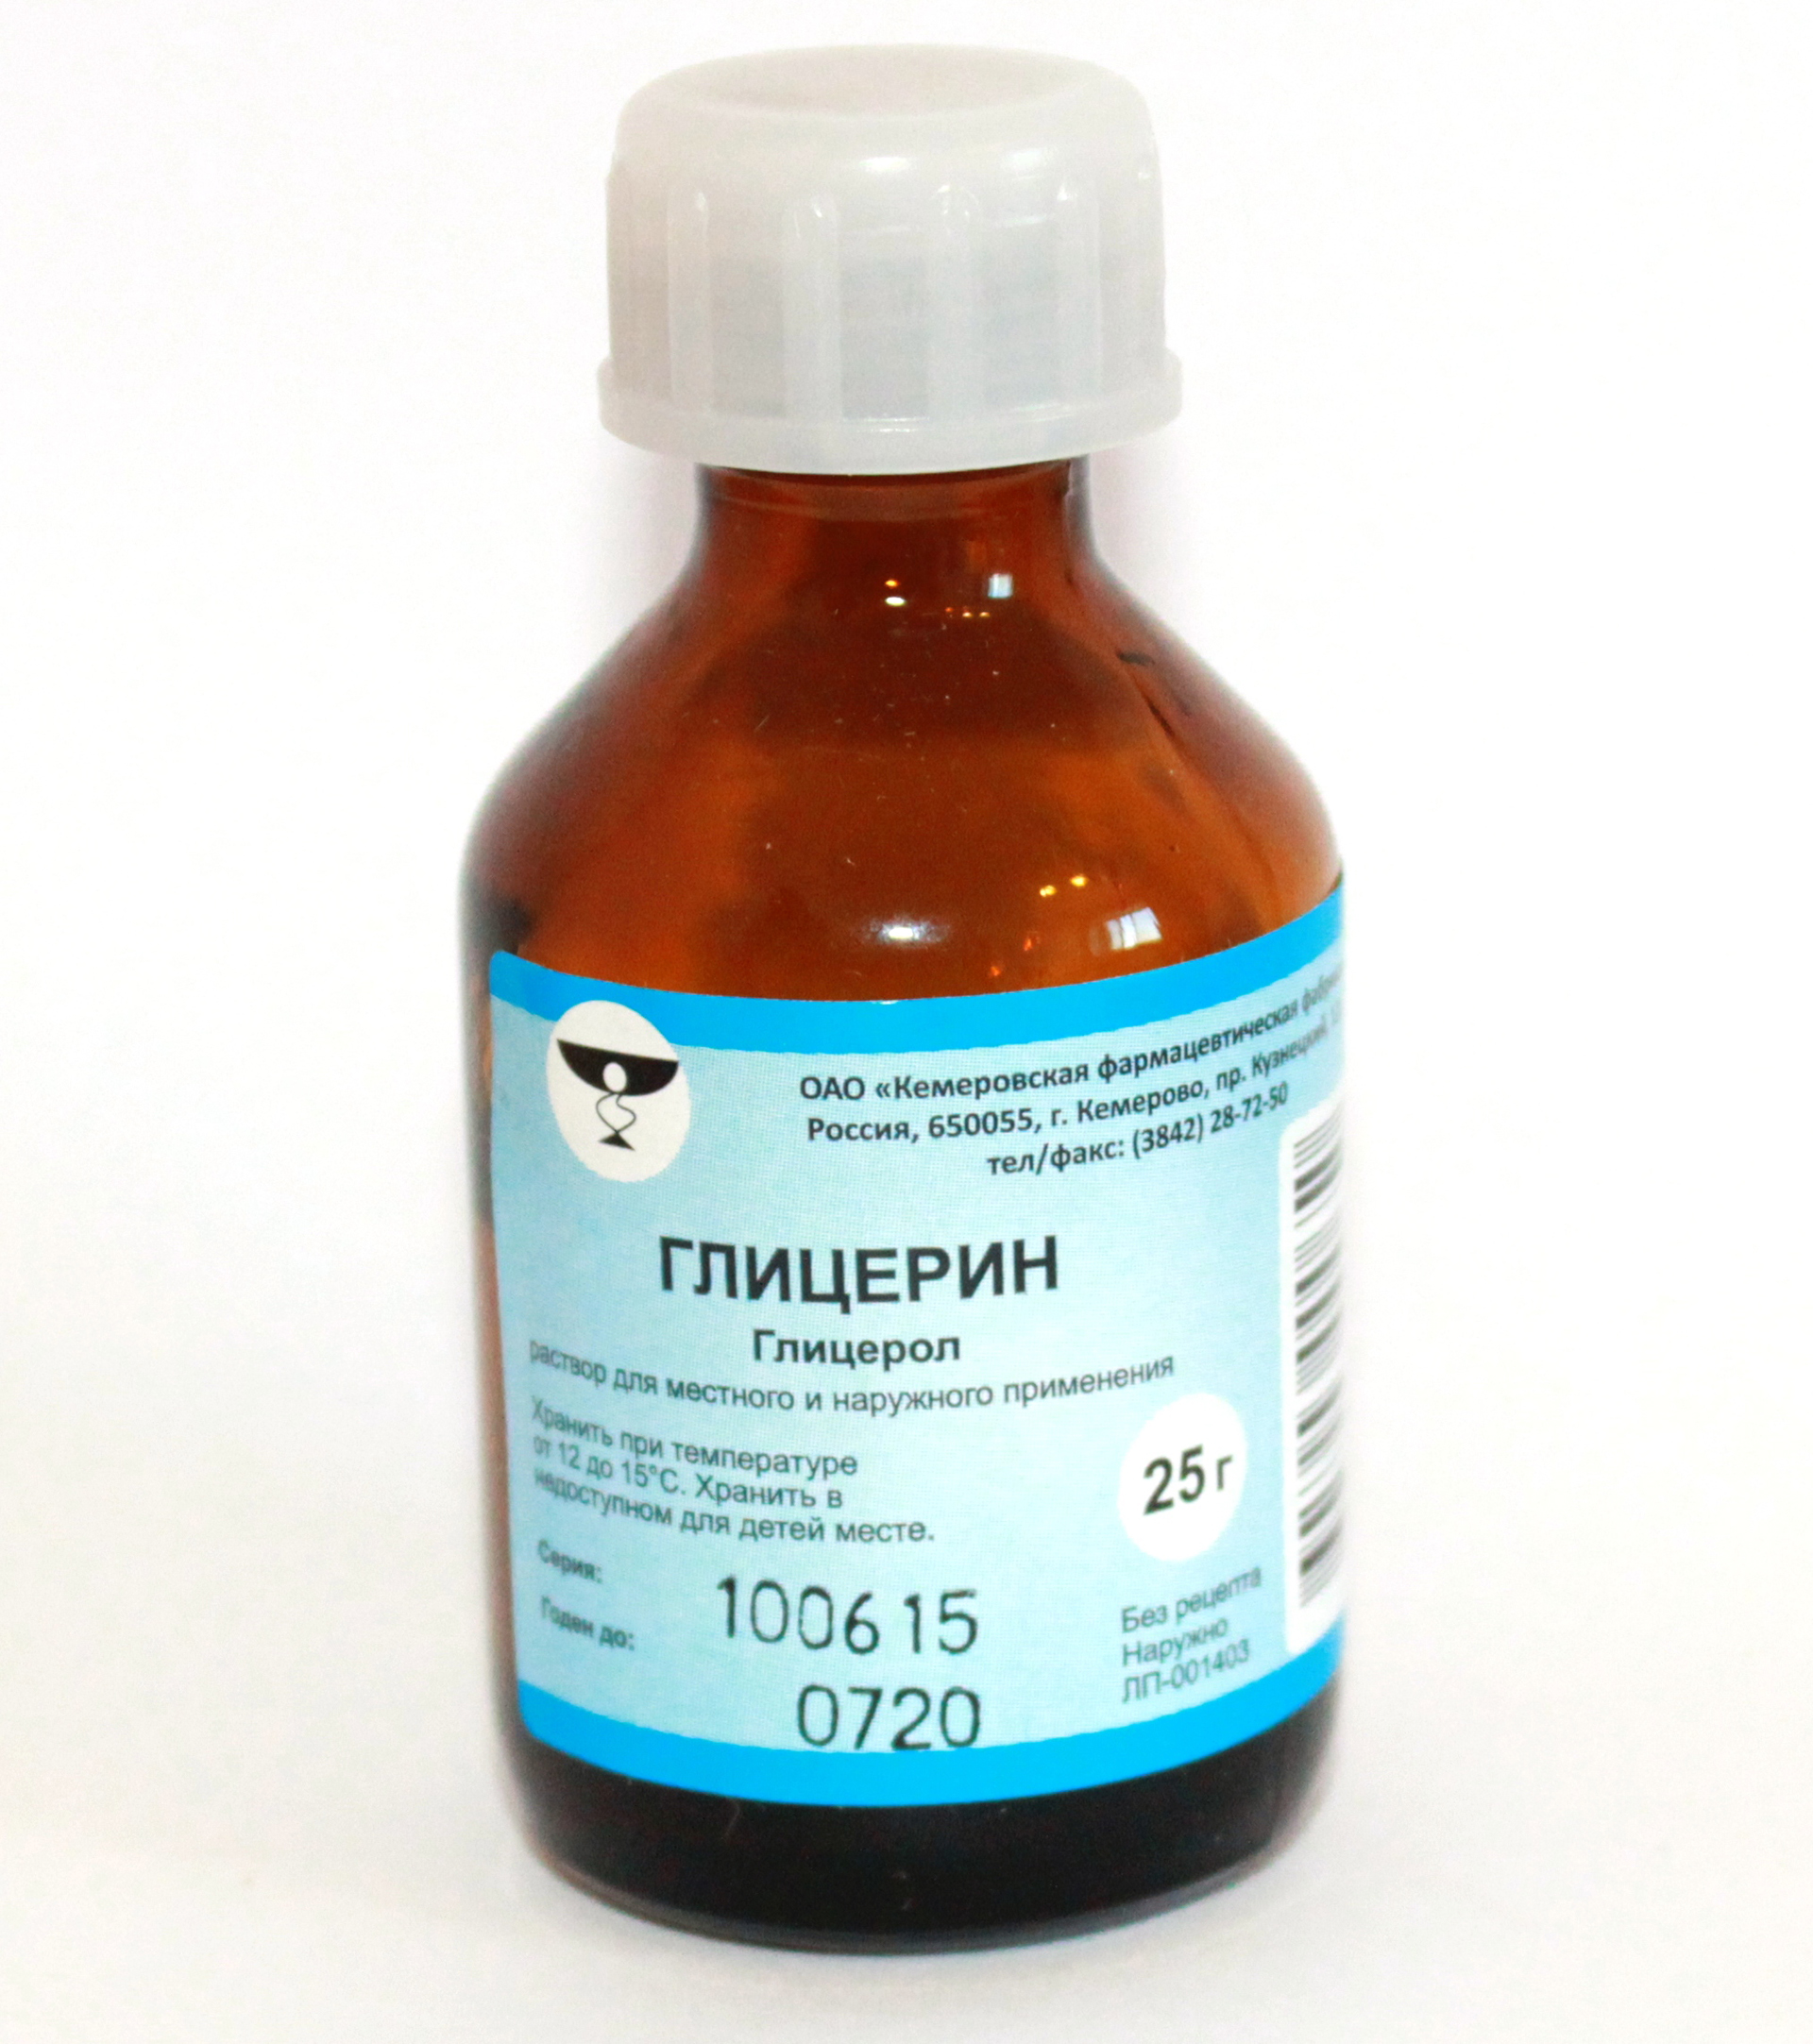
If the cartridge begins to strip or stops printing altogether, it can be cleaned with a special wash for cartridges prepared according to one of three recipes:
Before reviving a dried cartridge with this composition, it must be thoroughly filtered in any way possible.
If one kind of "acidification" does not work, try another.
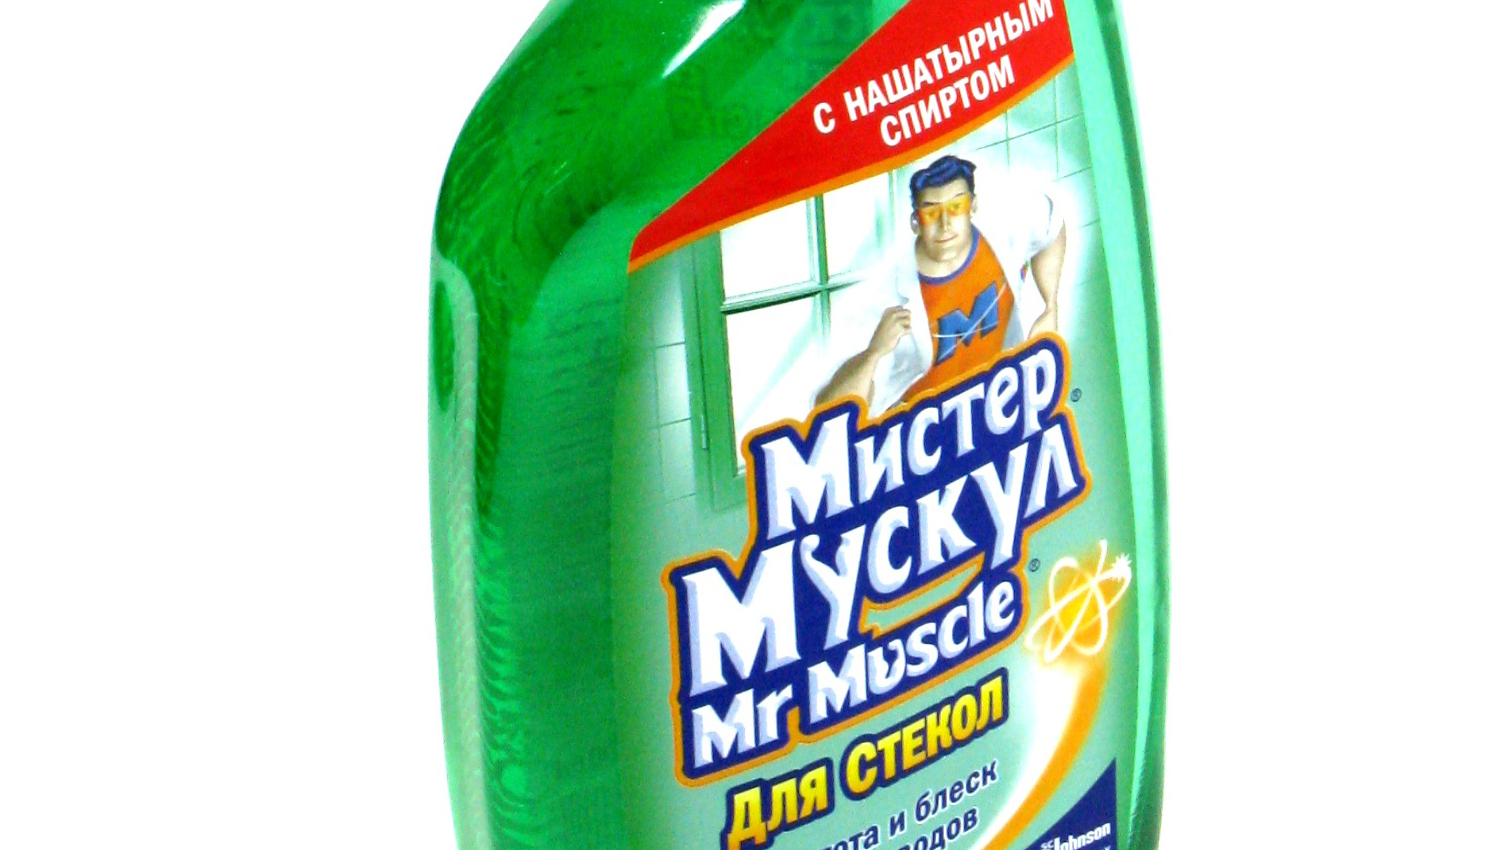
An excellent result is achieved by using green "Mister Muscle" as a washing liquid for cleaning glass (the one with ammonia).
Mister Muscle is diluted with dist. water in a ratio of 1: 1 and used as a wash.
What else can you wash the printer head with at home? Instead of Mister Musk, you can take a cheaper cleaner for glasses and mirrors "Every day":
The ink cartridges for printers from different manufacturers need to be flushed differently. How to flush the head of an Epson inkjet printer will be discussed later. In the meantime, let's start with the most common ones - Hewlets, Lexmark, Canon and the like.
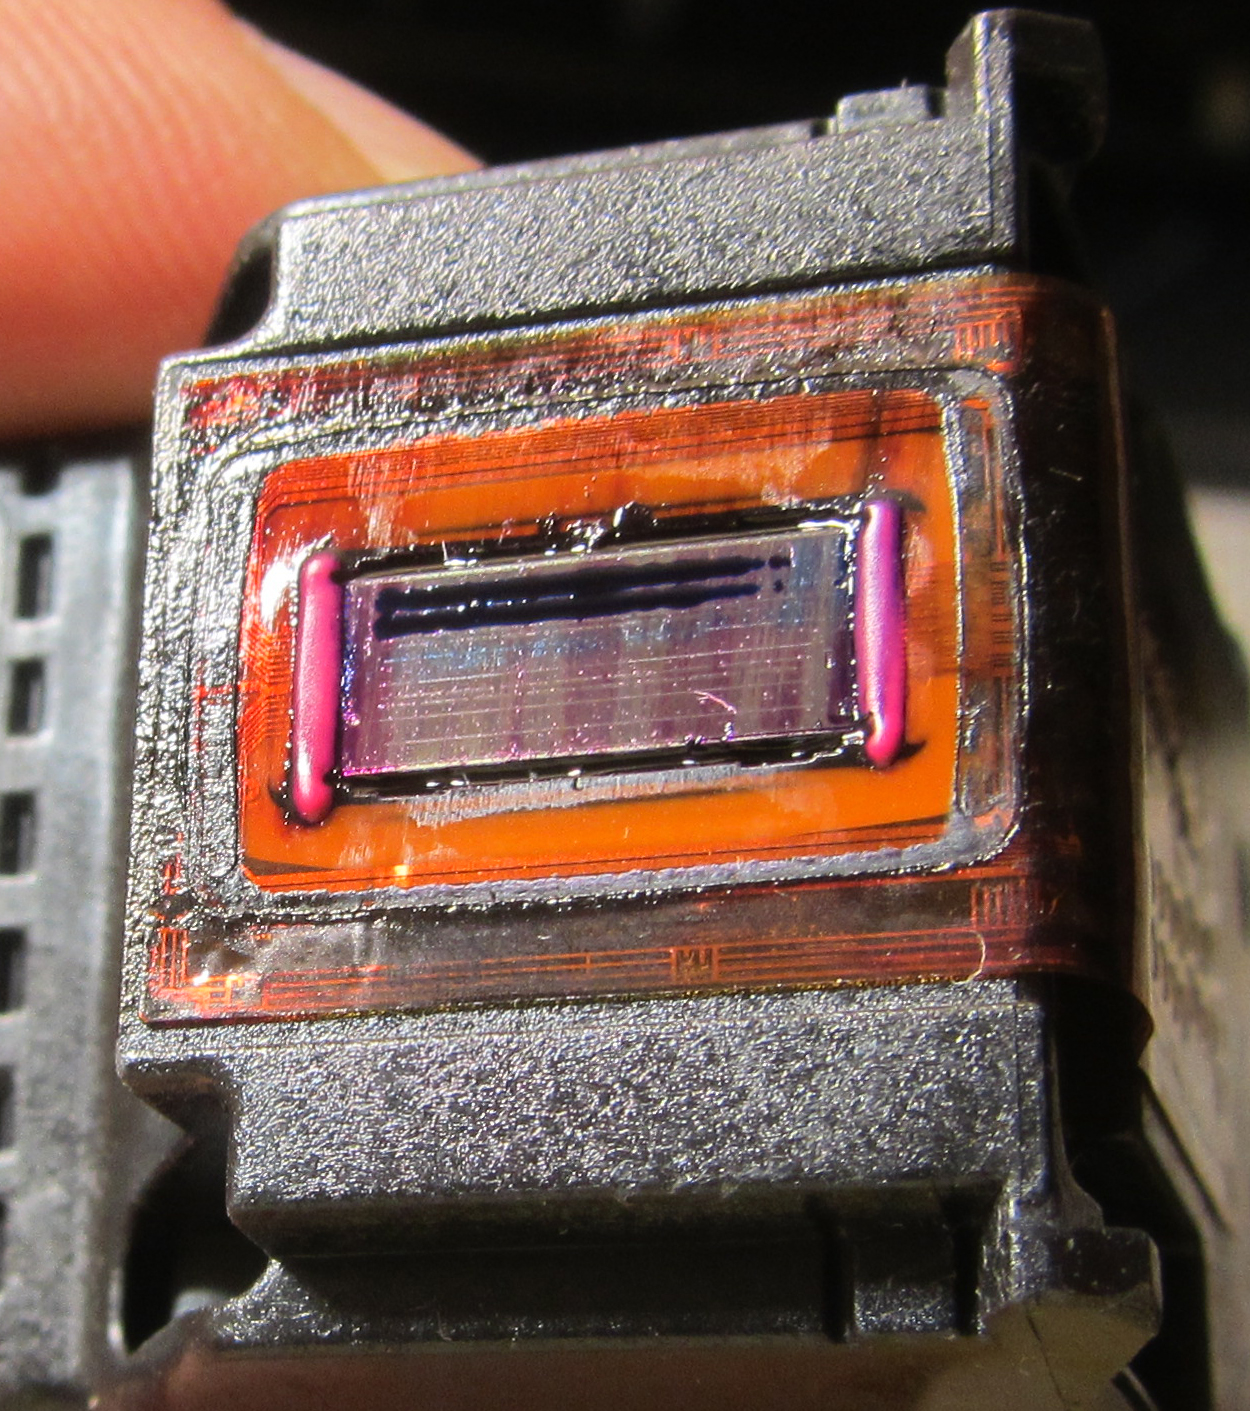
Sprinkle plenty of flushing liquid on the cloth and place the cartridge with the nozzles directly on it.
Make sure that the napkin is always abundantly moistened! Add liquid as it dries.
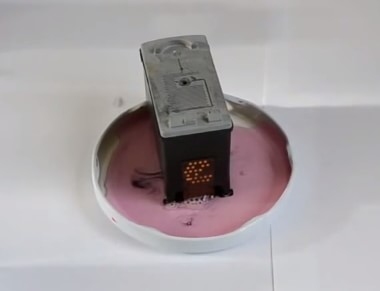
If the cartridge is empty and very dry, then you can shove it directly into the solution as a whole (but not for foam cartridges!) And pour it inside and let it stand for 1-3 days.
In extreme cases, you can completely dismantle the head and immerse it with nozzles in the composition by 1 cm. Then select the head cleaning from the menu (a couple of times). After that, if the cartridge is good, it should start printing.
An interesting discussion about the composition of the flushing fluid and how to soak a Canon and HP cartridge at home can be found in this video:
Well, the simplest flushing for any cartridge is pure distilled water. The next two methods will be just using it.
Let's say that the ink in your printer is dry, what should you do? The high temperature steaming method will help you. The cartridge must not be empty. If this is not the case, it must be at least partially refueled.
We turn on the kettle, wait for the water to boil, open the lid and hold our cartridge for 30 seconds with the nozzles down. Then we remove and wipe the nozzles with a soft cloth.
We will repeat the procedure as many times as necessary.
If this does not help, there is a more radical method - immersion in boiling water. To do this, pour the freshly boiled distilled water into a plate so that a layer of about 1 cm is obtained, and put the cartridge there with the nozzles down. Let it lie there for 20-30 seconds. Repeat if necessary.
In this way, it was possible to reanimate even cartridges that had dried up a hundred years ago.
Now I will talk about how to brute force restore a dried inkjet printer cartridge. Or rather, the power of water. Pressurized water is able to push through any dirt and the cartridge will be as good as new again.
Use the method only when all the others no longer help (that is, it was not possible to soak the cartridge with anything at home).
Since there is nowhere to go, you will have to use ordinary tap water. To do this, we go to the bathroom, open the tap with hot water so that it flows in a continuous stream, without splashing. The more water falls from a greater height, the better.
We substitute our unfortunate cartridge under the jet and keep it there for a while. Periodically we take it out into the light of day and check if the desired result has been achieved.
For light dirt, the shaking method helps.
To do this, we take the cartridge, move to the bathroom, and, holding the cartridge over the bath, with a sharp movement “shake off” it with the nozzles down. The movements should be exactly the same as if you were shaking off a mercury thermometer.
I highly discourage doing this in a room, because parents may not appreciate the beautiful ink blots on the wallpaper.
The bottom line is that the ink, due to centrifugal force, squeezes the blockage in the nozzles and pushes its way out.
You will see the result immediately - the escaping ink drops are hard to miss.
This method is very effective and allows you to rinse out even a very dry cartridge at home without any problems.
The pumping is carried out with a syringe with a rubber adapter. For these purposes, soft rubber suction cups from an old printer are ideal (they, in general, are there for this). They look like this:
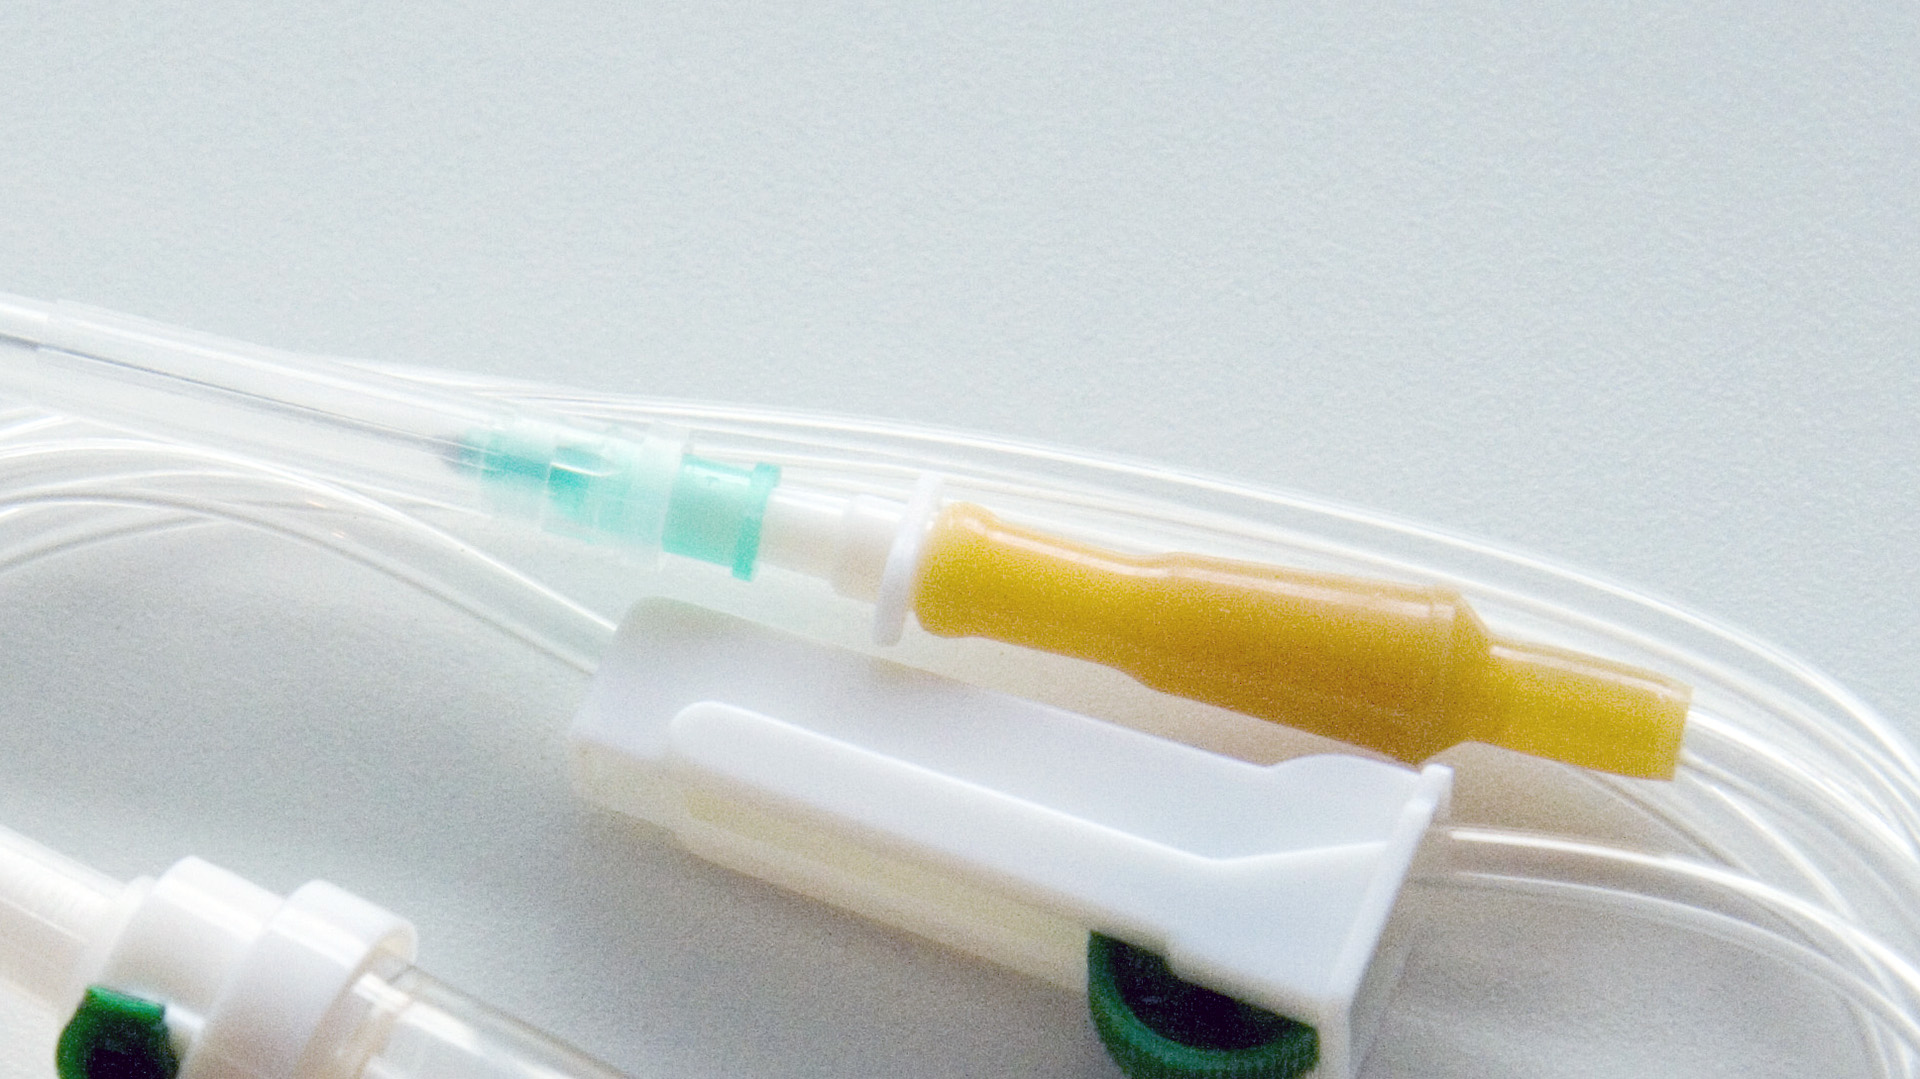
But you can just take the rubber part from the dropper, put on the syringe spout. This one, which is yellow:
The elastic rests against the nozzles and, using the syringe as a pump, sucks the cartridge in both directions. Watch the video how the professionals do it:
VIDEO
A well-rinsed and refilled cartridge should leave approximately the following marks on the napkin:
One of the refueling methods is demonstrated in this article.
Now you know everything about how to flush inkjet printer cartridge from Canon, Epson, HP and others. Use this knowledge to your advantage!
Nowadays, you can buy a used inkjet printer with dried cartridges for 200 rubles, restore it, and then sell it. I have sold a number of printers that have been remanufactured in this way.
P.S. There is one more method - cleaning the cartridge in an ultrasonic bath ... But, I think, if you had an ultrasound bath, you would already know how to use it. By the way, personally, I highly do not recommend this method, because with strong vibration the print head gets cranks (nozzles are destroyed), and from a weak vibration there is zero sense.
In this article we will repair the inkjet printer and it is with great pleasure that I present you a new author on our website! Meet Yarpen Zigrin (at the request of the author). A specialist in the field of repair of any office and other industrial equipment of various levels and degrees of complexity.
By tradition, I will give the contact address of his email at the bottom of the article, but for now - get acquainted with the article of a person who can rightfully say the following phrase about himself: “Bring me something that makes smoke and I will make it work!”. By the way, the bike you see in the photo was assembled by Yarpen himself 🙂
So let's get started, inkjet printer repair. We will repair a Canon MP160 multifunctional device (MFP).
Immediately before repairing this inkjet printer, we discover a problem visually: the printheads of the device cannot be positioned (the printer unsuccessfully moves them back and forth along the guide several times, then, without setting them to the starting position to start printing, it parks back to the starting position).
Conclusion: Presumably there is a problem with the positioner of this printer. We need to repair the inkjet printer (disassemble it and find the real cause). Let's get started. We begin to untwist the body.
In this way, we also unscrew the screws that secure the side covers of the printer.
At this stage of disassembling the inkjet printer, the picture looks like this:
Here we have already got to the “parked” printer cartridges. But this is not enough. We need to completely remove the scanner of our MFP. We continue to “repair” 🙂 We release the fasteners, disconnect the signal and power cables:
Without a scanner, our printer looks like this:
Remove the top plastic cover.
So we got to the printer positioner. Let's enlarge the photo a little for clarity.
It is marked in red here. If you look closely, you can see that along its entire length it is stained with ink from the cartridges that have accumulated on it over time. A positioner is an elastic, easily bendable tape, on which micro-risks are applied at regular intervals, guided by which, the printer's automation positions the printheads.
Let's take a closer look at a fragment of it:
As you can see, it is almost completely covered with dried black paint, which hid most of the marks.
It's not a tricky thing here: we take "Mr. Muscle", (don't think of it as an advertisement :)) pour it into a bowl and put our positioner tape into it for the night. Let it soak.
Attention! For cleaning, use only substances containing isopropanol or pure isopropyl alcohol, otherwise you may damage the marking marks on the film. Also, do not use excessive force when wiping the positioner.
The next morning we arrive and see that the widely advertised cleaning agent has not let us down! We consider the tape to the light.
As you can see, all the paint spots are gone!
Well, the procedure for repairing an inkjet printer is essentially over. Now we just have to assemble the printer, connect the power to it and make sure that the positioning of the printheads is correct (quickly and the first time), and the device itself prints our test page correctly 🙂
Now, as I promised, I leave for you the contact details of the author of the article. Ask, consult. Repairing an inkjet printer is just a small fraction of what it can and can do. This person can fix everything. or almost all 🙂
You can contact the author of the article here at this address:
DIY printer repair - what you can do at home to save money on calling a master or sending a printing device to a service center? Not all problems can be solved on your own, but there are things that you can diagnose yourself. However, do not forget that a serious malfunction can be identified and corrected exclusively by the hands of a specialist with extensive experience and specialized tools for carrying out the corresponding work. Repair of printers by service center engineers YauzaOrgService guarantees high quality and speed of service delivery without overpayments. But what will it be possible to reveal at home?
• The most common cause of printer breakdown , whether Canon, HP, Epson, Oki, Samsung, Ricoh, Brother or Xerox, is to clean the machine irregularly. In simple words, it is dirt.It often leads to imbalance of the case, noise appears during operation, or paper picking stops. That is why it is recommended to clean the printing device at regular intervals and only when the equipment is off. But you need to know about the prohibition of the use of alcohol - for wiping we take only ordinary distilled water, a new sponge and cotton swabs.
• We check the correctness of operation: the printer must be plugged in, the tray is pushed in firmly to the very end, the sheet stops are set, the cartridges are correctly installed and there is no jam of foreign objects in the machine.
• Do not be afraid to inspect the inside of the equipment for paper debris or scraps, toner spills, plaster, sand, or water.
• Check the cartridge is full, if it has run out.
• If printer malfunctions are displayed as errors on the computer monitor, be sure to write down the code, number, or information on the screen for transmission to the wizard.
• Pay attention to the print quality of documents, whether there are additional streaks or spots, what color they are.
• Track the frequency of paper chewing.
• Listen for extraneous sounds, crackles, noises when printing.
Having considered all the above nuances, which often lead to the stoppage of the printer's functioning, you can speed up the process of correcting the malfunction, replace the repair procedure with preventive maintenance and save money on a specialist visit. Evaluation of the state of the equipment operability, the exact formulation of the problem and the listing of the problems that have appeared will allow the foreman to react to the request as quickly as possible, since he will present the amount of work in advance. If this is not a serious breakdown and the situation allows you to repair parts, replace components or restore work quickly - printer repair can be carried out even at the diagnostic stage. By calling the phone number or sending an application through the website YauzaOrgService - assistance will be provided with the provision of a guarantee for all types of operations and services performed.
In this article, we'll look at common MFP problems and how to fix them. Repair tips are relevant for almost all MFP models - HP, Canon, Epson, Xerox, Brother, Samsung, Ricoh, Toshiba and others.
If the scanner unit breaks down in the MFP, then most likely it will not be possible to repair it at home. This may require replacing the backlight lamp or scanning head.
In principle, a malfunction of the scanning part of the MFP can be caused by breakdowns in the electronic part: it is necessary to check the capacitors for swelling, ring the power circuit with a multimeter, and also make sure that there are no burnt-out elements.
If there are problems with the printer unit, then it is usually not difficult to repair it at home.
Paper does not feed ... It is necessary to check the correct installation of the cartridge (this applies to both inkjet and laser MFPs), there are situations when a foreign object gets stuck in the paper path. It must be removed and checked for physical damage that it may have inflicted on the device.
The laser MFP may not print because cartridge chip not zeroed ... This can happen after refueling. In this case, you either need to contact the service center to replace the chip, or purchase a new cartridge. You can replace the chip yourself. To do this, you need to find and buy a new chip (they cost from 30 to 150 rubles), and insert it in the place of the old one. But for this you need to make sure that there is toner in the cartridge, otherwise replacing the chip is meaningless.
Stripes on sheets (laser MFP) ... In this case, you need to clean the drum unit. Remove the cartridge from the MFP, gently slide off the protective cap (on some models it may not be present). It is not recommended to touch the drum unit with your hands! Take a clean, dry, lint-free cloth and wipe off any waste toner from the drum. Then put the cartridge back in.
Printing Problems (Inkjet MFP) ... White spots, incomplete colors and other defects are common in inkjet MFPs.First you need to try to troubleshoot problems with software: cleaning the nozzles, calibrating the print head. If these steps do not help, then you can purchase liquid for flushing the nozzles of inkjet printers and clean it with it. Never use tap water, regular alcohol or other household products! You will only make it worse.
We hope that these repair tips were helpful. If anything, call, consultation - free!
The Master's Secret shares his successful experience in repairing a laser printer HP LaserJet 1010. The manual is suitable for HP LJ printers of the 1000 - 1200 series. The story is simple, the bought used printer (for 1000 rubles) worked for a year and was stupidly damaged by a sheet with a paper clip, it got dirty and began to rustle - it broke thermal film. Damage to the thermal film is easily confirmed by installing a replacement cartridge. Contacting the service center meant paying for repairs at least at the price comparable to buying a new printer. I also spurred the search for thermal film for the printer, sellers offered to buy thermal film at an unrealistic price of up to 1,500 rubles (its red price
100 rubles), plus the tricks of sellers in the absence of thermal grease in the repair kit and the sale of this component for repair also at an order of magnitude overpriced.
The thermal film was searched for within a month and was purchased for 300 rubles (2013) complete with thermal grease. Repair requires a simple tool:
The repair scheme is carried out step by step in the following order.
Step: 1 Check the integrity of the film and the presence of thermal grease. Pull the cartridge out of the printer. Unplug the power cord.
Step 1. Disconnect the power cord
Step 1. Remove the cartridge from the printer
Step: 2 The cartridge access cover is held in place by a rod. The stem must be separated from the cover by pressing on the inner edge of the plastic rivet. Hold the rivet while detaching.
Step: 3 Turn the printer towards you with the back cover and using a Phillips screwdriver, remove the three screws from the metal cover, two screws on the left and one screw on the right. See photo.
Step 3. Unscrew the screw on the left
Step 3. Unscrew the screws on the right
Step: 4 Remove the sides of the printer. The stacks are held in place by plastic clips that are located at the top, bottom, and back. The lid without buttons holds the strongest. Secret latches are shown in the photo.
Step 4. Wall latches with buttons
Step 4. Wall latches without buttons
Step: 5 Lift the cartridge access door and remove the two machine screws. Remove the cover.
Step: 6 Use a flat screwdriver to pry up the lower right edge of the metal back cover and remove it.
Step 6. Pry off the cover with a screwdriver
Step: 7 On the side of the power connector is the power board. There are four different connectors on the top of the board, unplug them. The connector with white thick wires will be disconnected only after pressing the latch, see the photo. It is also necessary to disconnect the red wire on the back panel. Just pull it up. Remember how it is fastened preloaded by a spring. Remove the wires from the organizer clips.
Step 7: power board connectors
Step 7. Latch for the fourth connector
Step 7. Fastening the red wire
Step 7. Red wire connector
Step 7. The wires are free
Step: 8 So we got to the stove. The stove is secured with three screws. See photo. We unscrew the screws. Hold the screws while loosening.
Step 8. The first screw that secures the stove
Step 8. The second screw securing the stove
Step 8. The third screw for fixing the stove
Step: 9 Take the right edge of the stove and pull it out.
Step: 10 Unscrew the two screws securing the stove top cover. Remove the cover by pulling it to the side.
Step 10. First cover screw
Step 10. Second cover screw
Step 10. The fuser cover is removed
Step: 11 Now we see the destruction of the thermal film. Remember the position of the planks with pins and levers! There are springs on the sides of the stove, we unhook the springs from below with long-nose pliers. We remove metal strips and plastic pressure levers on each side. Do not mix them up when assembling!
Step 11. Spring securing the lever
Step 11. Remove each spring
Step: 12 We release the white wires from the clips and remove the drum with thermal film. It just goes up.
Step 12. Remove the thermal drum
Step 12. The thermal drum is removed
Step: 13 We remove with our own hands the plastic tip from the side where thin wires come out of the drum. The cap is held on by the latches.
Step: 14 Remove the damaged thermal film and wipe the metal surface and the thermocouple with a damp cloth from old grease and dirt.
Step 14. Remove the thermal film
Step: 15 Apply a new thermal grease on the surface of the stove. Install the thermal film carefully. The end of the cylinder should be fixed to the opposite plastic tip. also carefully install the right tip. It is useful to remove leaked thermal grease.
Step 15. Apply thermal grease
Step 15. Putting on the thermal film
Step 15. Remove excess thermal grease
Step: 16 Assembling the stove in the reverse order. The correct position of the planks in the photo.
Step 16. The cover is installed
Step: 17 We put the stove in place and fasten it with three screws. We fill and connect all the wires to the connectors. Install the red wire correctly.
Step: 18 Install the back and top covers. Raise the plastic flags of the stove during installation. so that they fit into the corresponding grooves in the cover.
Step 19. Print a test page
Step: 19 After assembling the printer, we check the absence of unnecessary parts. We connect the power cord. We turn on the printer. First, we give the command to feed without paper, and then we print a test page, holding the green button a little longer. On the first few pages, grease marks may appear around the edges. The work was done unhurriedly for an hour. The money saved in such work will correspond to a salary of more than 100,000 rubles a month.
Repair such breakdowns yourself!
I myself changed dozens of thermal films for hp-I testify-it is written correctly.
And how to cheat a laser printer xerox 3140 I have a problem I bought a cartridge for it, I ran out of ink and started pouring new powder and then writes that there is supposedly no cartridge and the red diode has stopped printing and that's it / How not to tell him to cheat?
In the article below, we present the standard instructions for cleaning the printheads of inkjet printers from Canon, which is successfully used in some service centers.
This is because most Canon models have pigment channels and channels for water soluble ink. The usual dropsy wash will clog the pigment canal, possibly permanently. Therefore, it is necessary to use special flushing fluids. Manufacturers generally do not provide for a SG flushing procedure if standard cleaning agents do not help. Therefore, flushing fluids should be sought from manufacturers of compatible consumables or using proven "folk" means.
Experts in this field recommend using a specific composition of glass cleaner “Mister Muscle” for flushing Canon SGs. There is "Mister Muskul", which includes ammonia and isopropyl alcohol. There are some that only contain isopropyl.
water,
isopropyl alcohol,
Surfactants (surfactants),
organic solvents,
acetic acid,
perfume,
dye - (i.e., the color can be any).
Again: for pigment (and for Canon PG) it is recommended to use Mister Muscle, which contains isopropyl alcohol, surfactant, but does not contain ammonia.
Attention! I would like to note once again that there are different opinions of experts. It is not necessary to use this particular tool, the main thing is to monitor the composition. Glass detergents are used because they are much cheaper than special means, and the effect is comparable. Read "Pigment Ink Flushing Fluids" at the source site.
first of all, it is necessary to prepare the workplace. To do this, cover the table or any other surface with paper, newspaper to avoid ink getting on it;
prepare medical rubber gloves to protect your hands from ink paint (it is quite difficult to wash);
napkins or toilet paper - lint-free;
the print head itself;
any convenient container in which the head will be;
Flushing liquid for your ink type. Distilled water, in the case of water-soluble ink, can serve as a flushing liquid;
for pigment ink - water cannot be used;
syringes 20-50 ml;
It is necessary to fill the container about 3-4 mm with flushing liquid, then lower the head removed from the printer there, fix it in such a position in which the entire lower part of the head is immersed in the liquid and leave in this position for 3-4 hours. Use a syringe to drip enough flushing liquid onto the ink nipples to prevent drying out.
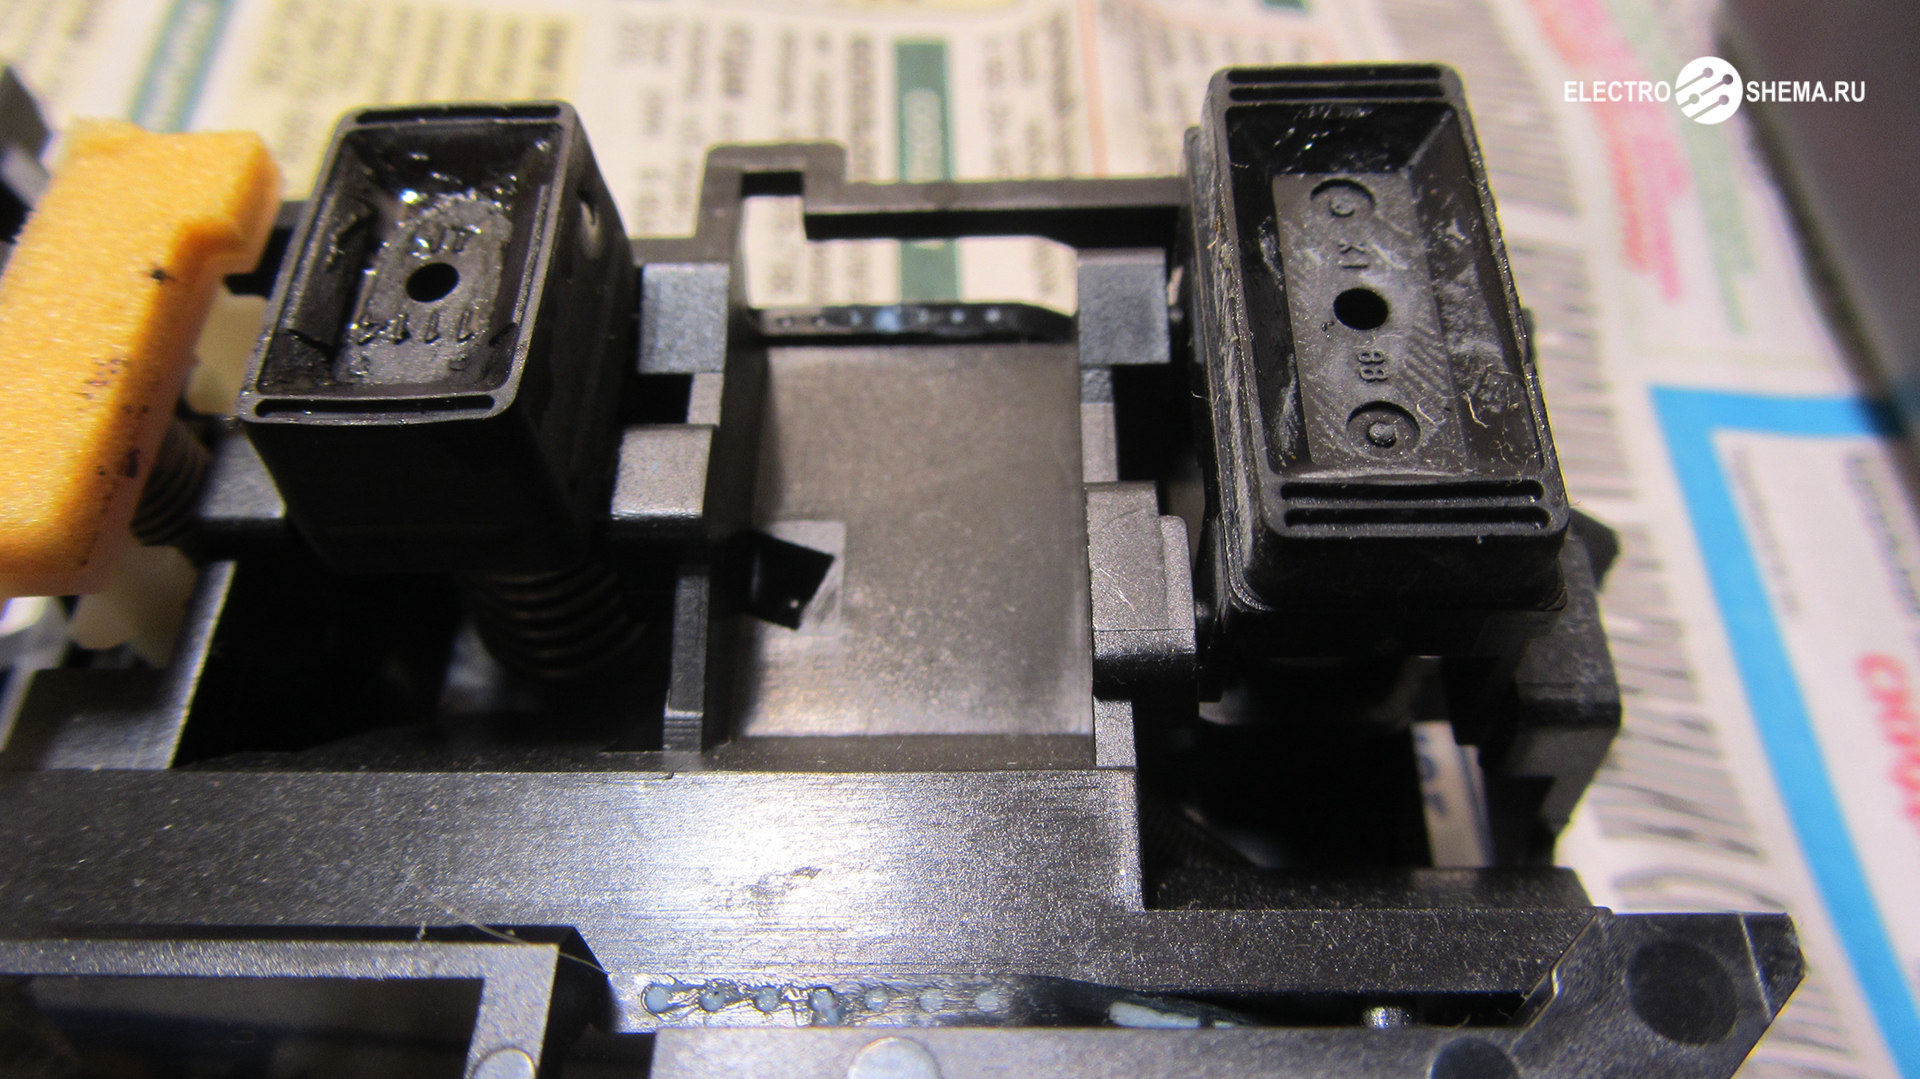
Put a rubber adapter on each of the fittings in turn (it can be any rubber tube or part of a blood transfusion system - a dropper). For the pigment channel (this is the largest of the fittings), you can use a cut 2-3 cm from the PVC tube.
The head should remain in the flushing fluid until it is clear that the channels are clear and the fluid can move in both directions.
We completely assemble the printer: install the head and cartridges in it, make a print test. Sometimes it is necessary to let the printer sit for a couple of hours and then try to print the checklist again.
If, nevertheless, the print is of poor quality, then it is necessary to identify the reason for this:
ink is not suitable (we recommend testing only original cartridges);
the print head is not rinsed well enough (we recommend repeating the rinsing procedure);
the head is faulty (for example, thermocouples burned out). In this case, the only recommendation is to replace the head with a new one.
Do you have an uninterruptible power supply (UPS) that turns off quickly or stops turning on completely? This is most likely due to the battery inside the unit. More details ...
There are several ways to reset (change) your password in Mac OS Lion. Today I will tell you about one interesting way to reset your account settings (change your password) without rebooting your Mac. More details ...
To convert readings to more familiar millimeters for us, you can use the tables below:
All of us, from time to time, are faced with breakdowns of one or another technique. Many even have personal experience in eliminating minor faults on their own. This article will discuss the possible causes of printer malfunctions and how to fix them.
It doesn't matter what company your printer is: Samsung, Epson, HP, Lexmark, Sharp, Ricoh, they are all about the same.
First of all, check all connections. The printer must be powered on and connected to the computer. Notice if the tray is tightly closed and there is paper in it, and if the ink cartridge has run out. Pay attention to the paper guides to see if the paper is jammed.
Check the software, there may be a software problem and need to be reinstalled. If, when trying to use the printer, a window with an error number pops up on the monitor screen, write it down on a sheet and look on the Internet what this means and how to fix it.It so happens that some dll file has flown off and it is enough just to reinstall it. There you will also find detailed instructions on how to install it.
The most common cause of a malfunction is dirt on the mechanical parts of the printer. The first thing to do is to unplug the printer, open the cover, remove the cartridge and inspect all accessible mechanisms and gears for foreign objects. It is possible that the paper sheet was chewed and when it was removed, pieces of paper remained. If there is contamination, then take cotton pads, and slightly moisten them with water, carefully remove the contamination. For cleaning in hard-to-reach places, you can use ear sticks to help you. Never use detergents or liquids containing alcohol.
It will not be superfluous to listen to extraneous noise during the operation of the printer, this may signal the wear of any part or gear.
Video (click to play).
In most cases, the malfunction is associated with the reasons listed above and can be eliminated by yourself. Even if it is not possible to eliminate the malfunction on your own, identifying them on your own will save money and time on diagnostics. And the master will already have a rough idea of what the problem is and will be able to take all the necessary tools and parts with him.
acid (HP color cartridges): 10% acetic acid essence, 10% alcohol, 80% distilled water;

 acid (HP color cartridges): 10% acetic acid essence, 10% alcohol, 80% distilled water;