In detail: do-it-yourself renault scenic torsion beam repair from a real master for the site my.housecope.com.
Yes, this is perhaps the most frightening knot in used Renault where many owners are afraid to climb on their own. And this, I can tell you, is not without thoroughness.
I will try to describe everything in great detail, these are not records of replacing candles and oil ... there are almost no reports (and especially sensible ones).
! Think 100 times if you can do everything yourself and have at hand all the necessary tools (press).
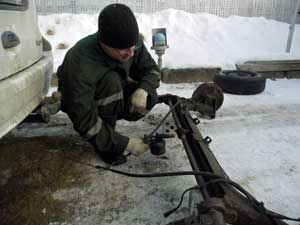
My example is trash)))) In winter (-12), on the street, literally on my knees, for 12 hours.
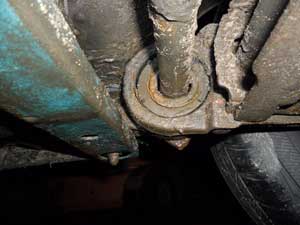
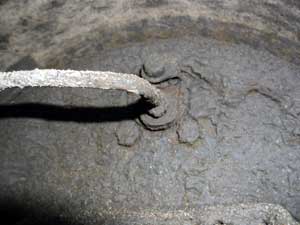
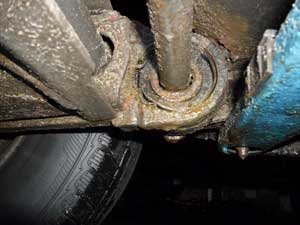
The condition of my silencers is almost complete wear and tear (they kept a little in the cage), the rubber simply shrank and gave not frail "idle" suspension moves === thereby killing brand new shock absorbers ((((((and increasing the risk of breaking torsion bars.
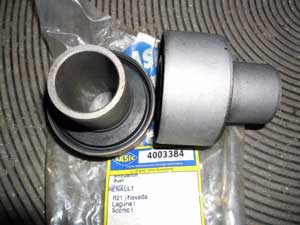
I bought "Sasik" - there are a lot of fakes now, I hope I didn't "hit"
Let's go according to the timing of the works:
(! I did not take any measurements before parsing, because I am 100% sure that the torsion bars were rearranged during the wear of the silencers = DO NOT DO IT, lift up the backside for a couple of Santas, the load on the torsion bars increases ... comfort does not improve by a single gram)
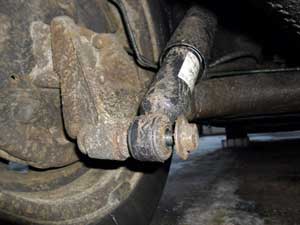
one). Raise the rear of the car completely. We loosen and disconnect the lower attachment points of the shock absorbers. (The upper ones can be left alone for now - in the fully hanging position of the mesh
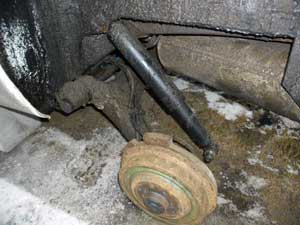
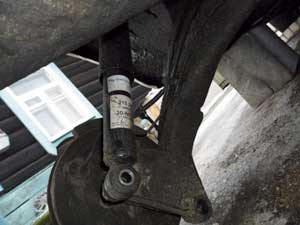
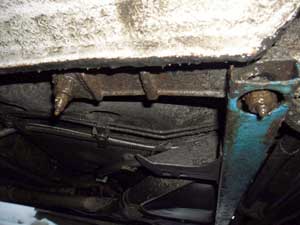
2). Trying to loosen the four nuts securing the beam to the body. Do not feel sorry for the "vadashki" + metal brush. I was lucky, the nuts went ... if the bolts turn, I will have to disassemble the floor of the salon plastic at the back to get to the bolt heads = extra work.
3). Disconnect the connectors from the ABS sensors (! Did not disconnect the battery - after assembly, the error does not light up, the system is working.)
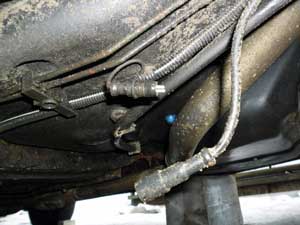
+ Try to unscrew the rear brake circuit. I chose the option of disconnecting the fittings from the flexible hoses (! I did not stand on ceremony - the system elements were replaced, including the tubes ... I did not like them, well, since I got in, why not)
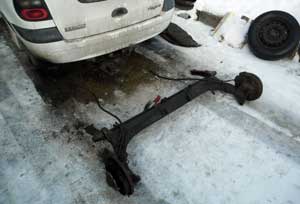
Disconnect the parking brake cable (so as not to remove the drums, disconnect it from the lever bar under the bottom). I rolled out the beam along with the cables.
| Video (click to play). |
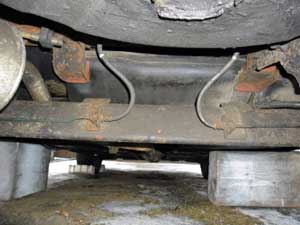
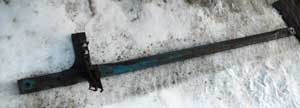
4). We completely unscrew the nuts that hold the rear strut together with the beam (It is called differently, and the stabilizer, and the rod ... for me, the usual rectangular strut).
5). Having completely disconnected the rear brake circuit, unscrew the remaining two nuts securing the beam relative to the body. I did not drive the bolts into the cabin, but carefully removed it.
6). (! An important point is to measure the distance between the centers of the holes in the levers) = This will be needed when assembling and easily installing the moved beam back.)
We proceed to the most disgusting - knocking out the torsion bars from the landings in the levers and the central bushing. * Already a year ago I tried to knock out the torsion bars with a reverse hammer ... through the threaded holes at the ends of the torsion bars (M10x1.5) = they are sitting dead.
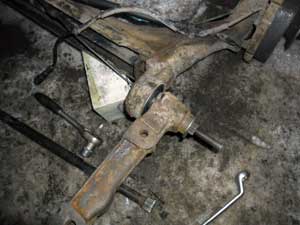
He warmed up the central sleeve with a small blowtorch, and then with a sledgehammer, simply hitting the levers, he dropped the levers along with the torsion bars and the remnants of rubber from the holders of the silent blocks.
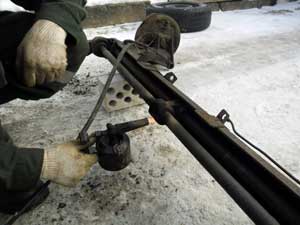
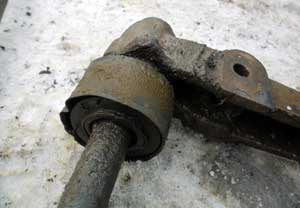
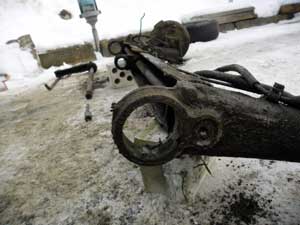
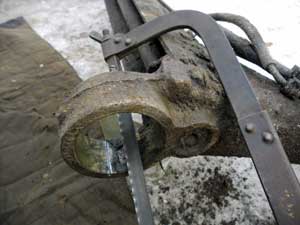
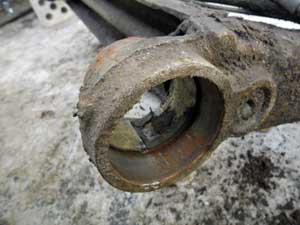
7) .Preparation of the beam for pressing in new silent. Since in my case the outer part of the silent blocks was almost completely separated from the metal - the outer rings remained in the lug housing. I made cuts with a simple hacksaw for metal (loosening the fit) = took them out easily.
(! They can be taken out only "towards themselves" ... for a photo, moved inward). + Seeing a couple more cuts on the lug housing = I realized that they had changed more than once.
! One moment remained “off-screen” ...I don’t have a press, I had to send an assistant to a mutual friend to extract the old silent bushings from the levers of the torsion bars and internal bushings.
The torsion bars gave in at low pressure, but the question is, how to get the bushings of the old silent blocks? We found a relatively easy and quick way = inserted a nut of a suitable diameter (any) inside the sleeve, scalded it ... and, like the torsion bar, squeezed it down (already having a fulcrum, and not just a hollow tube).
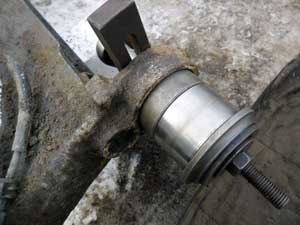
eight). We press new torsion bars into the beam lugs. There is no positioning, solid rubber - without marks and other things. Used a regular self-made screw press (long bolt + washers + nut). Smeared with lithol for ease of planting.
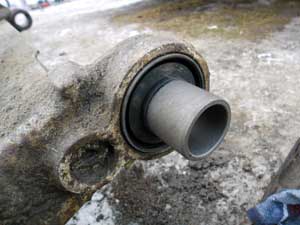
9). VERY important point, leverage insertion.
-It is important to plant the lever relative to the beam as accurately as possible. So that in a static state (when the car is lowered on wheels) the silent blocks are as relaxed as possible (without twisting and other things - which leads to their short life).
-It is important to observe the distance parameter for the fastening holes of the bolts (we measured this immediately when removing the beam)
-It is important to observe the uniformity of pressing the right and left levers (in order to exclude the displacement of the rear track relative to the front).
I came across 50/50 opinions ... There is a manual drawing ... and the text does not correspond to the scheme:
Because I have a mechanical engineering education and I am familiar with drawing from and to ... following the law of drawing and building diagrams: always the dimension is taken along the axial lines, and not from the supporting surfaces. I did it as I thought it was right = then I'll arrange a check for myself (see the end of the post). Right or wrong - decide for yourself.
I measured the given axial distances with a simple bar with a movable element ("in Russian" = a regular wooden bar with a perpendicularly screwed-in self-tapping screw adjusted to a length of 37 mm.) in the desired position, pressed the lever onto the inner sleeve of the silent block, all the same in a screw way.
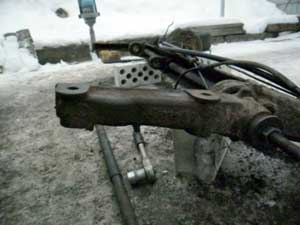
10). Take a little break from the volume of information
I didn’t like the rear brake pipes - they were rusty, seized… I took a simple path: I put new working cylinders, tubes (80 cm on the left; 75 cm on the right). Satisfied .
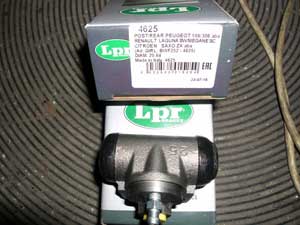
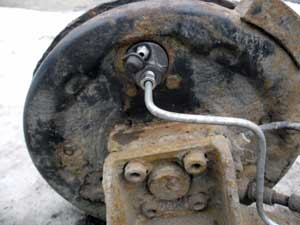
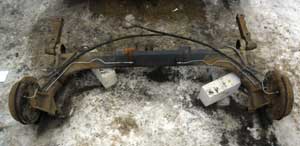
eleven). The beam is ready for installation on a car and subsequent clearance adjustment.
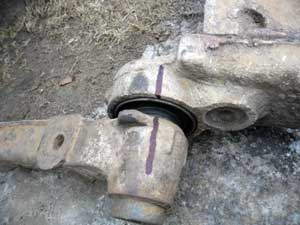
! In order to check myself (I mentioned above) I put marks with a marker on the lugs of the beam and the levers themselves = silent blocks are MAXIMUM free (do not experience any load).
12). Observing (when pressing in the levers) the distance between the holes for the fastening bolts = the beam fell into place without any effort.
The assembly is carried out mirrored to the disassembly process. I clamped the nuts securing the beam to the body without a torque wrench ... by hand force (I used a meter-long knob from the firm "Force").
I chose the fastest and most affordable option for adjusting the clearance. Without worrying about making a "semblance of the original" screw strut (fixed from the top mount to the bottom) ==== it takes a lot of time to remove the shock absorbers, install the stretch, install the shock absorbers ... NAX.
Sawed wooden blocks of different lengths. For the pivot points, I used the trunk floor surface and a screwed-in bolt in the lower shock absorber mount.
pay attention to this photo and the photo below through one!
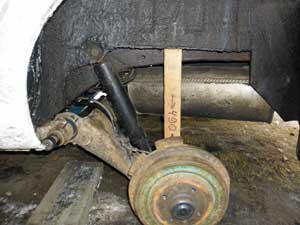
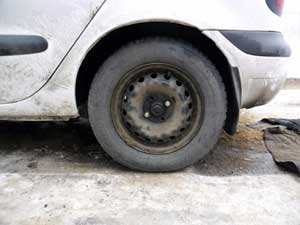
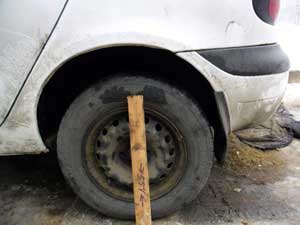
Why such delays in length = fatigue of the torsion bars themselves. Observe the factory settings for adjustment - really only on new torsion bars or on cars with the age of 5 years)))).
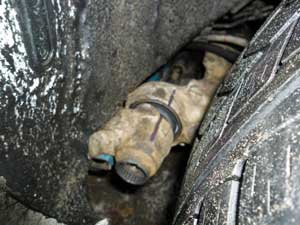
! IMPORTANT, I asked you to pay attention to the difference in the photos above ... ERROR = the torsion bars had to be inserted (not into the slots - just put them in) before the beam was clamped to the body ... The thresholds do not allow you to either remove or insert the torsion bar completely into the mounting holes.
I had to re-squeeze the fasteners, lower the beam, throw in the torsion bars, again clamp the beam = VERY time and mood kills.
thirteen)! IMPORTANT, the adjustment should be made with the upper mount of the shock absorbers released.
All spline joints of the beam were greased with “graphite”. The torsion bars were inserted into the landing sites by hand (without a hammer).
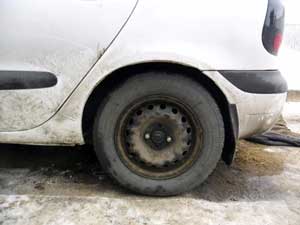
It may seem that the backside is too raised - this is the illusion of photography = normal height.
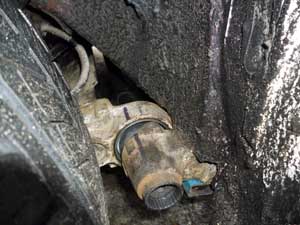
Remember the marker marks on the relaxed silencer beam? = Vehicle on wheels, tank two-thirds full ...
Our store offers a wide range of auto parts in Minsk. We will select and install everything you need for your car as soon as possible. Our experts will conduct a detailed consultation on the details of the choice you are interested in, tell you about the advantages of each option and help with the selection so that you can make the most correct decision. Order a call back on our website.
"Employees of our Car Service."
It is one of the few companies capable of providing a full range of services for routine vehicle maintenance and repair of passenger cars and commercial vehicles. Our team consists of specialists with specialized education and many years of experience. The total area of the technical center is more than 500 m2 and includes a locksmith shop for 4 cars, a body shop. In the client area, you can comfortably watch TV and drink coffee.
Modern equipment, as well as our own warehouse of spare parts, allows us to carry out almost all types of work on the maintenance and repair of a car. Just call and our experts will advise you on the maintenance of your car. All of the above gives us the opportunity to provide services that meet high standards, and you are confident in high-quality and fast service with a guarantee.
Renault Scenic 1 - replacement of torsion bars and rear beam silent blocks.
How to replace silent blocks and adjust the rear suspension on Renault Megane

