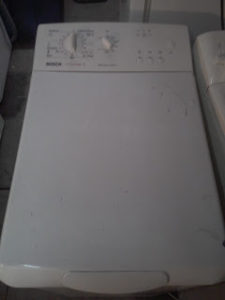
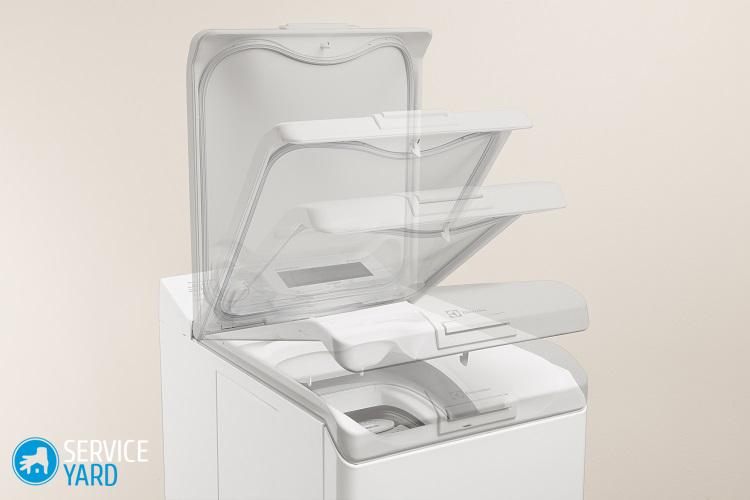
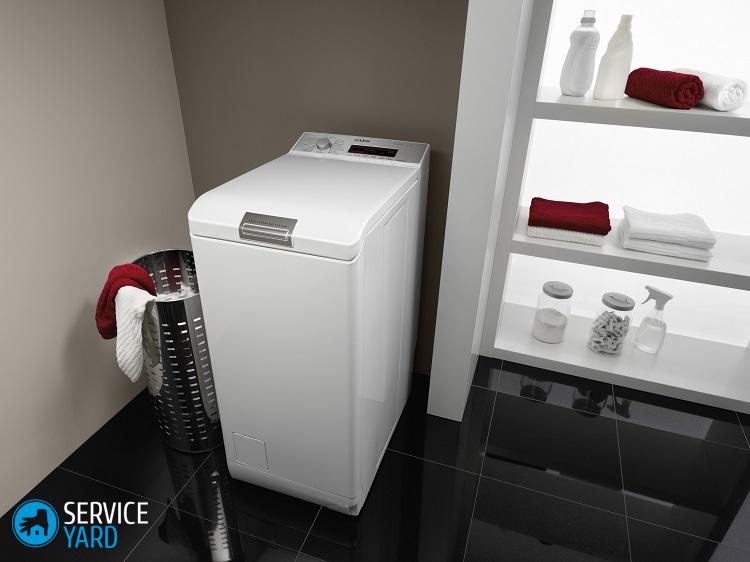
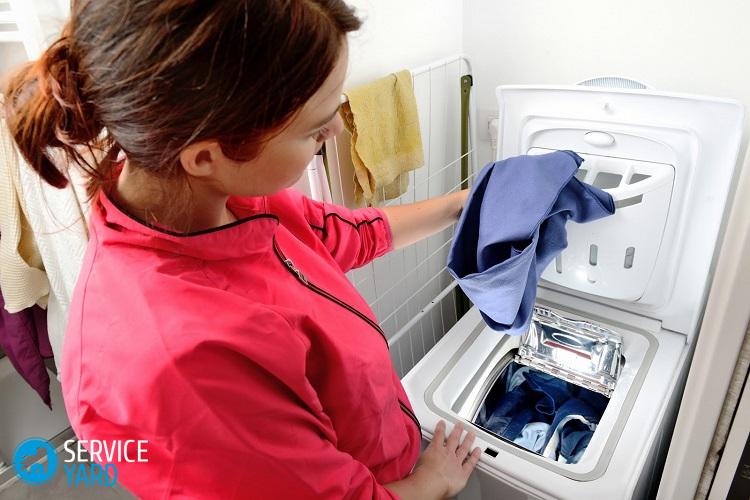
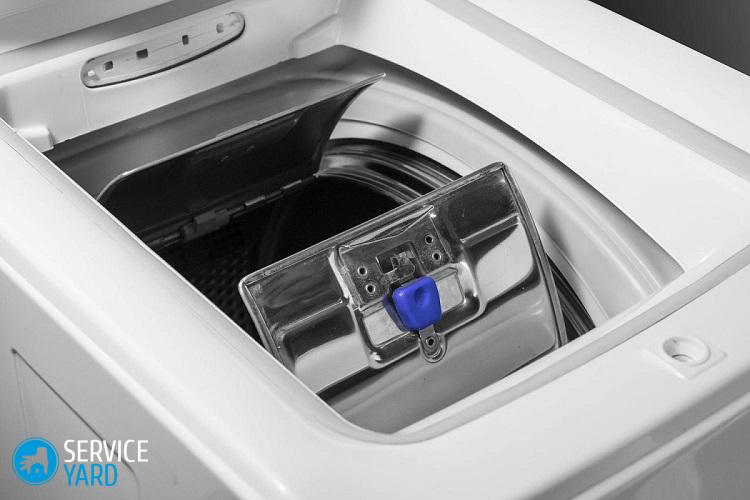
In detail: a washing machine with a vertical loading do-it-yourself repair from a real master for the site my.housecope.com.
People buy washing machines with top loading much less often than with front loading - this is a fact.
- The tightness of the parts of the machine makes it difficult to disassemble
- Increased vibration during spinning
- On some machines it is not possible to level the rear feet
- Corrosion of the top cover from moisture
- Spontaneous opening of the drum flaps in case of imbalance
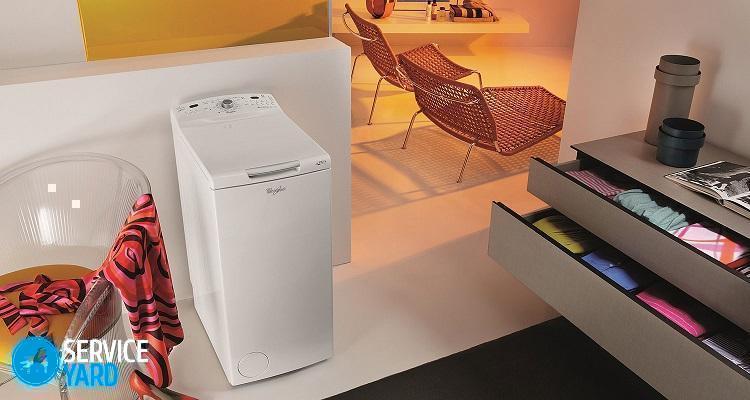
- Narrow and deep, and fits perfectly into confined spaces in the bathtub, closets or kitchen
- No need to bend over to load the laundry
- Ability to interrupt the program and add laundry
- Child safety. Control panel location.
Features and nuances for self-repair of vertical units:
The device contains the same elements (pressure switch, water intake valve, drum, tank, control board, pump, and so on).
The axis of the drum is structurally made on two bearings; a self-positioning sensor is sometimes located on the tank (fixing the drum with the flaps up).
We will show the dismantling of units using the example of Electrolux:
1.From the sides, using a screwdriver, release the control panel
2.Pull the plastic panel up and slide towards you
3. We tilt at a small angle towards ourselves to dismantle the wires from the board connectors
4. Take out the panel
To remove the electronic control module, disconnect the remaining wires and unscrew the screws shown in the figure.
For quick and correct assembly, take pictures of the connection points of the wire loops.
To remove the water inlet valve, disconnect the rubber hoses from the clamps and dismantle them.
Detach the wires and from the outside press on the holes to push out the valve.
To remove the side panels, unscrew a few screws, do not forget to save the washers for grounding the case.
Bend the wall from below with your hand and slide it down.
After removing the two side panels, access to the screws for dismantling the front panel appeared.
To remove the NTC sensors and self-positioning the DSP drum, it is enough to remove the right wall and dismantle them.
- Frequent malfunction - there is no way to change the program .:
Example - Hotpoint Ariston ARTL 1047.
Many "craftsmen" sin that the control module is to blame for everything. But no!
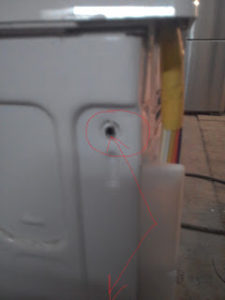
It is enough to unscrew the two screws from the back and remove the control panel.
This very cracked handle is the culprit. Use the metal ring (the plug from the antenna for example).
By squeezing the plastic handle, the ring will prevent programs from skipping.
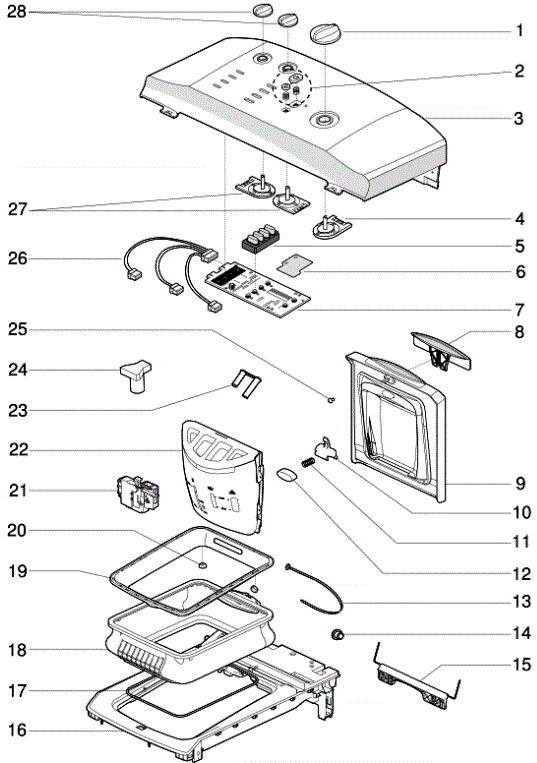
- Blown up top of the Indesite vertical, Ariston:
| Video (click to play). |
001 - control knob 002 - white on-off / reset buttons 003 - white control panel 004 - bitron switch 005 - function keys 007 - display
008 - cover handle 010 - dispenser unlocking lever 011 - dispenser hook spring 012 - disengagement button dispenser 016 - cover support
018 - partition with shock absorber 021 - door interlock device 022 - white dispenser 023 - siphon cover 026 - control panel wiring 027 - 8-pos. potentiometer
There is an opinion that two drum supports instead of one are good.
This is not the case, and in the case of "vertical" it is just a forced engineering decision. The service life of the drum bearings does not increase for a minute.
If the screws are hard to loosen, heat them up with a blowtorch.
Use a special grease for oil seals - Litol-24, TsIATIM-221, SHRUS-4M, etc.
On "Kandy", in order to change bearings, you need to disassemble the whole machine to the screw! And what is the wild tightness in the depths of the "vertical". Sometimes you have to do everything literally by touch.
It is by no means a secret that in a huge number of apartments there is not enough space for installing a washing machine. There is such a strange feeling that those who designed these apartments believed that a washing machine was an unnecessary luxury for future residents. It is good that the developers of home appliances did not agree with this statement and created an automatic top-loading washing machine. It is this type of machine (while maintaining the maximum load of linen) has a compact size and can be installed in even small rooms. And the fact that the door opens up for loading, allows you to further reduce the space required for efficient work. For many people, this is the only possible option for a washing machine, which allows you to somehow squeeze it into a bathroom or a combined bathroom.
Contrary to popular belief, vertical automatic washing machines are much more likely to be subject to such troubles as a leak. And this can already cause other and more serious malfunctions. But first things first.
- The drain filter is leaking. Well, everything is clear here - you need to check the tightness of the filter installation and the condition of the seal. Of course, it doesn't hurt to clean it. If the filter is dry, go to the top cover of the vertical washing machine.
- The rubber seal of the upper door is worn out or deformed. If a puddle forms under the washing machine, the first thing to check is the condition of this seal. If you remove the control panel of the machine, a strong coating of rust will immediately be visible on the body. This means that the water passing through the upper door is not trapped by the rubber band and can get under the control panel or into the hatch lock. Naturally, such a leak can lead not only to a banal puddle under the car, but also to much more serious problems associated with the repair or replacement of expensive parts or blocks. Until it comes to this, it is urgently necessary to eliminate the leak. Moreover, it is not necessary to replace the entire seal as a whole. Usually, it is enough to put rubber in the place of the leak, which will slightly raise the seal and the tightness will be restored. It should be added that removing the control panel will not cause any particular difficulties - you just need to unscrew the screws holding it on the sides.
Now, to further check the vertical washing machine, you will need to remove its side panels. To do this, you just need to unscrew the screws on the back wall, on which they are attached, pull the bottom edge a little and slide it down and back. After removing the side walls, it becomes possible to remove the front. Access to the screws holding it is opened. Whether or not to remove the front panel depends on the purpose of disassembling the machine body. So, we got access to the internal components of the car. We continue to check for leaks already inside the car.
– We check the reliability of the connection of the water pipe on the filler valve. If there are traces of moisture, remove the tube, coat it with silicone and install it back by tightening the clamp. Then we inspect the integrity of the entire rubber tube to the point where it comes to the top of the machine. If everything is dry, we are looking for another reason.
- We inspect the rubber pipe connected to the tank of the machine. If there are traces of smudges, again remove, seal with silicone and return to its original place.
- Now it is the turn of the drain pipe and the drain hose. All actions are similar - we check and, if there is a leak, we eliminate it.
Well, there seems to be nothing more to leak. Let's move on to another problem peculiar only to washing machines with a vertical loading method.
This is usually possible due to an imbalance in the drum of the washing machine.If frontal machines begin to vibrate strongly in such a situation, then the same problem with vertical ones can lead to much more serious consequences. The opened doors simply cannot but come into contact with the heating element, which will surely disable it. The drum is blocked and can be damaged (both it and the tank in which it is installed). Damage to the drum and tank can lead to the need to completely replace them, and then you have to think - isn't it easier to change the whole machine?
But these are extremes, let's not think about the bad. In general, if the matter was limited to the breakdown of the heating element, it is not the greatest trouble. It can be easily replaced and this process is carried out in the same way as with front-end machines. A damaged drive belt can also be easily replaced with a new one. But the bearings may well fail. For washing machines with an overhead loading method, the replacement of bearings is somewhat different from a similar process for front-loading machines.
- First, we change the bearing on the side where there is no pulley. Remove the caliper, on this side the thread will be standard right-handed, which means we unscrew it counterclockwise. After removing the part, the bearing and the oil seal are replaced.
- On the other hand, you first need to remove the drive belt, and then the pulley and grounding block.
Important clarification - on this side, a left-hand thread is used on the caliper, and, therefore, you need to unscrew it in the opposite direction from the usual direction - clockwise. In both cases, the installation site of the new bearing is thoroughly cleaned and well lubricated. The calipers are put back in place and reassembled.
In cases where it may be necessary to disassemble the washing machine tank, simply unscrew the screws securing its cover, and carefully separate it at the soldering points.
The tank is assembled back in the same way as in front-end machines.
All other types of repair and maintenance of automatic top-loading washing machines are practically similar to the same actions for front-loading machines. Cleaning the filters, replacing the drain pump and heating element and much more - the only difference is that not the rear or front wall is removed, but the side panels. Well, the location of the internal parts of vertical machines is closer. For some reason, service specialists consider this a sufficient reason to ask for more money for repairing top-loading cars. But only if the hands are in place and there is an understanding of what, in fact, needs to be done to repair such a car, it is not at all necessary to pay your hard-earned money to an outsider. And spend the saved money on other interesting things or purchases. Download dle 10.6 movies for free
Do-it-yourself training portal about repairing washing machines, repairing dishwashers, repairing boilers and refrigerators
We are renovating a Bosch top-loading washing machine model WOR16151OE.
Complaint from a customer: the Bosch washing machine does not heat the water and has begun to wash clothes poorly. Since our Bosch does not heat water, we assume that the heating element (heating element) is faulty and needs to be replaced. The repair of vertical washing machines does not differ from the repair of front-loading machines, but it has a number of features due to the design of the device.
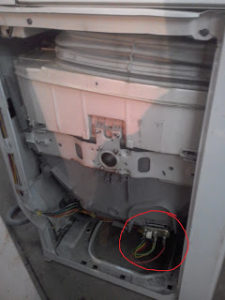
In order to replace the Bosch heating element, removable side walls are installed on a top-loading machine, they must be removed. More precisely, you only need to unscrew one side wall.
First, turn off the device from the electrical network.
We remove the side wall of the machine, for which we unscrew the screws and move the wall back.
Now we see here it is a heating element.
Remove the power terminals from the heater.
We take a multimeter, measure the resistance of the heating element on ohms and see that it is open-circuit, faulty. You can read more about checking the heating element here.We remove the connector from the temperature sensor of the washing machine and the mass, we begin to remove the heater.
We loosen the nut in the middle of the shade, take a pair of flat screwdrivers and pry the heater pad, push it out with all our might. We will suffer a little and something will work out, ready.
Here is the heater, overgrown with scale, overheated and cut off. Most of the limescale remains inside, so be sure to remove the loose pieces from the tank completely before installing the new shade, otherwise the pieces will fall into the drain pump and clog the drain system.
We remove the temperature sensor of the washing machine, it is not necessary to change it, just carefully clean it from plaque.
We insert the temperature sensor into a new ten, we descale the seat in the tank, and carefully insert a new heater.
In a vertical loading machine, the ten is quite long, so there is a guide (holder) for it inside the tank, which fixes it in the middle position. When installing a new element, it is very important to get into this holder, otherwise nothing good will come of it. Either melt the tank, or the heating element will touch the drum. We insert the heating element to the end, make sure to insert it correctly, hold it and tighten the middle nut. We pull hard enough so that in the future, when heating, the ten is not dropped out of you (there were cases).
We made sure that the tightening is sufficient, connect the connectors, assemble the wall. If the replacement of the heating element in the washing machine was carried out carefully and correctly, then the irreplaceable assistant will continue to serve you faithfully for many years.
Many malfunctions requiring repair of a vertical washing machine can be eliminated by the user himself. Consider the causes of the most common breakdowns inherent in vertical-type models.
First you need to figure out what exactly is leaking in the car, what part has become unusable. The reason for the failure may be hidden in:
- upper door seal;
- rubber pipe;
- cuff;
- bearings;
- drain filter;
- water tube;
- drain hose;
- tank.
The seal can either deform or wear out to such an extent that, having lost its functional qualities, it will begin to leak water. If at one far from perfect moment you find a puddle under the body of your equipment, then most likely the repair of a vertical washing machine will consist in replacing the seal. If you do not have time or desire to dismantle and install new parts, you can put a piece of rubber under the leak without removing the seal. Under pressure, the seal will rise and water will stop flowing out.
The branch pipe is connected to the tank of the machine. If smudges are present in this particular part of the machine, you must:
- remove the part;
- seal it with silicone;
- install back.
Leakage through the rubber cuff is usually associated with a loose retaining clamp fastener. To eliminate smudges, tighten and secure the mechanism with pliers or other tools.
If water flows out from under the stuffing box, the problem is in the bearings. It is necessary to replace old parts with new ones.
A leakage through the drain filter is usually associated with wear on the seal located here or with a damaged filter tightness. It is necessary to dismantle the damaged part by replacing it with a new one.
Leakage usually starts from the junction of the drain tube with the filler valve. To fix the problem:
- dismantle the tube;
- lubricate it with silicone;
- put back;
- tighten the clamp.
Drops of water on the drain hose at the junction with the pipe indicate a poor connection. Remove the drain hose, lubricate it with silicone, reinstall it. The problem has been resolved.
The tank, as a rule, leaks either due to loose screws at the connection point, or due to a through hole - a hole that appears.If the screws are the problem, just tighten them, but not too tight so as not to twist. The hole, when it is small, can be carefully soldered.
Dismantling and repair of a vertical washing machine
To access the inside of the unit, in some cases it will be necessary to remove the control console or side panels of the case. In order to remove the top panel, it is enough to unscrew the screws that fasten it. Disassembling the case requires a more sophisticated approach:
- unscrew the screws from the back of the machine;
- pull the panel at the bottom edge, slide down and back;
- remove the screws securing the front wall;
- dismantle it.
This is a rather unpleasant problem, fraught with the failure of such important parts as heating elements, tank, drum. Once such a malfunction is found, the vertical washing machine should be repaired immediately. A self-opening door is a consequence of an imbalance in the drum. The wrong balance is almost always associated with bearing wear. They are located on the outside of the tank. They need to be replaced with new ones.
In order to dismantle / install bearings:
- Disconnect all wires;
- Remove the pads located on the sides of the drum;
- Under the pads you will see the bearings. First, you should unscrew the part where there is no pulley, then the rest;
- Replace the oil seal and bearings with new ones;
- Perform all the steps in reverse order.
Be sure to thoroughly clean and lubricate the joint area before installing new parts.
Many owners are faced with the appearance of rust on the top cover of the car. This problem is associated with the design features of the vertical units. In many models, water, when fed into the tank, comes into contact with the lid and after a while corrosion appears. Nothing can be done here. All that remains is to change the lid, which is not the cheapest pleasure.
Replacing the heating element involves the repair of a vertical washing machine in several stages:
- Remove the back or side panel from the machine;
- Disconnect the ground and power terminals from the heating element;
- Unscrew the fixing bolt centered between the pins;
- Pull out the failed device;
- Insert a new heater in its place;
- Fix it with a bolt so that the seal under it fits tightly to the edges of the holes;
- Connect the power and ground terminals, cover the enclosure with panels.
The control unit often fails due to contamination of contacts, switches. Therefore, before taking the equipment to the workshop, be sure to manually check all the terminals, contacts, wires. After all, a complete replacement of the block is not a cheap pleasure. Your clipper may only need a little cleaning. In order to gain access to the "brains" of the machine, simply remove the control panel.
Top loading washing machines are very popular today due to their compactness, ease of use and space saving in conditions of a catastrophic shortage of square meters by lifting the hatch up and not to the side. Many are sure that vertical models last much longer and less often need repair work due to the design features. But in reality, everything looks a little different - such washing machines, like other household appliances, also fail. Therefore, it will not be superfluous for users to find out how the repair of top-loading washing machines is carried out.
Of course, for vertical models, common frontal problems are also relevant. But there are also their own "special sores", which are due to the design features, as well as the location of the units of such machines.
Important! The main feature of the repair is gaining access to the internal parts of the device by dismantling the side walls. But. before starting work, be sure to find out about the warranty repair of the washing machine.
Contrary to the opinion of many, vertical washers are much more likely to be susceptible to such a malfunction as a leak. This can cause other, more serious problems. But first things first.
Everything is clear here - check the tightness of the filter installation, as well as the condition of the seal. Of course, it doesn't hurt to clean it. If the filter is dry, go to the top cover of the vertical washing machine.
If a puddle has formed under the washer, first of all check the condition of this seal. If you remove the control panel of the device, a coating of rust will immediately be visible on the case. This means that the water passing through the upper door is not trapped by the rubber band and gets under the control panel or into the hatch lock. Of course, such a malfunction can lead not only to a puddle under the unit, but also to much more serious problems that are associated with the repair or replacement of expensive blocks and parts. Until it comes to this, urgently eliminate the leak - it is not necessary to replace the entire seal completely. As a rule, it is enough to put rubber in the place of leakage, which will slightly raise the seal, with the help of which the tightness will be restored.
Important! It should be added that removing the control panel is not difficult at all - you just need to unscrew the screws on the sides that hold it in place.
Now remove the side panels for further inspection and repair of the top-loading washing machine. To do this, simply unscrew the screws on the back wall, on which they are attached, pull the bottom edge a little and slide it down and back. After removing the side panels, you can remove the front ones as well - this will give you access to the screws holding it in place.
Important! To remove or not to remove the front wall of the device depends on the purpose of disassembling the case. So, after access to the internal components is obtained, continue to check for leaks already inside the machine.
- If there are traces of moisture, then remove the tube, coat it with silicone and reinstall it by tightening the clamp. Then inspect the integrity of the entire rubber tube up to the point where it fits to the top of the apparatus. If everything is dry, look for another reason.
- Inspection of the rubber drain pipe and drain hose. Here, all actions are similar - check and, if there is a leak, fix it.
- Don't forget the rubber cuff at the top. Make sure that it is intact and that the clamp that holds it is secure.
- The tank may leak. It is very possible that the screws with which it is connected are loose and need to be tightened.
Important! Here it is important not to overdo it and not completely curtail them. If a small hole appears in the tank body, carefully solder it.
- Water may leak from under the drum bearing seal. It is very likely that this will provoke the need to replace the bearing as well - we will consider how this can be done just below.
back to content ↑
As a rule, this becomes possible due to an imbalance in the drum of the device. If the front-end models of machines in such a situation begin to vibrate too much, then the same problem with vertical units can lead to much more serious consequences, and then a serious repair of a top-loading washing machine cannot be avoided:
- The opened doors simply cannot but come into contact with the heating element, which, most likely, will disable it. The drum is blocked and can be damaged (both it and the tank of the device in which it is installed).
- Damage to the drum and tank of the machine can lead to the need to completely replace them, and then many will think - isn't it easier to buy a new washing machine? But this is an extreme, you should not think about the bad.
- If the matter is limited to the breakdown of the heating element, then this is not the biggest problem. It can be easily replaced and the process is carried out in the same way as with front-end machines.
- A worn-out drive belt can also be easily replaced with a new one.
- But bearings can also fail. For models with an upper loading method, the replacement of bearings is slightly different from the same process for frontal types of washers.
To ensure stable operation, the drum of a top-loading machine is supported on two semi-axles, which are equipped with two bearings. These bearings are mounted on the outside of the tank of the apparatus.
To replace them, you need to do the following:
- Remove all power wires.
- Remove the pads on the sides of the drum, behind which the calipers with bearings are hidden.
- First, remove the bearing from the side that does not have a pulley. Remove the caliper - on this side the thread will be right-hand standard - unscrew it counterclockwise. After removing the part, replace the bearing and oil seal.
- On the other side, remove the drive belt and then the pulley and grounding block.
Important! On this side, a left-hand thread is used on the caliper, so it must be unscrewed in the opposite direction from the usual direction - clockwise.
- In both the first and second cases, thoroughly clean and lubricate the installation site of the new bearing, put the calipers back in place, and then reassemble.
Important! In cases where disassembly of the tank is required, the screws that fix the lid are simply unscrewed and carefully separated at the seams.
If you could not fix the problem, and nevertheless decided to purchase a new household appliance, then to make it easier for you to decide on the model, check out our rating of washing machines in terms of quality and reliability.


