In detail: do-it-yourself repair hobs from a real master for the site my.housecope.com.
The hob is one of the most important appliances in the kitchen, and, like any other technique, is prone to breakdowns, but making repairs with your own hands is quite simple. If a malfunction is discovered during the warranty period, your stove will be repaired free of charge. But if a breakdown occurs several years later, you can try to repair the hob with your own hands, since contacting specialists can cost a little less than buying a new stove.
In this article, our experts have listed all the malfunctions of the hob and step by step disassembled the process of repairing the malfunctions with their own hands.
The hob does not turn on - the most common malfunction of electrical panels, the device is plugged into the outlet, but does not work at all, or only one of the burners does not heat up. DIY repair can be disassembled into the following steps:
- We check the voltage in the outlet; due to heavy loads, the contacts of the outlet often burn out.
- We check the plug and cord for mechanical damage - they can simply shorten or even break the chain. Most often, damage is observed at the points where the panel is plugged into the outlet. Found damage - we replace the cord.
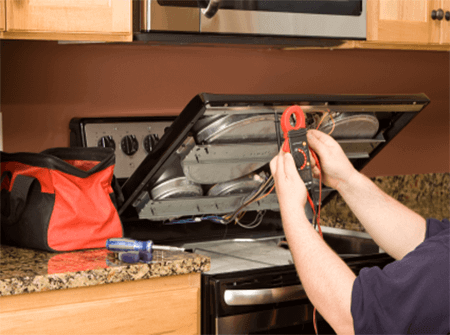
- We turn off the power, remove the fasteners and dismantle the surface from the tabletop. We disassemble the surface and move on to the next step.
- We take a multimeter and check the transformer, the next step is to check the thermal fuse. In the absence of resistance, or if it differs significantly from that declared by the manufacturer, parts must be replaced, they are sold in many electronics stores.
- One hotplate on the hob does not work - it is necessary to check all the wires, as well as their connections to the burners, thermostat, switches, control panel for the fact of an open circuit. If the malfunction is not visually visible, all the contacts are in place, we take a multimeter and check each connection.
| Video (click to play). |
If you do not have a multimeter, you can use an indicator screwdriver for repairs, with which you can check the presence of voltage on all parts of the circuit. We also recommend watching a video that will help you repair the hobs yourself.
See also - How to install the hob in the worktop with your own hands

The main malfunctions that users of electric hobs may encounter are as follows:
See also - How to connect the hob with your own hands
Although induction panels are the most modern and high-tech devices, they are also not immune to malfunctions. We will analyze the main malfunctions of induction panels, and what repairs you can try to do yourself.
- The induction hob does not turn on or turns off immediately - most often this is a feature of this type of panel, and not a malfunction. The induction hob has a protective function, if you use the wrong diameter or material of the cookware, the hob will automatically turn off the power, and the hotplate will not heat up. Also, the hotplate will turn off automatically if you remove the dishes from the surface.
- The induction hob heats up for a long time and weakly - again, we read the requirements for the dishes in the instructions. 90% of induction hob malfunctions are associated with the wrong cookware.
- The induction hob turns on automaticallyalthough there is no cookware on the hotplate. Remove all metal objects and clean the salt from the stove, if this does not help, you have a problem in the control unit, it needs to be repaired or replaced.Better to contact the service.
- The induction hob does not work... The principle of diagnostics and repair does not change, specialists first of all check the fuse. then they ring the entire chain for an open circuit and replace the burnt-out part.
The last type of cooking appliances is a gas surface. One of the simplest and easiest to repair with your own hands. Less electronics are used, so there are not many faults and everything is easily eliminated.
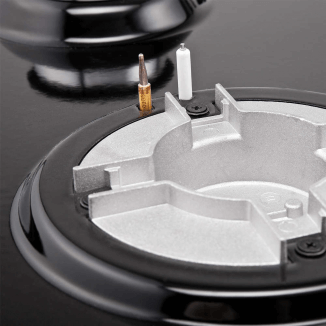
- Gas does not ignite or ignites poorly. We immediately check the electric ignition (piezo) for the presence of blockage or liquid. In 90% of cases, it is enough to wash it thoroughly and dry it. If this does not help, we check the presence of electricity in the circuit leading to the piezo coil.
- The gas hob does not turn on because gas does not flow to the burner. Repair of hobs in these cases is not needed, prevention is enough. We check the gas pipe, if the valve is open and there is gas in the system, proceed to check the nozzles. The clogging occurs with fat or food debris, it is enough to clean it. Do not forget to wipe dry after cleaning, moisture should not remain. If moisture remains, the piezo will not ignite.
Modern hobs are equipped with sensors for detecting faults and diagnostic modules, an error code appears on the screen. We find the code in the instructions and follow the specified recommendations to eliminate a specific malfunction. Use the forums, there you can find real reviews and experiences on DIY repair from specialists and other users, namely your model with detailed instructions and photos.
If we analyze all the malfunctions of hobs that may occur during operation, we can say with confidence that most of them can be repaired by hand.
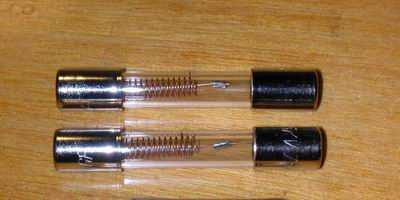
- Fuse blown
- Contact broke
- The chain is broken
- Cable damage
- Clogged stove, nozzles
- The heating element broke
- Sensor does not work
All these malfunctions are eliminated by hand, if you are faced with a more complex problem and are not sure of your knowledge and strength, contact the service center.
Electric, induction and gas hobs are used for cooking. Each of them has its own advantages and disadvantages, and there are also a number of malfunctions that can be eliminated independently if they occur. Do-it-yourself hob repair can be done subject to certain recommendations and if you have the necessary tools.
Glass ceramic hob BOSCH
Hob repair Bosch, in some cases, you can do it yourself.
If, with the power supply connected, one of the burners does not work or the entire device does not work, we carry out the following work:
- We check with a multimeter the voltage in the outlet. If it is, then the problem lies with the hob itself. You can check using the indicator, but it only indicates the presence of voltage. A significant change in the current indicators can lead to the operation of protective mechanisms.
- We check the condition of the electrical cord and plug. If there is mechanical damage, it will be enough to replace the cord or plug. You can also check the supplied current on the panel itself, since mechanical damage is not always the cause of a malfunction of the cord and plug.
- If the cord with a plug, the socket is in good condition, we dismantle the hob.

Removing the hob
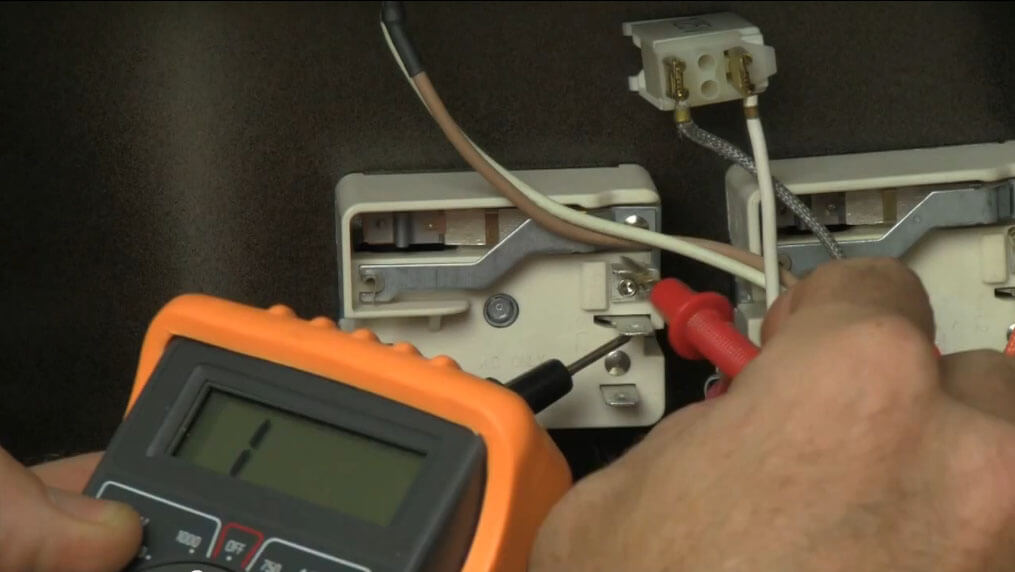
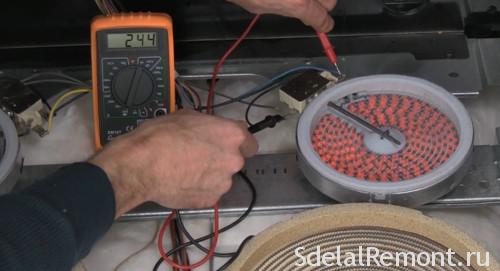
If you repair a glass-ceramic hob with your own hands, you should know that the malfunction of some structural elements can only be detected with a multimeter, by taking measurements in individual sections of the circuit. When considering a Bosh hob, you should pay attention to the following elements:
In the absence of resistance or at low rates, these elements should be replaced.
The work of some structural elements can only be detected with a multimeter.
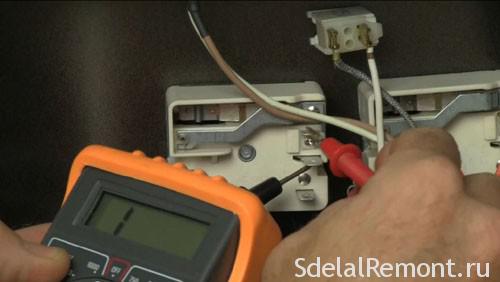
Another common problem is a broken wire in the hob connection block. Under certain circumstances, they can burn out or, due to poor installation, there may be poor contact. Checking for such a malfunction can be quite simple.
Let's highlight a few more problems that lead to improper operation of the hob:
- Some models have fuses that can blow out due to high voltage surges. Their cost is low, the replacement procedure is quite simple. In order to protect expensive equipment from such situations, you should install a surge protection device. If the fuses constantly fail, you should check the operating features of the equipment itself, since the problem may not be in the indicators of the supplied voltage.
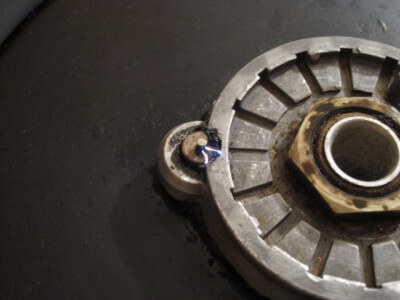
- The burner may not work due to the fact that the contact on the heating element has disappeared. If the wiring is unsoldered, you can resume work, for which you need to have a soldering iron and be able to use it. The problem may be associated with the power supply, which also often loses contact.
If the heating element is burned out, it must be replaced with a new one
The design of electric hobs is quite complex, but many of its elements are highly reliable.
The principle of operation of an induction hob is to directly heat the contents of the cookware, and not the surface of the stove or the cookware itself. Due to the fact that the hob remains constantly cold, such kitchen appliances are very popular.
There are several problems in which you can repair an induction hob yourself:
- If the hob does not turn on or does not turn off immediately, do not panic. Modern models from the manufacturer in question are able to determine the type of cookware, its absence on the hob. Therefore, if the cookware is not suitable for induction heating or if it is not installed, then a protective mechanism is activated. Do not forget that induction cookers do not heat the hob itself.
- If the heat is weak, then initially you should check the type of dishes used, whether it fits the recommendations.
- Repairing induction hobs, as in the previous case, you need to start by checking the circuit for the presence or absence of contact. Fuses often fail, as there are often power surges in the network. In this case, simply change the fuse.
The rest of the repair of induction hobs is similar to the repair of electrical panels.

Induction hob
To repair the electric and induction hob, you need to have the following tools:
- Screwdriver Set. In order to carry out many dismantling work, you need to have several different screwdrivers, which may differ in size and type of tip. In addition to ordinary screwdrivers, you should pay attention to the need for an indicator that detects the presence of voltage.
- The mounting knife is often used when carrying out electrical work. As a rule, it is necessary for changing the length, stripping wire strands and other similar work.
- Pliers are often used during assembly work. However, they often have a sharp part that can be used to cut the veins.
- It is often necessary to have wire cutters.
In addition, a multimeter may be needed to determine the voltage value. It determines various parameters of the supplied current. A soldering iron may be needed when carrying out repair work.